Repair Guide
09
Jan
2019
Re-assembly Sequence
You can re-assemble the product following the steps in reverse order.
16
Aug
2018

Rack MX Octago RG
This repair manual explains how to disassemble the Octago Rack MX fitness equipment. Note: The disassembly process sequence depends on the space disponible for disassembly. Please, consider the spatial conditions before deciding how to proceed. In any case, please start with dip bars and upper...
Read more
Read more
16
Aug
2018

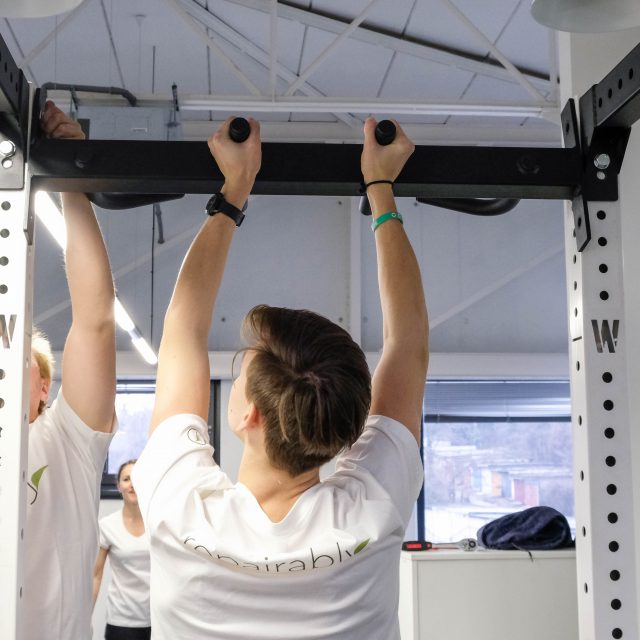
Removal of the Dip bars (C009)
The Dip bars are not connected to the construction by any fixing element, remove them by lifting the hanging part into a position from which you can remove the element and carefully place it to the ground
16
Aug
2018
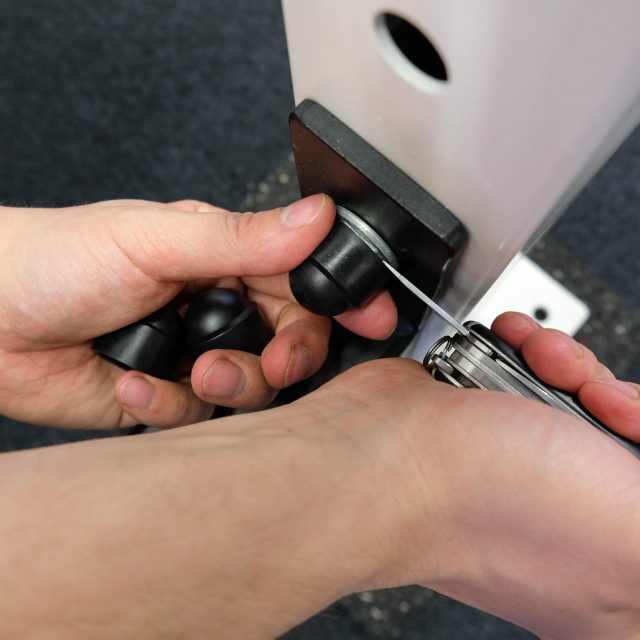
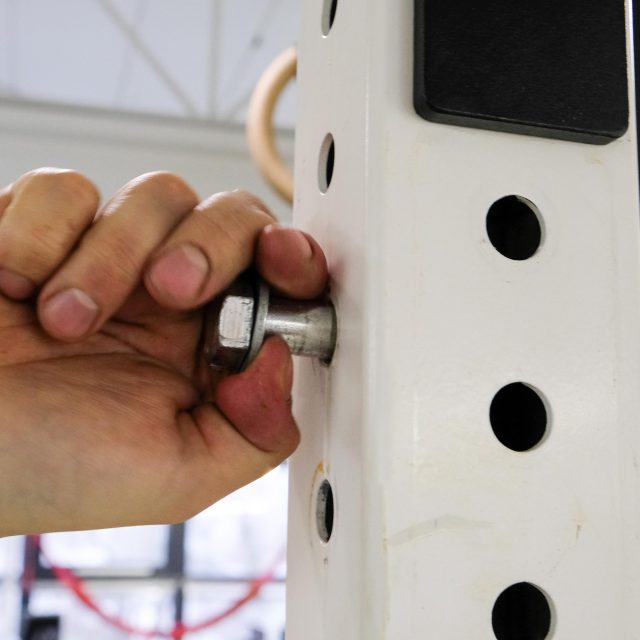
Removal of rubber covers (C001)
All of the nuts and bolts are covered by black rubber covers Remove them by grasping them firmly by 4 fingers To facilitate the process, you can use an auxiliary tool, for example a flat screwdriver or knife, to gently separate the cover from the...
Read more
Read more
16
Aug
2018
Removal of the Multi Grab Bar (C008)
Using the above mentioned tools, slightly unscrew all the bolts and nuts holding the Multi Grab Bar (4x) 1 repairer holds the Multi Grab Bar firmly, while the second repairer removes by hand or using the tools the nuts, bolts and washers from the connection...
Read more
Read more
16
Aug
2018
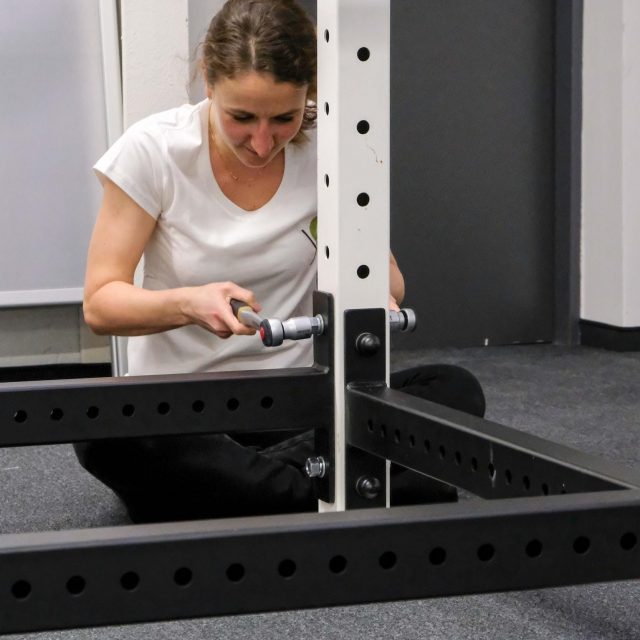
Removal of the CROSSMEMBER A, 1000 mm (C009)
Careful, the stability of the construction will be decreased after removing the element, make sure that you control the position of the construction Using the above mentioned tools, slightly unscrew all the bolts and nuts holding the short Crossmember A at the bottom of the...
Read more
Read more
06
Sep
2018
Removal of the Triple bar (C007) + achieving the horizontal position
Careful, after removing this element the construction will lose its stability, make sure there is one person (if skilled and strong, otherwise 2 persons) holding the construction in position, until this step has been finished Using the above mentioned tools, slightly unscrew all the bolts...
Read more
Read more
06
Sep
2018
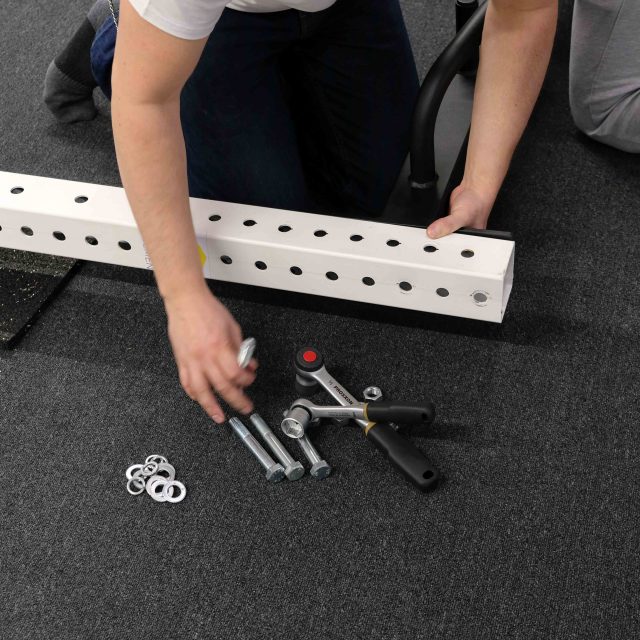
Removal of the remaining components: Single bar 1500 mm, Yellow (C006): 2x, CROSSMEMBER B, 1500 mm (C010): 2x, CROSSMEMBER A, 1500 mm (C010): 2x
Using the above mentioned tools, slightly unscrew all the bolts and nuts of the selected element (4x) Remove by hand or using the tools the nuts, bolts and washers from the connection, the second repairer can still hold the element in position to ease the...
Read more
Read more
06
Sep
2018
Removal of the Leg pro, 2500 mm (C013)
After finishing the previous steps, the Leg pro components are left free.
06
Sep
2018
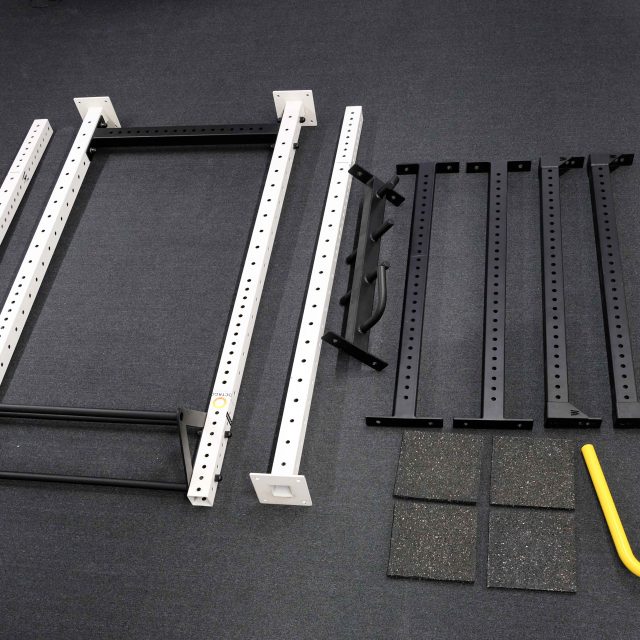
Finished
The disassembly is now finished. You can reassemble the product following the steps in reverse order.
06
Sep
2018

Position of the columns
The consequent reassembly process can be performed reversing the previous steps of disassembly. There are two important issues to take care about when reassembling. This is the first one: The holes on the columns are not equal at all the sides of the column- they...
Read more
Read more
08
Jan
2019

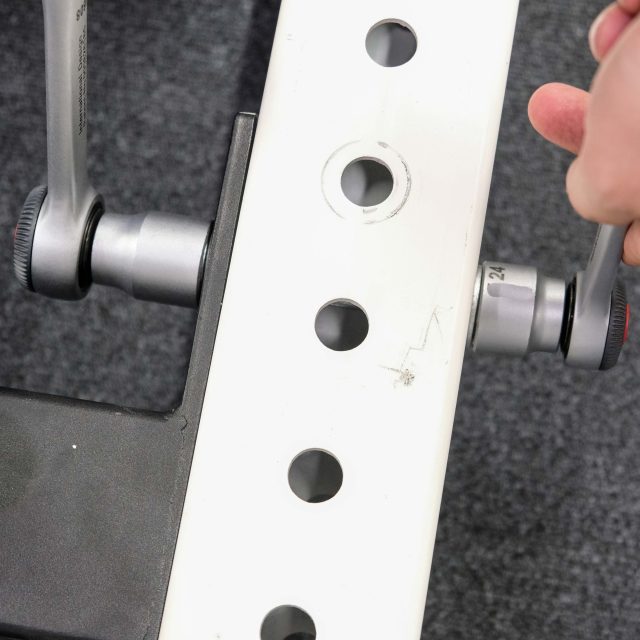
Correct position of the fixing elements
And the second issue is: The nuts and bolts have their established sequence that has to be followed The bolt goes through the side where the component is in contact with the column, the nut closes the other side