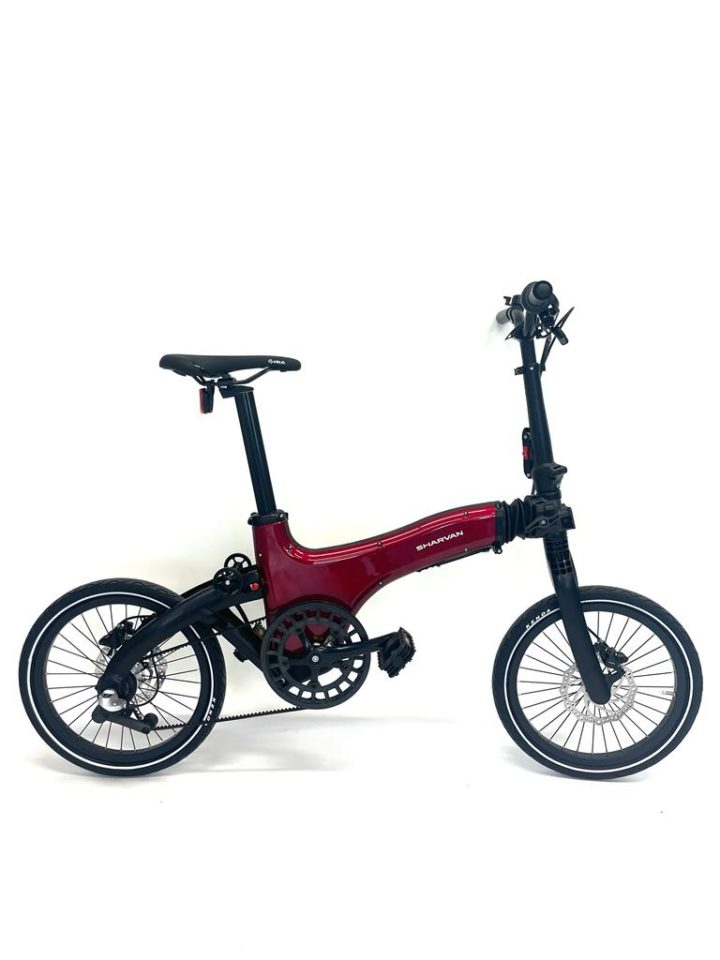
Sharvan bike Country 7 speed black
Producer: Project M1
City bike. Expanding. Folding. Changing colours. Sharvan bike, the first of its kind in the world, it connects three great functions never seen before. It adjusts its size, folds in seconds, and can change colours.
Component price score: 17
Certification nr.: ME8URD
Certification date: 15.11.2022
Tags:
Status: certified
Repair guide
18 steps
This repair manual explains how to disassemble and repair Sharvan bike.
Number of repairers: 1 person
Estimated duration: 180
Difficulty: 3
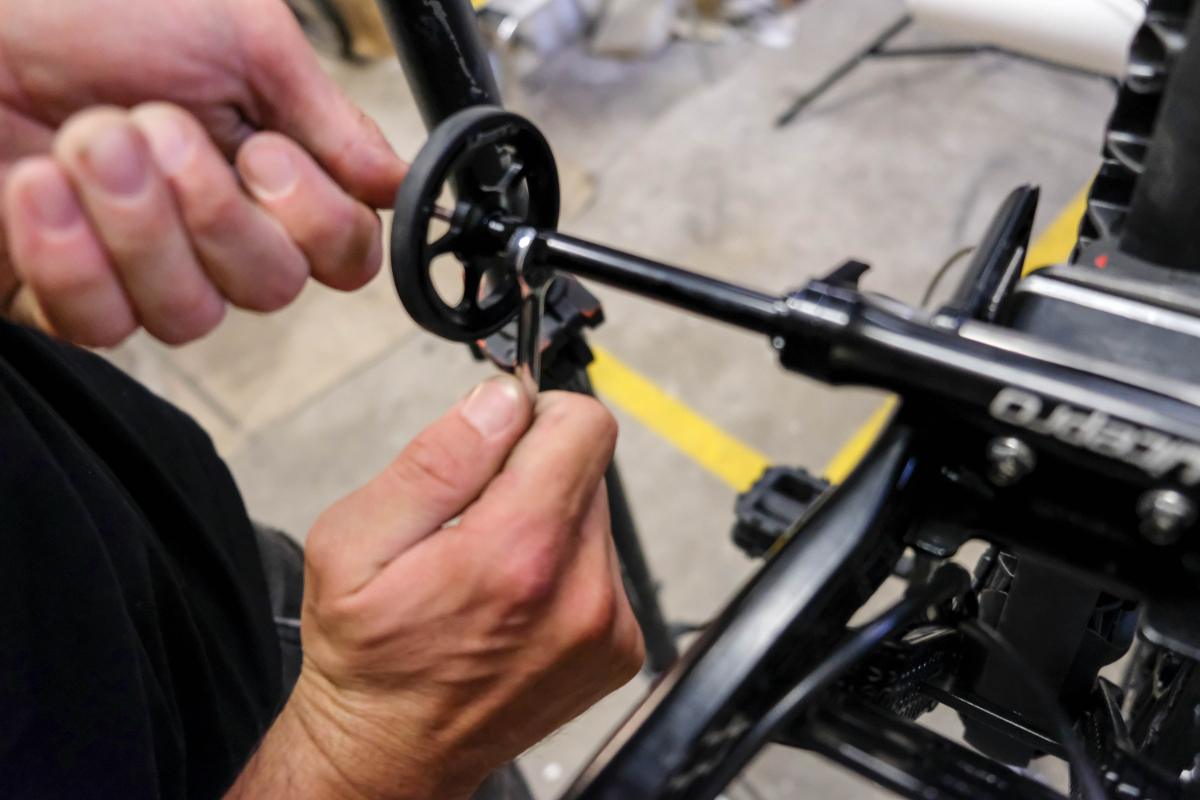
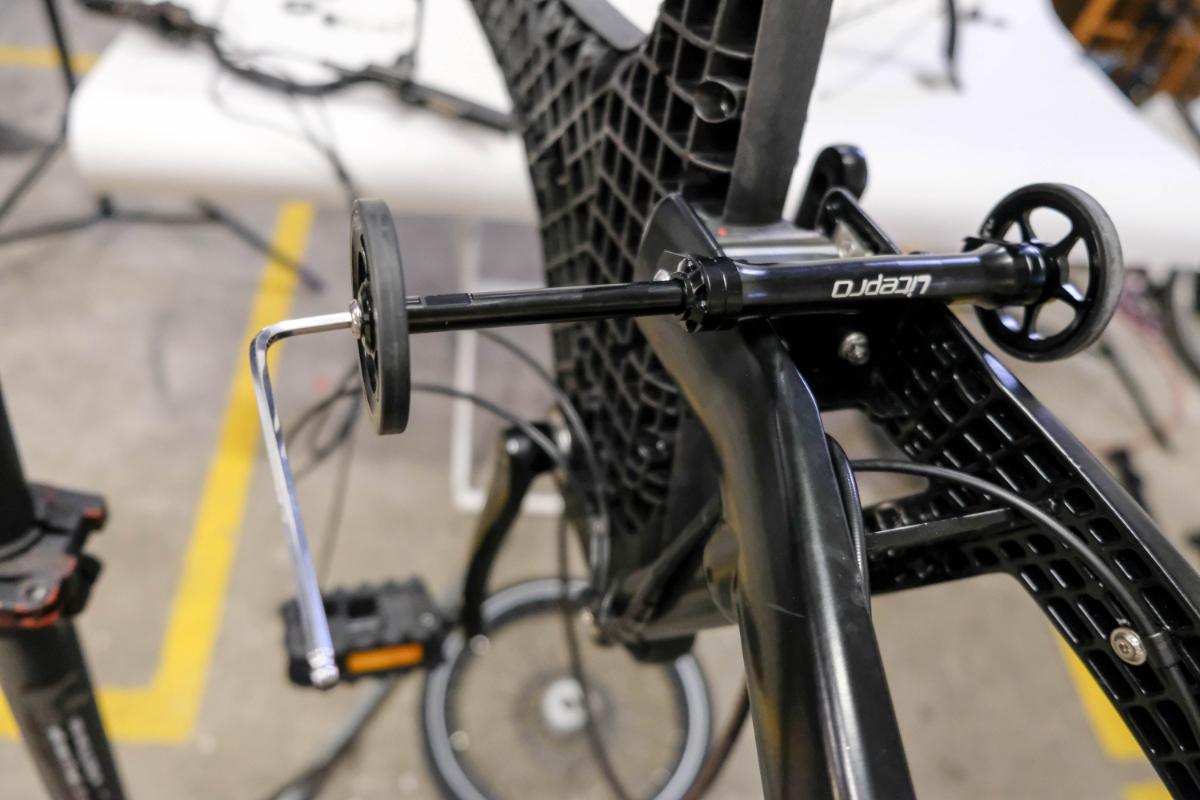
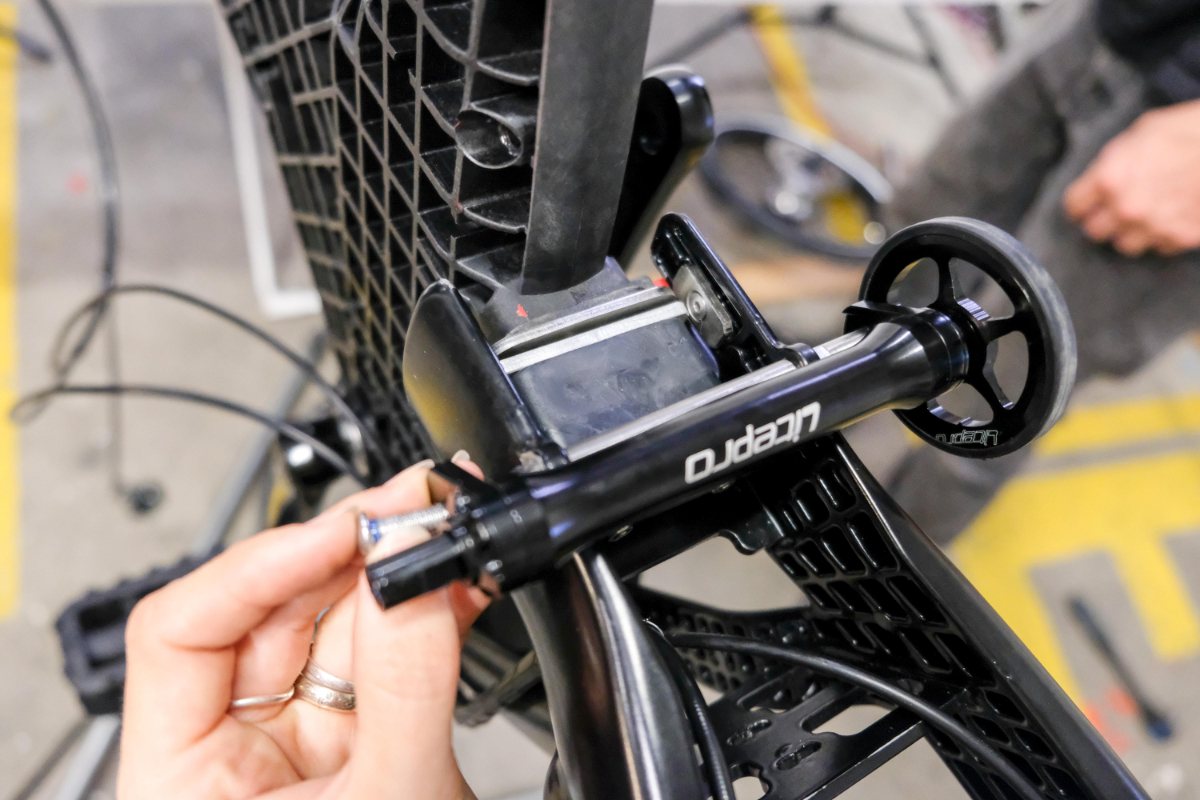
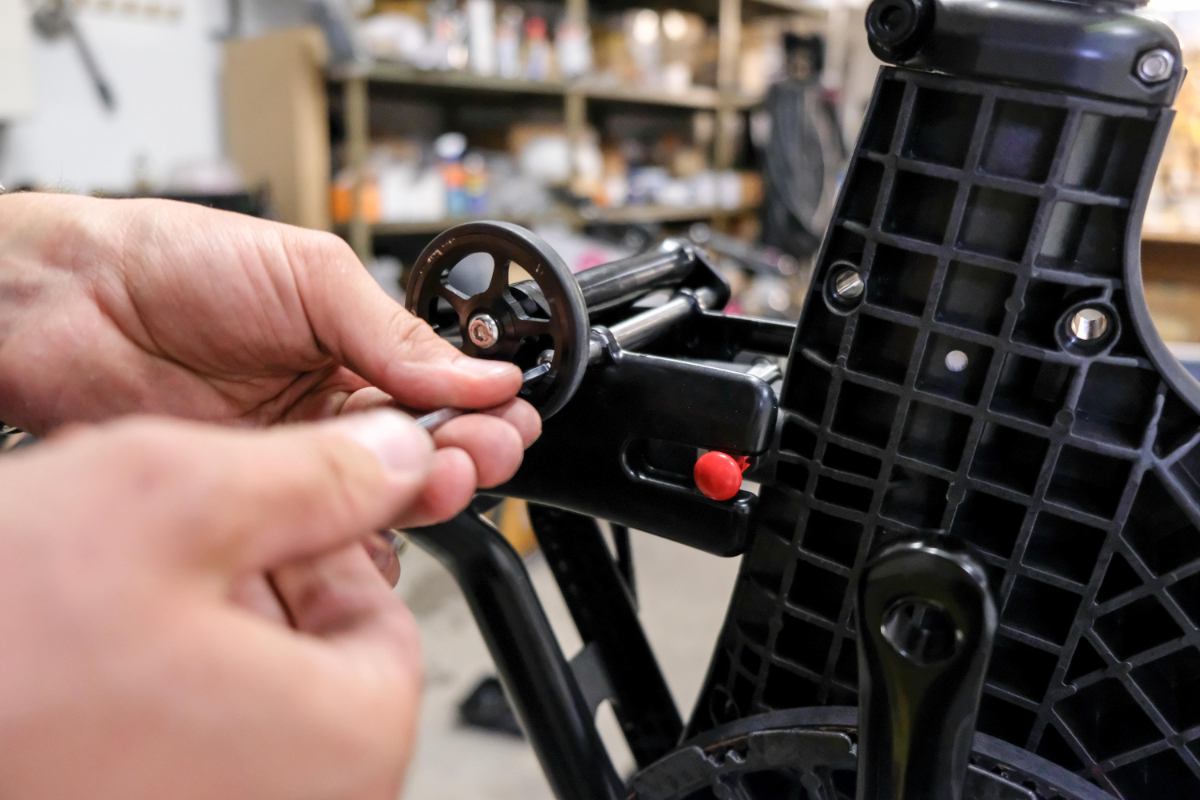
Step 2 Front wheel removal
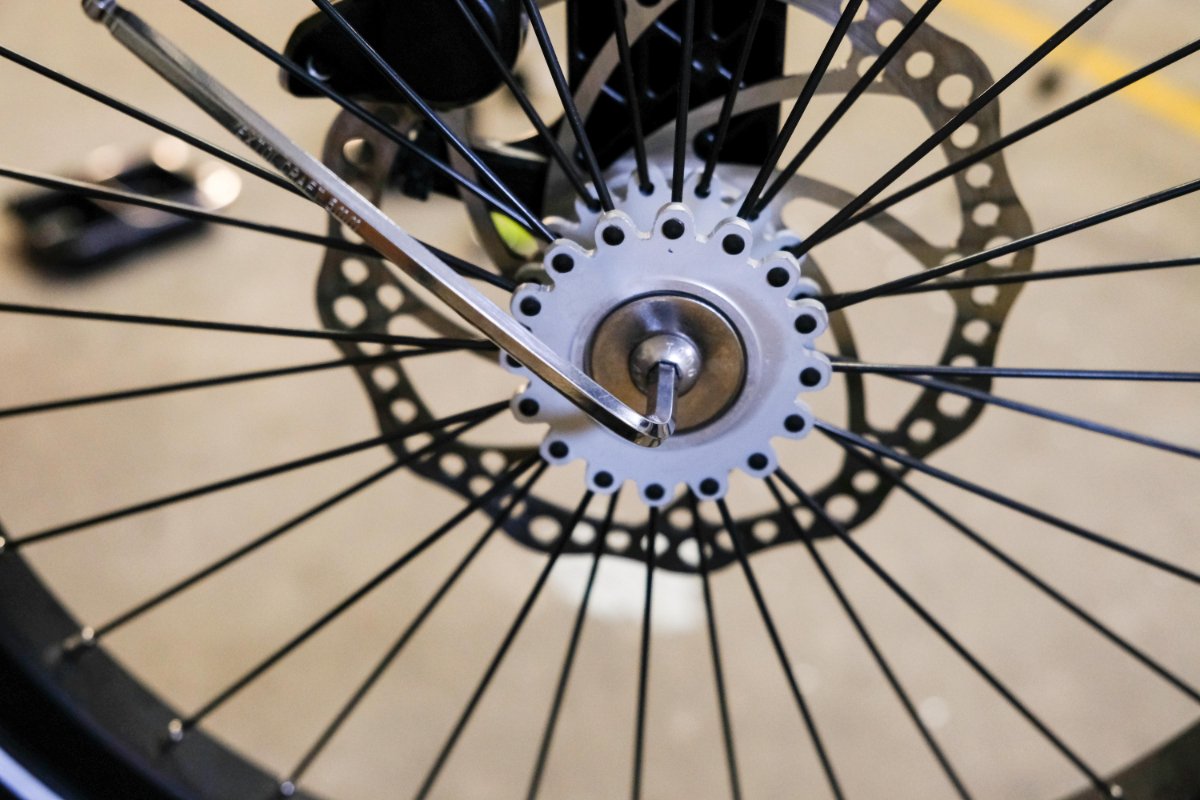
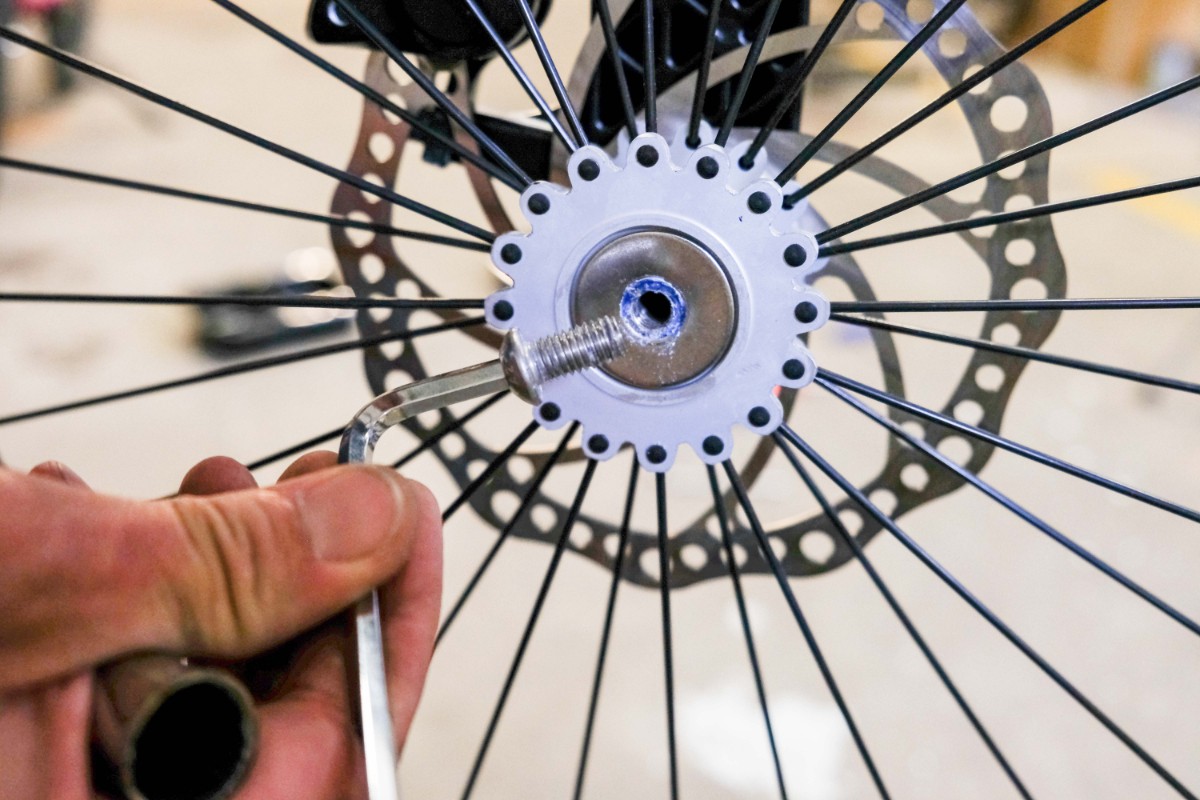
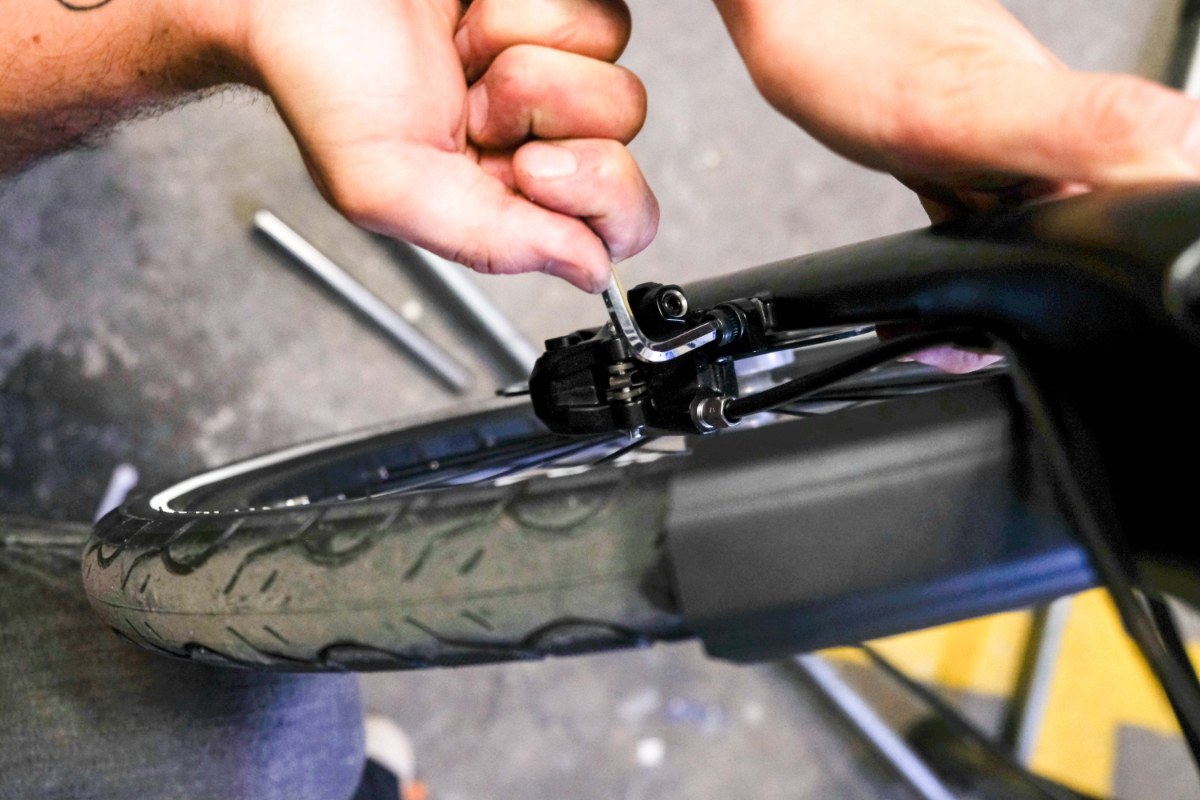
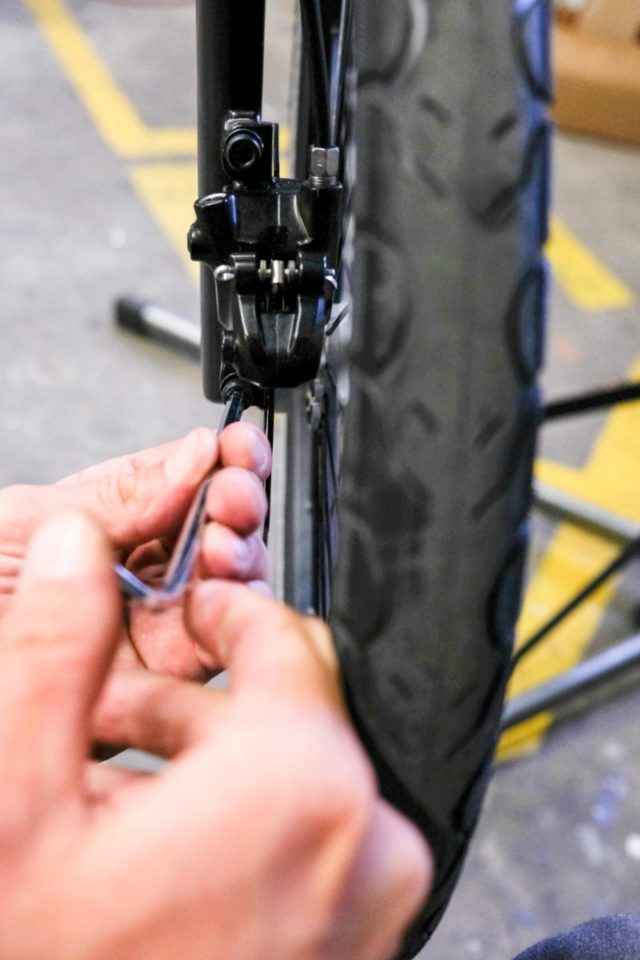
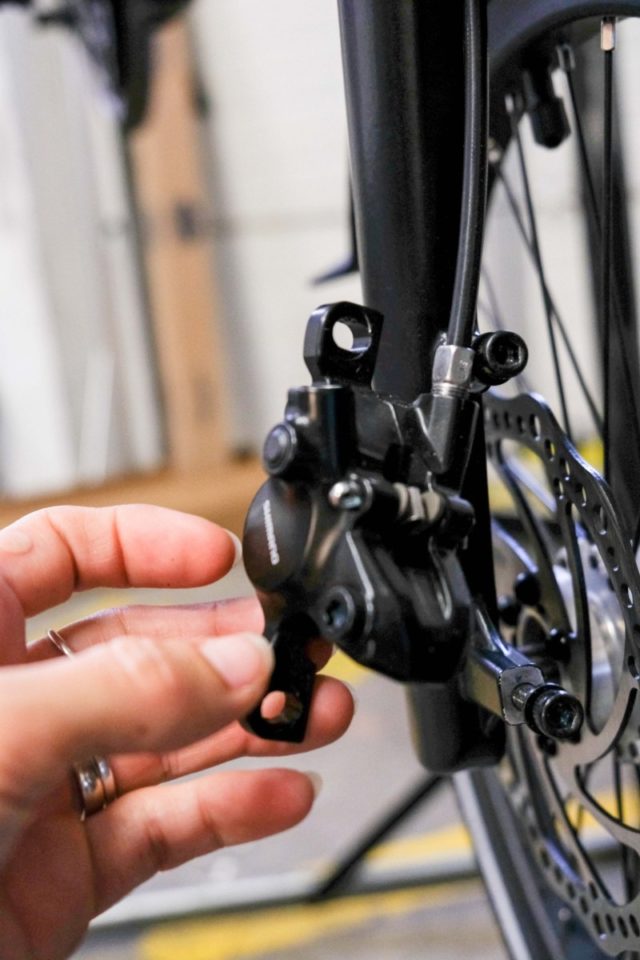
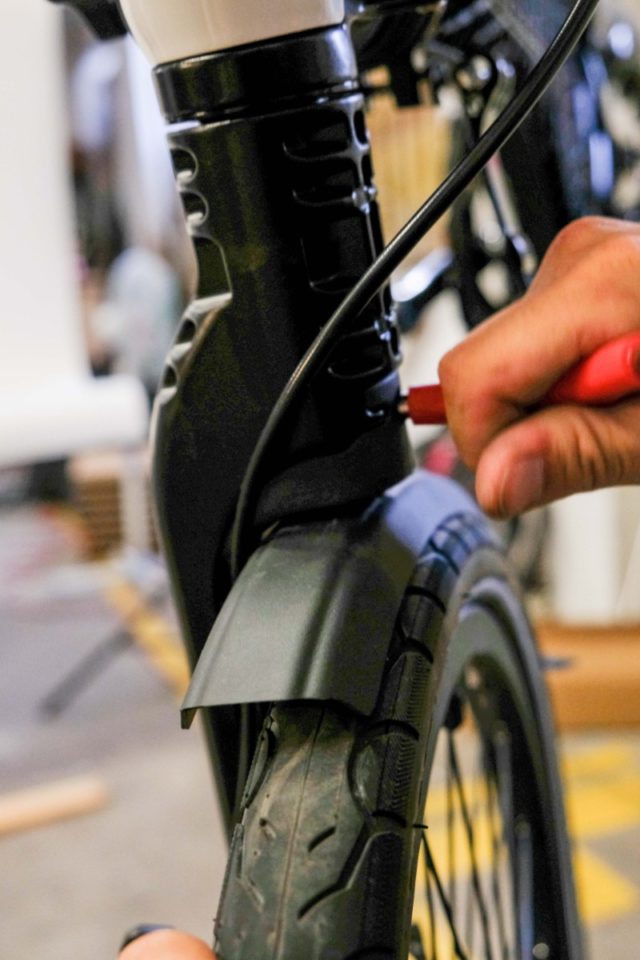
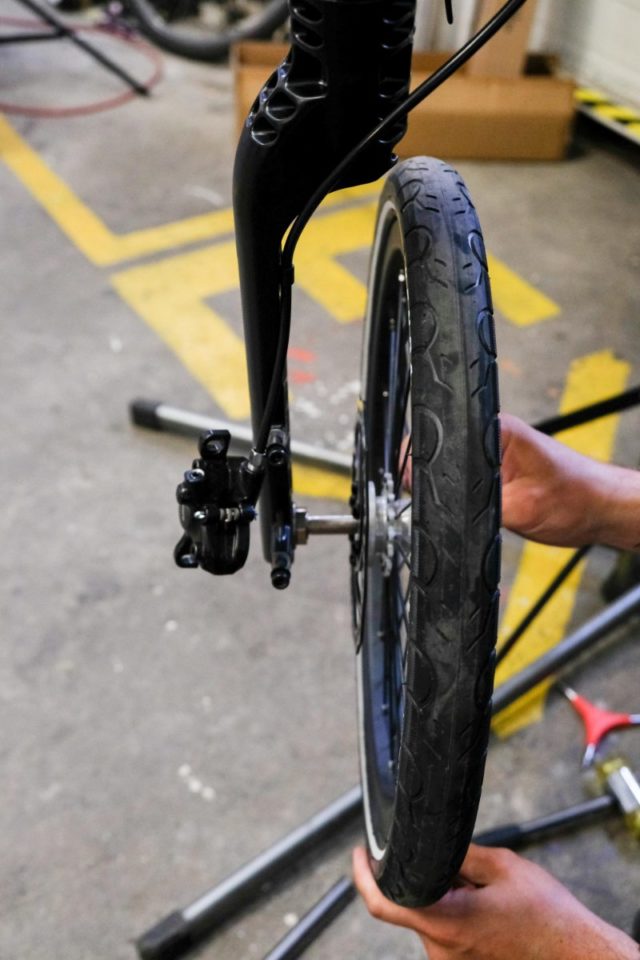
- Unscrew the main wheel hub bolt (it holds really tight)
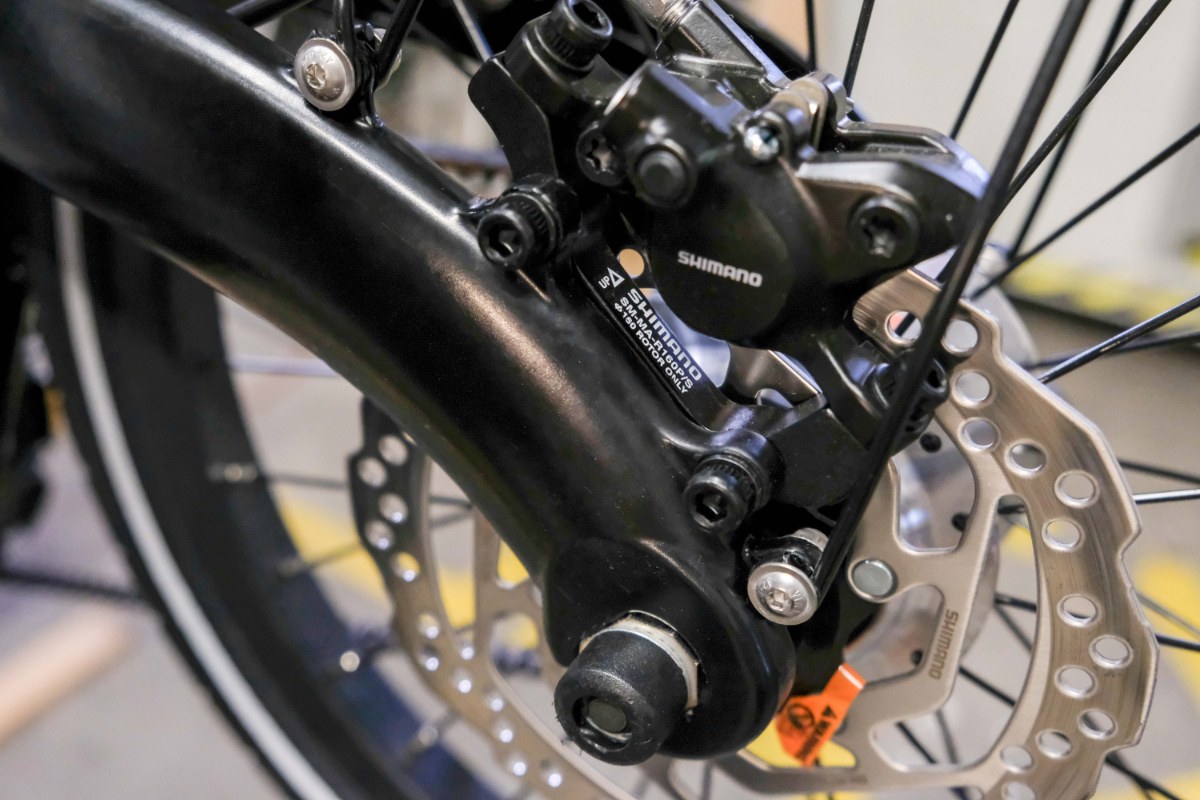
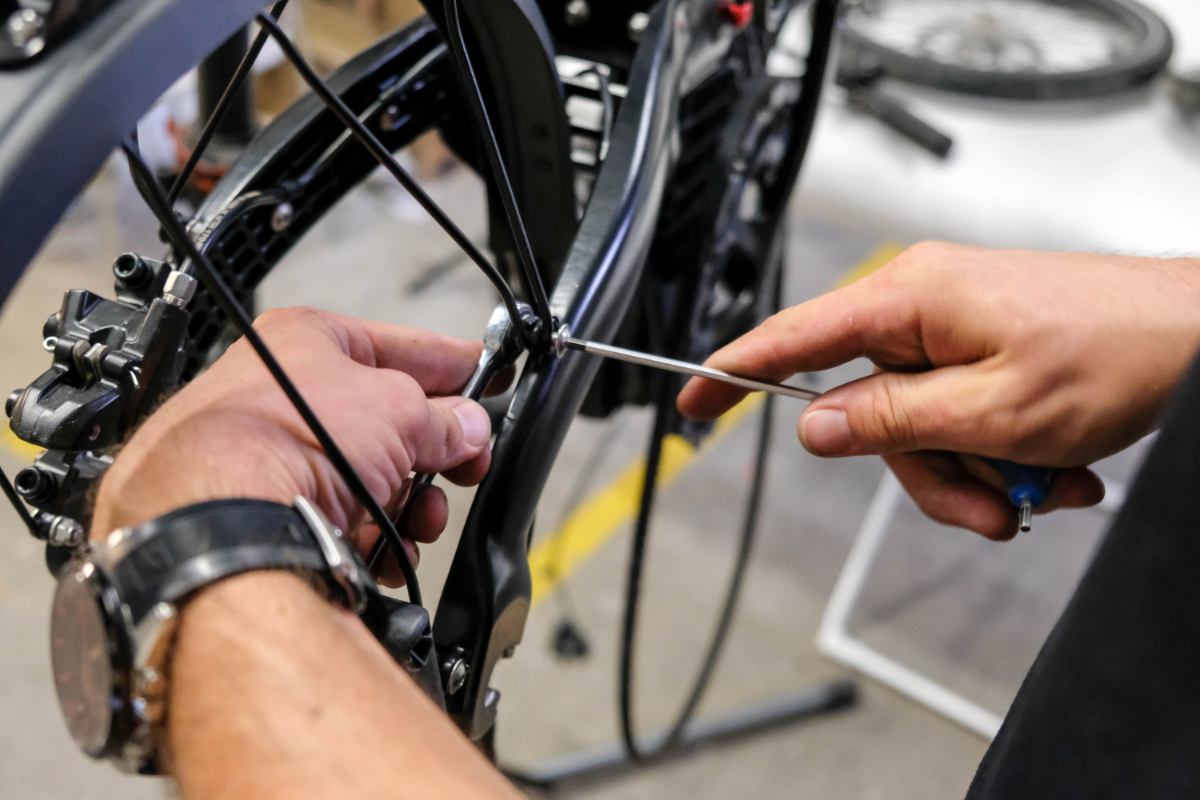
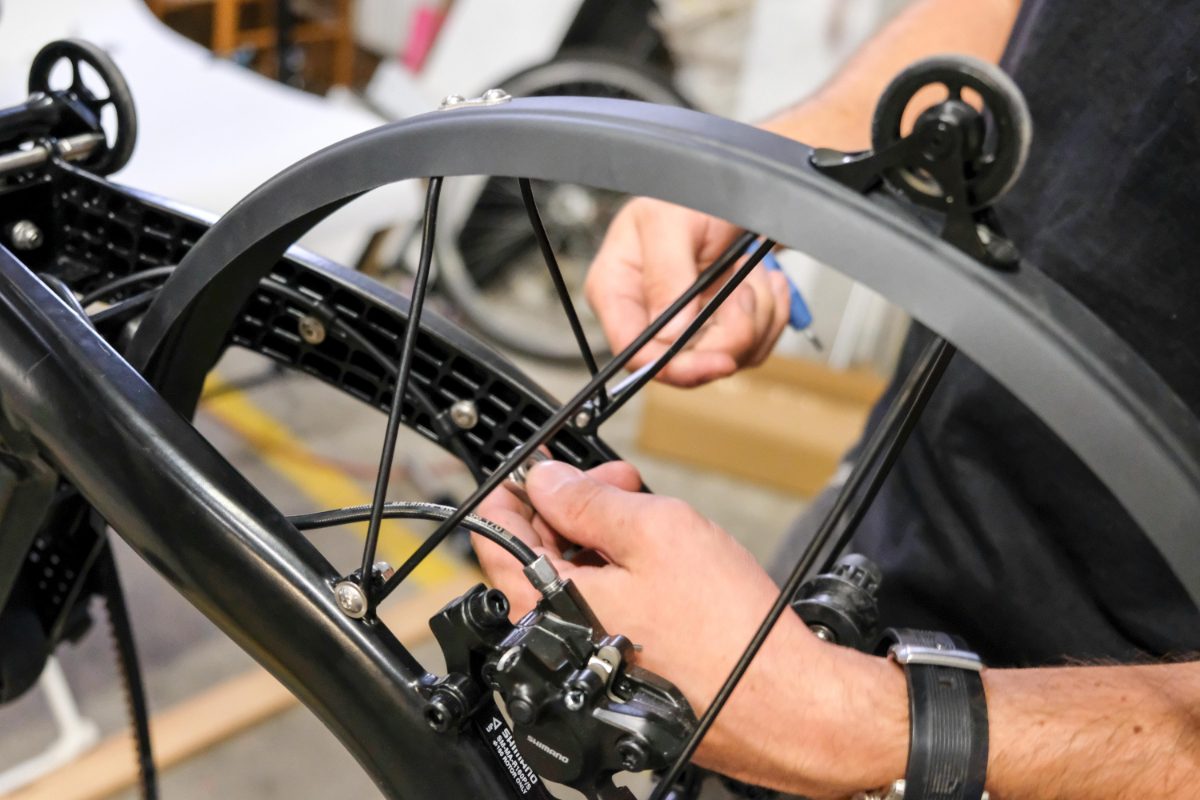
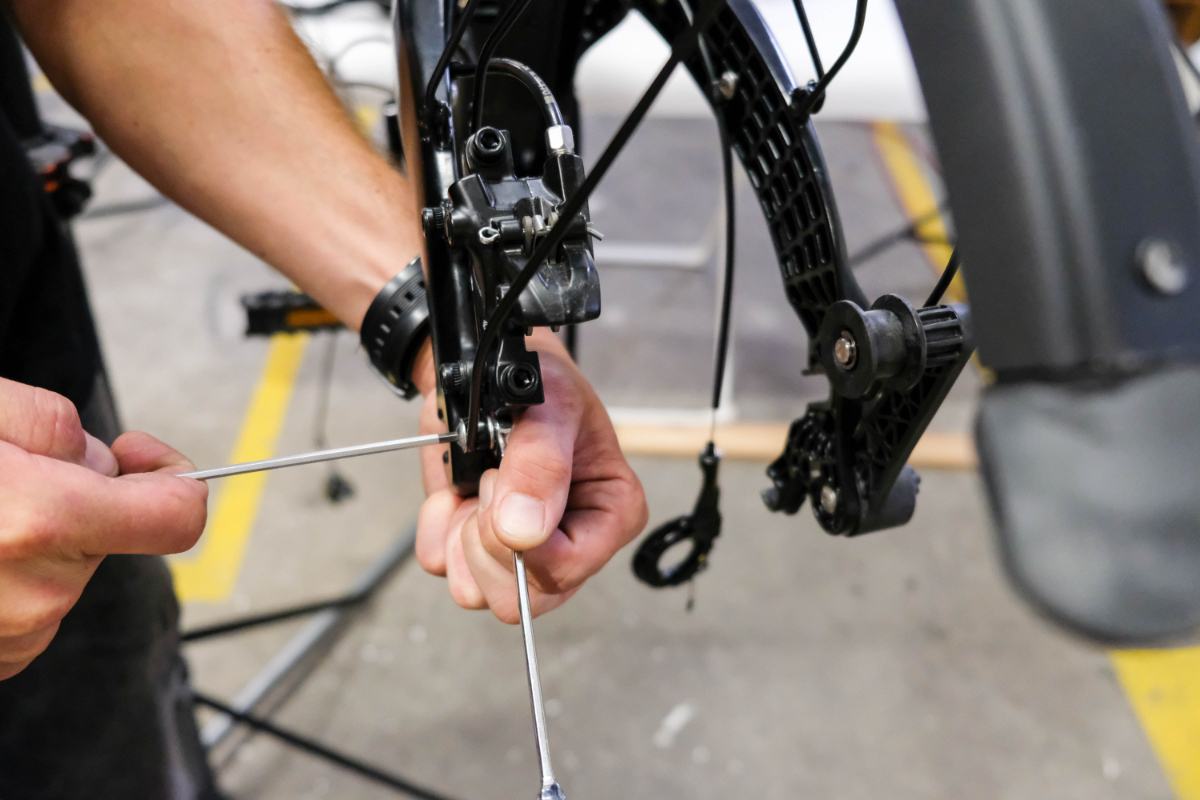
- Unscrew the screws from the brake caliper and mudguard
- Remove the mudguard first and then the wheel
Step 3 Removing the side covers
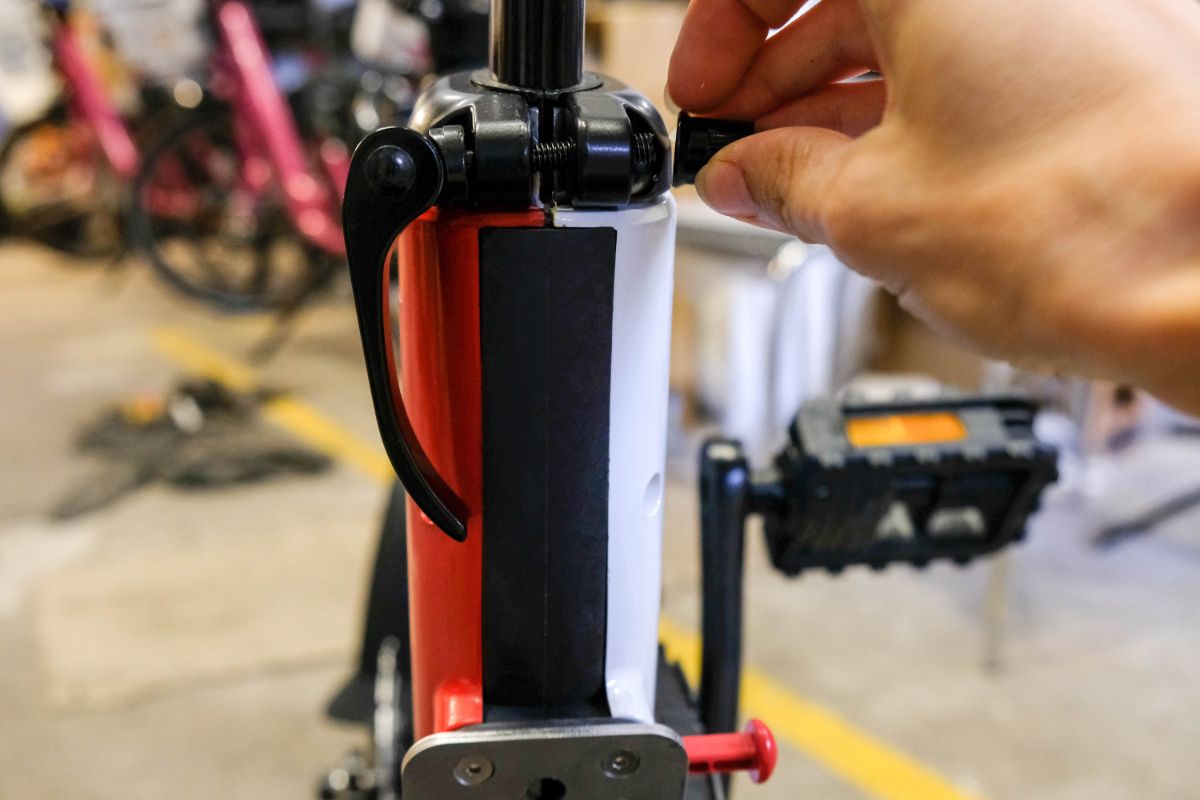
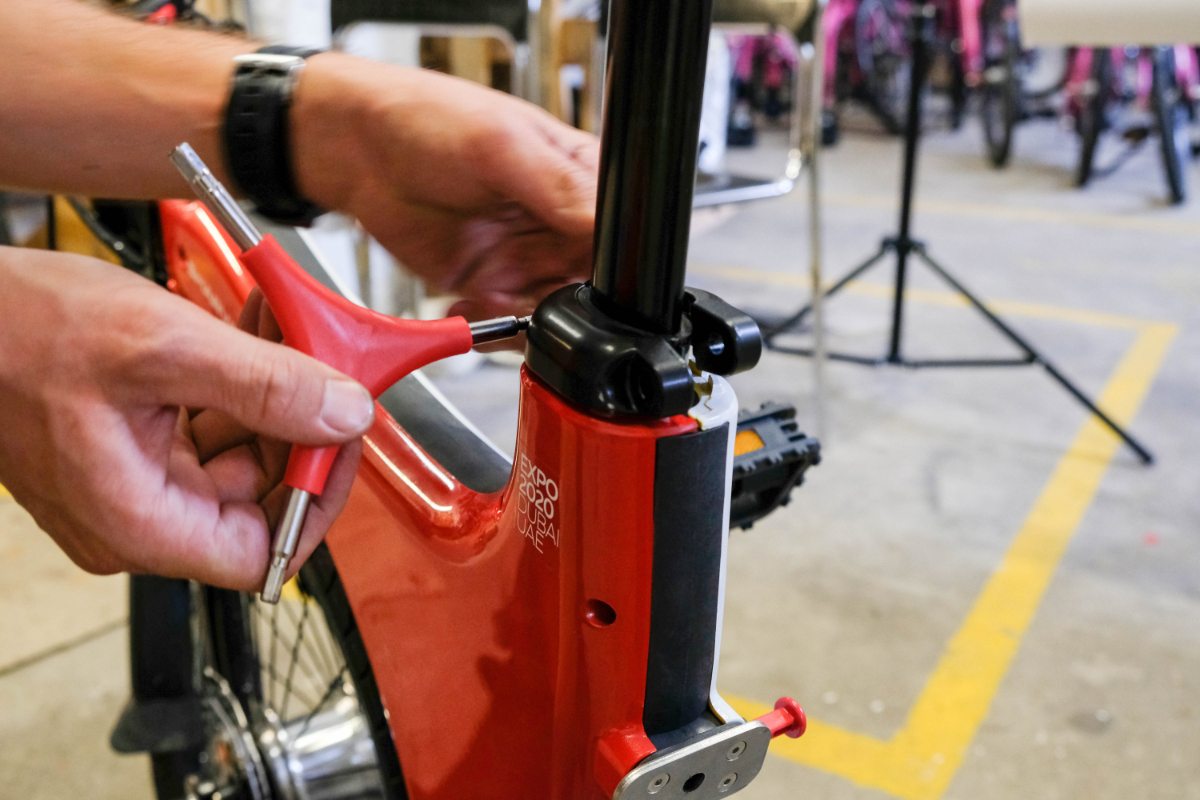
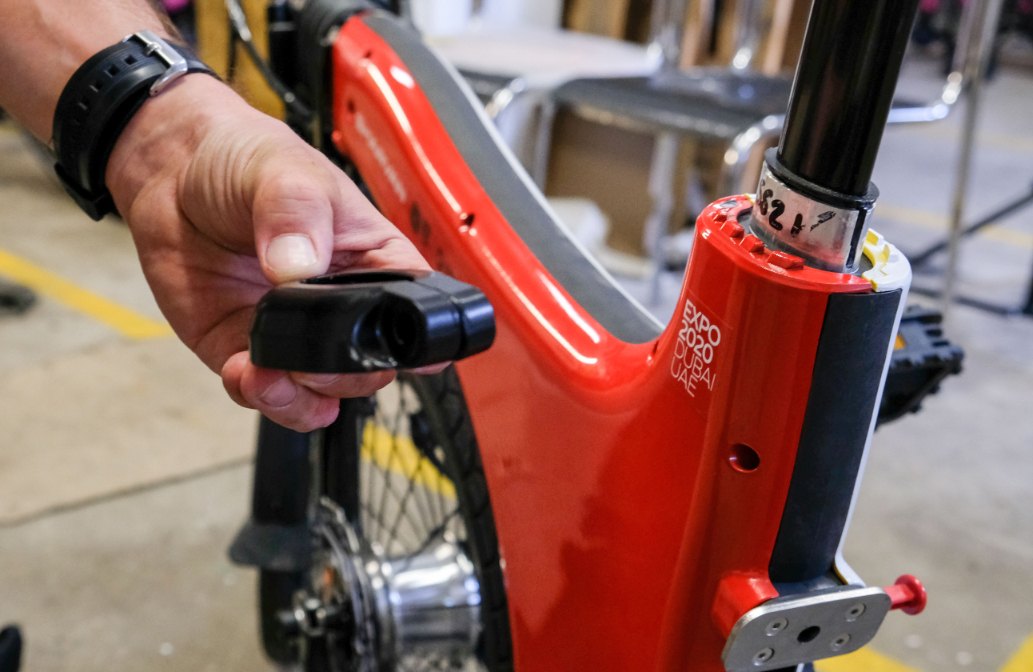
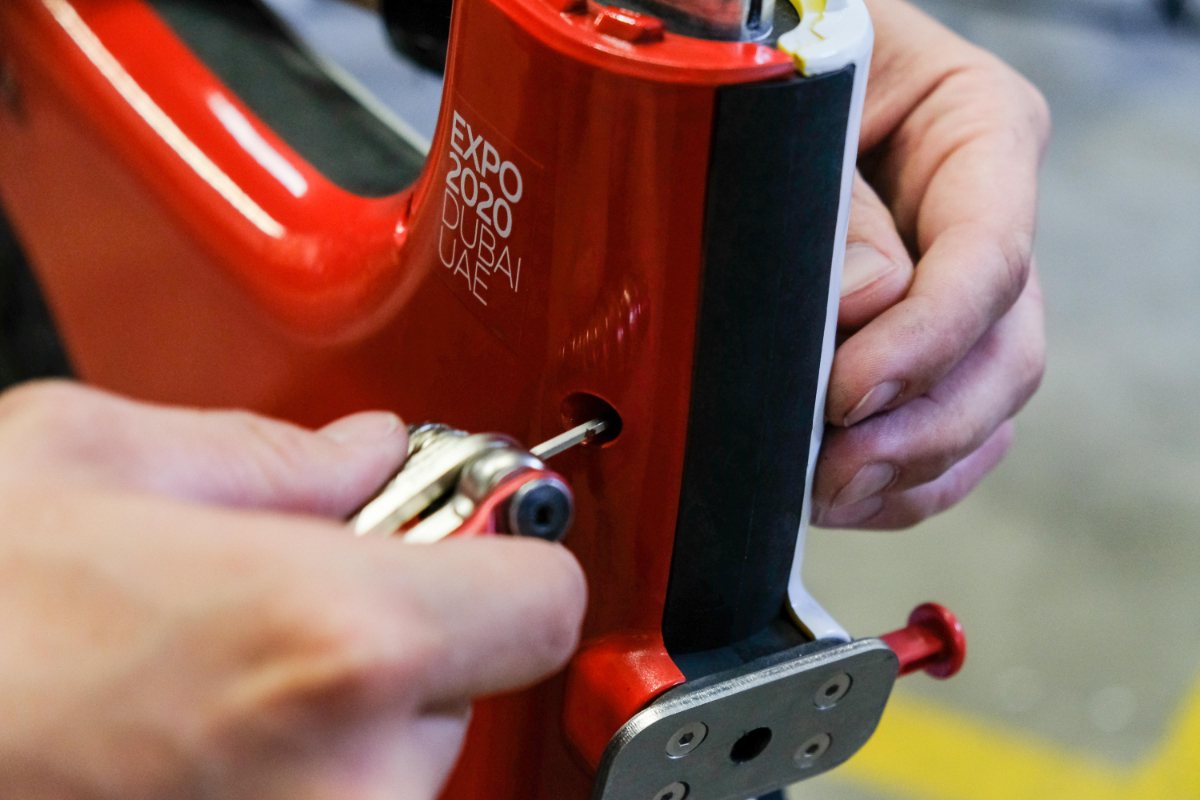
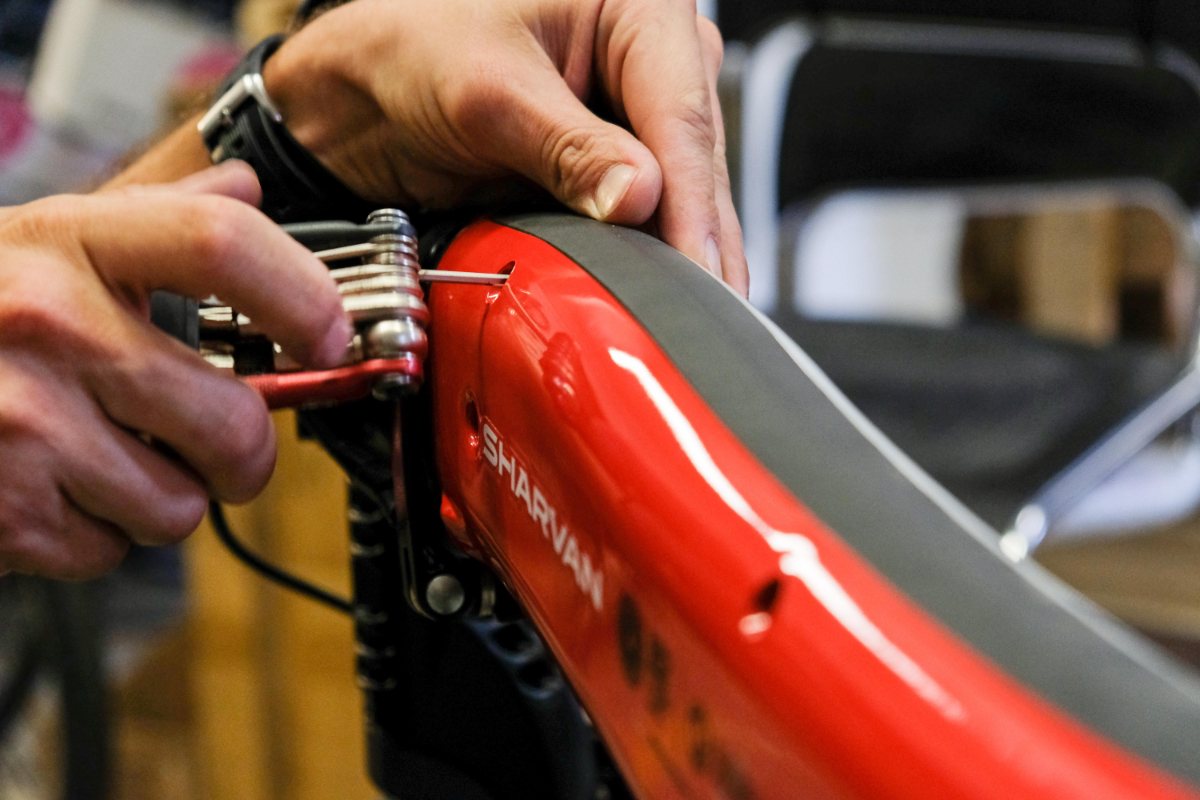
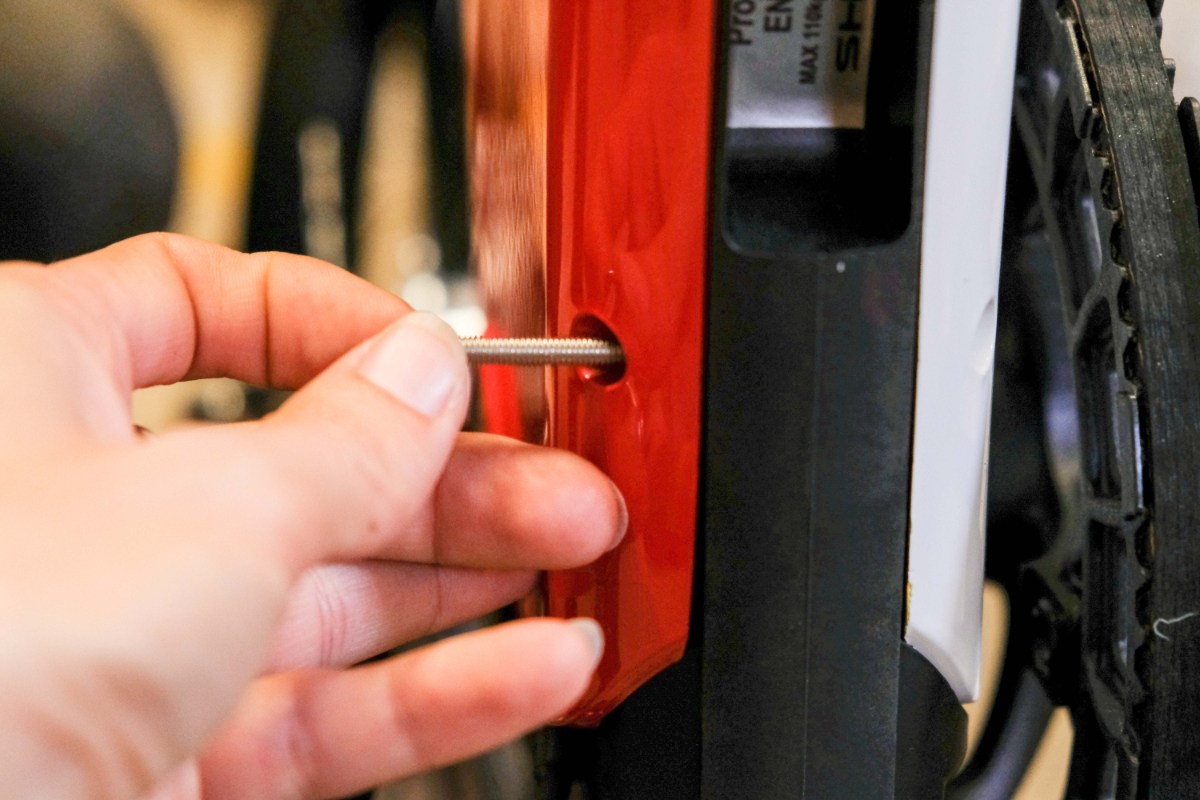
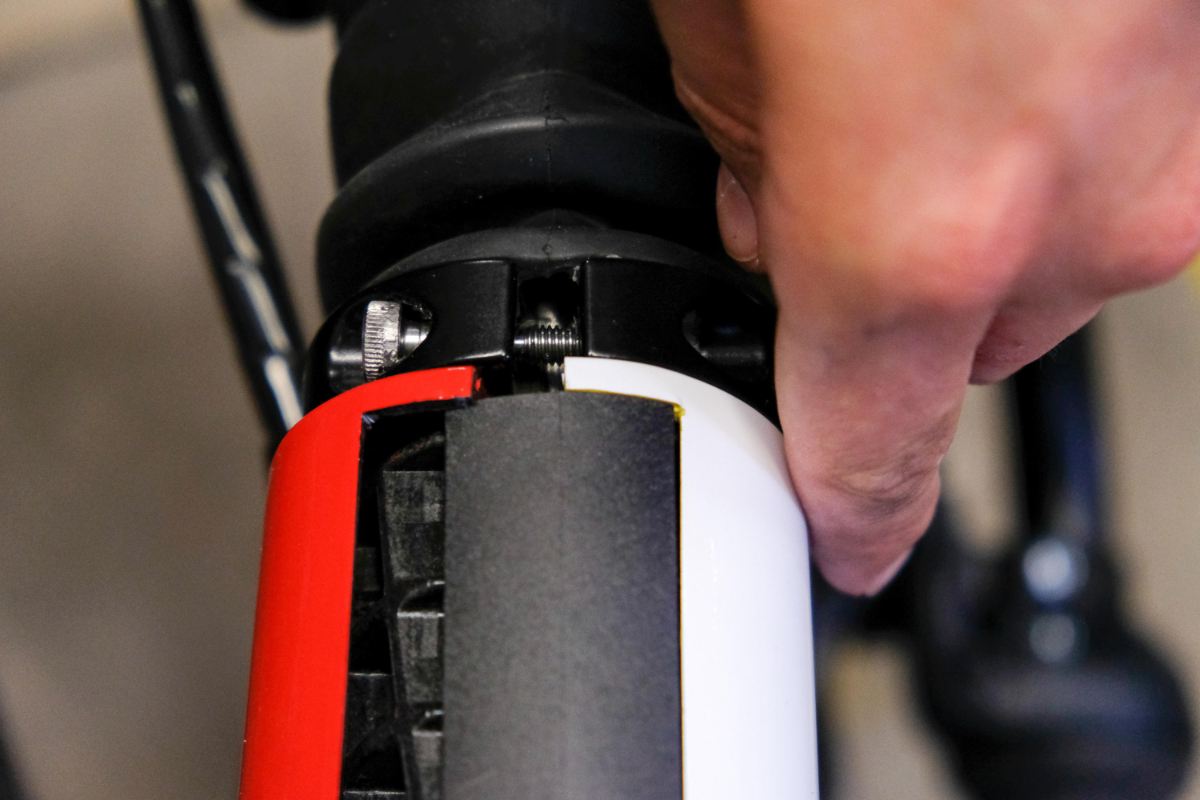
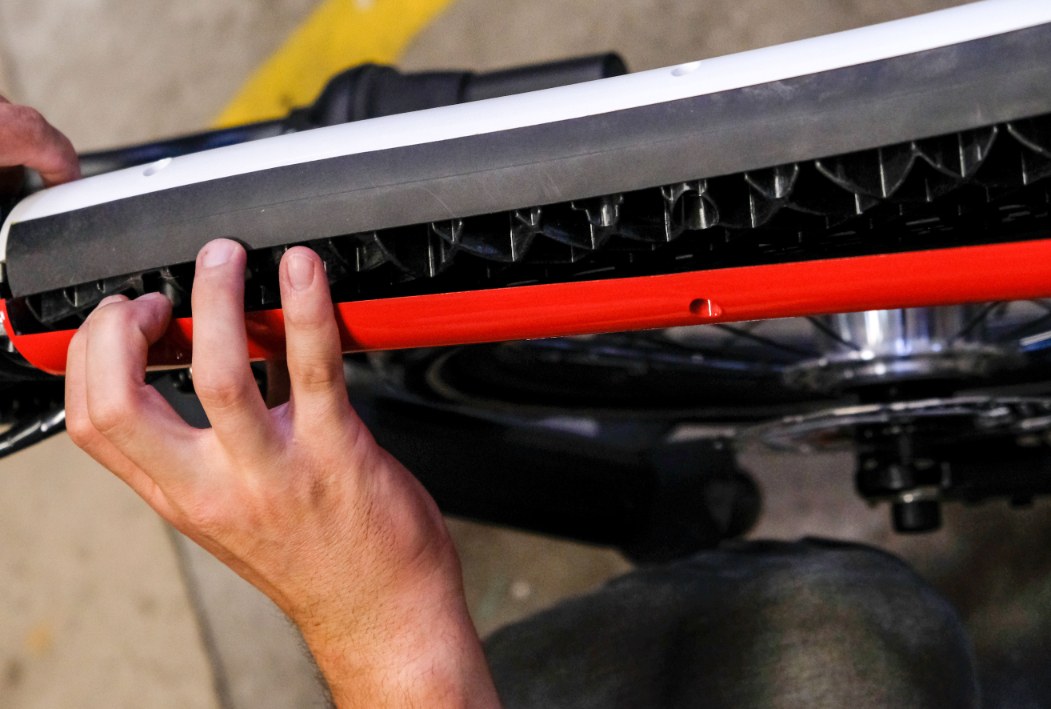
- Move the seatpost clamp upwards. Alternatively, loosen and pull the seatpost clamp upwards.
- Unscrew the 8 screws holding the side covers
- Remove the right and left side cover
Step 4 Removing the handlebars
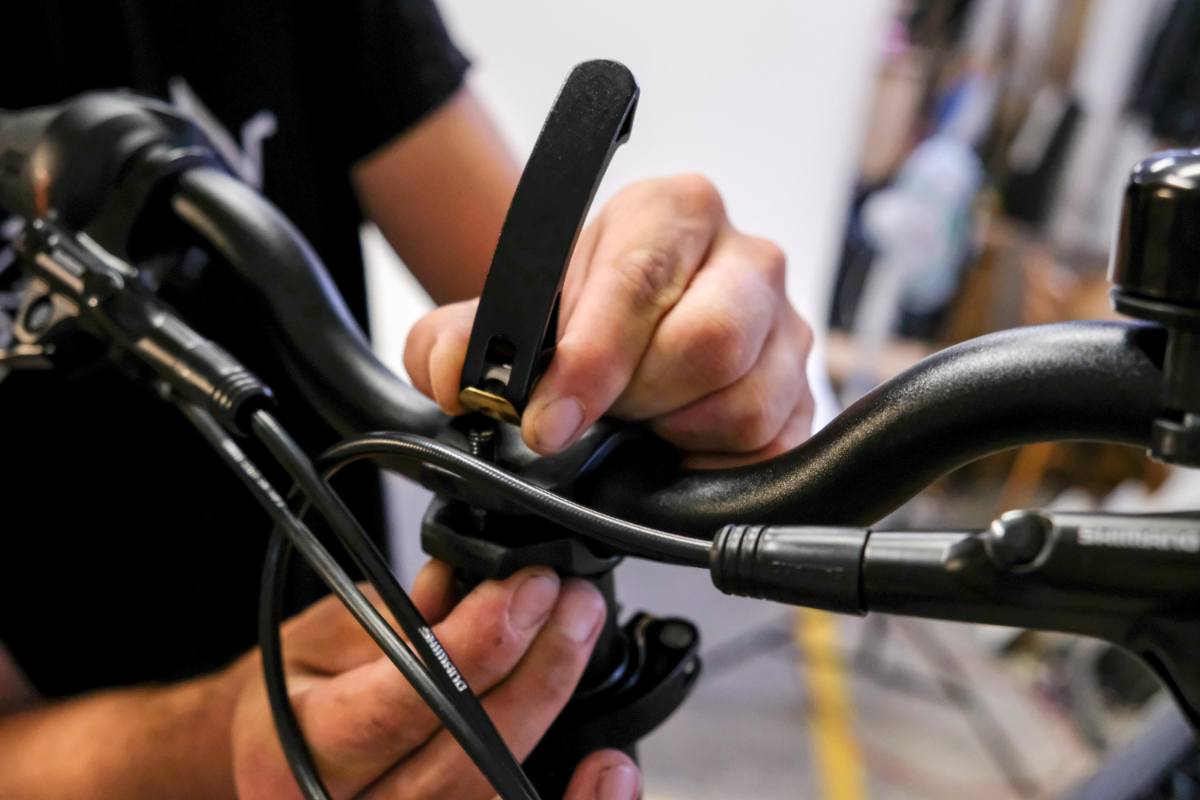
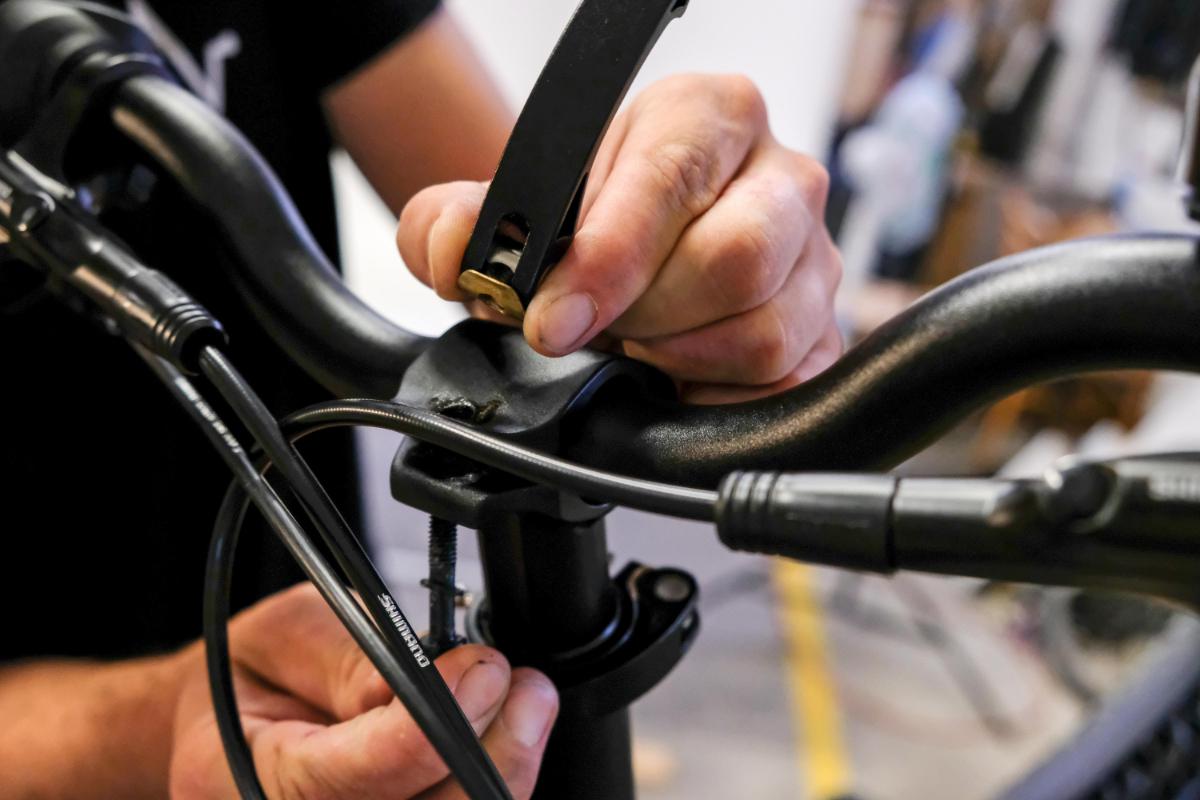
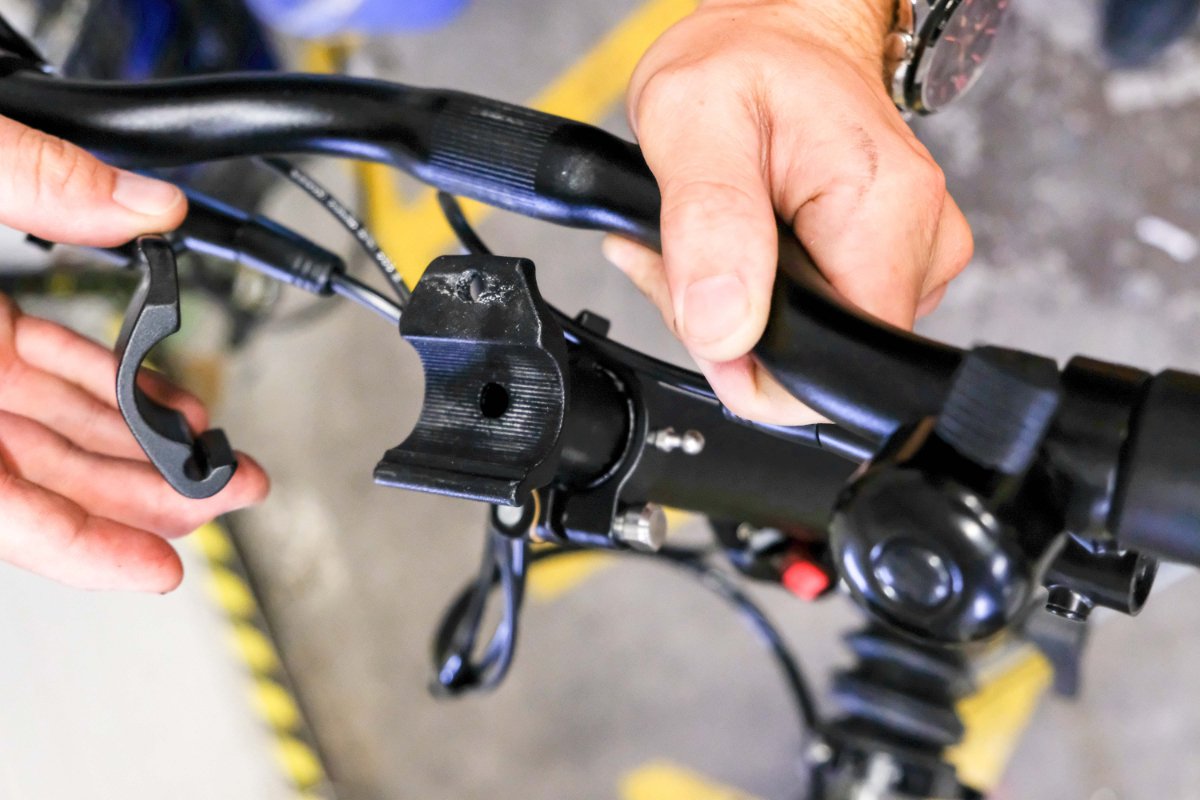
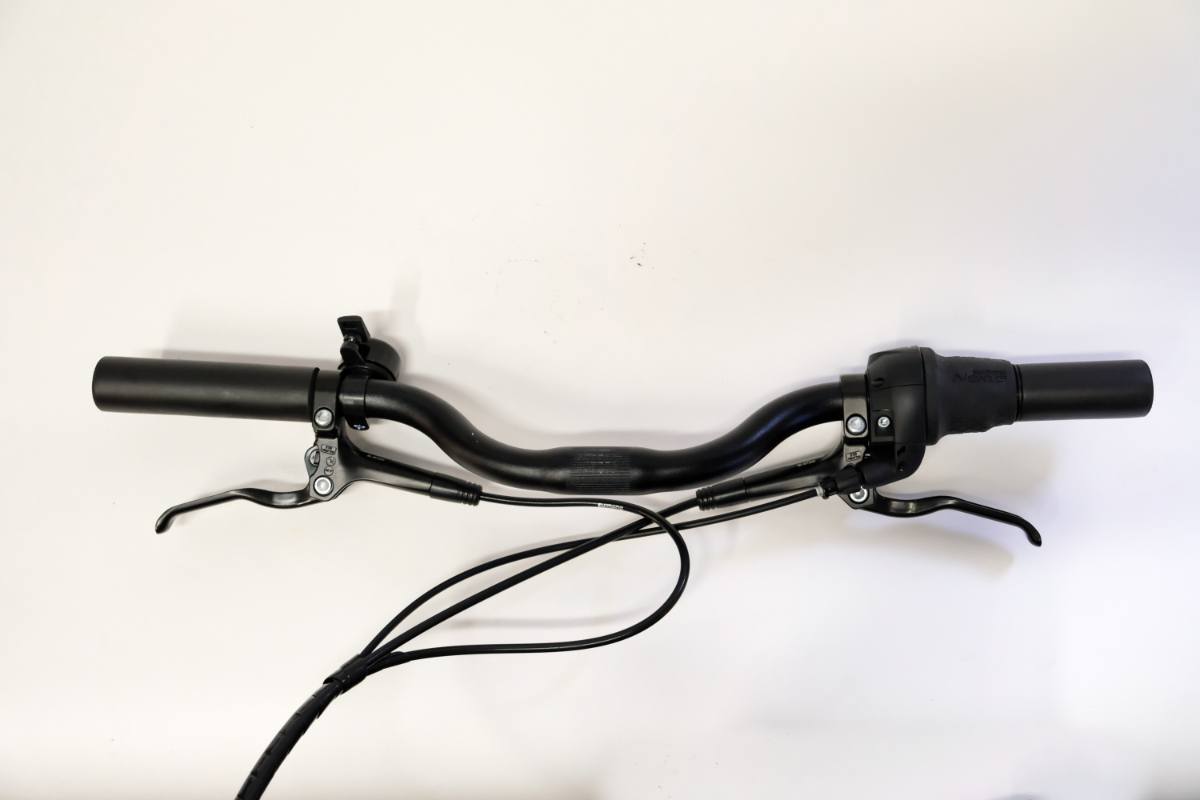
- Loosen the quick release pin, unscrew the screw
- Be aware that handlebars remains connected to the bike by the brake cables and shifter.
Step 5 Shifter
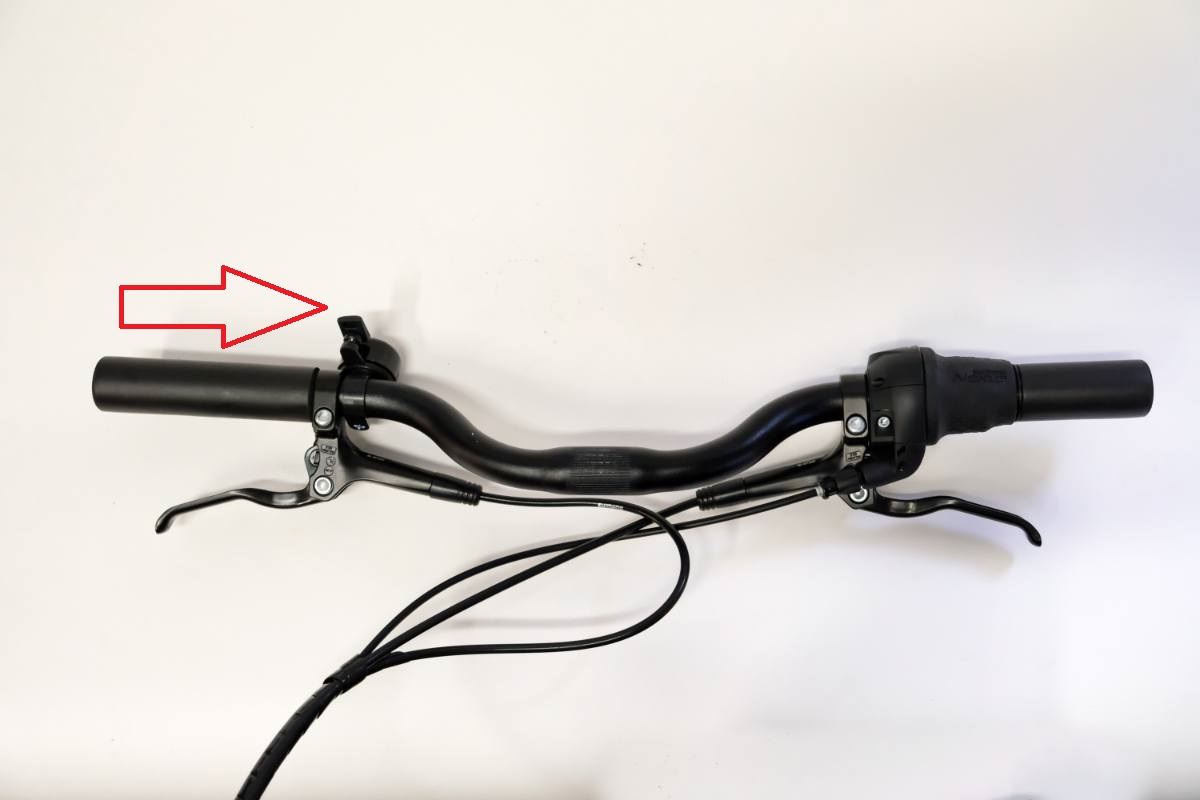
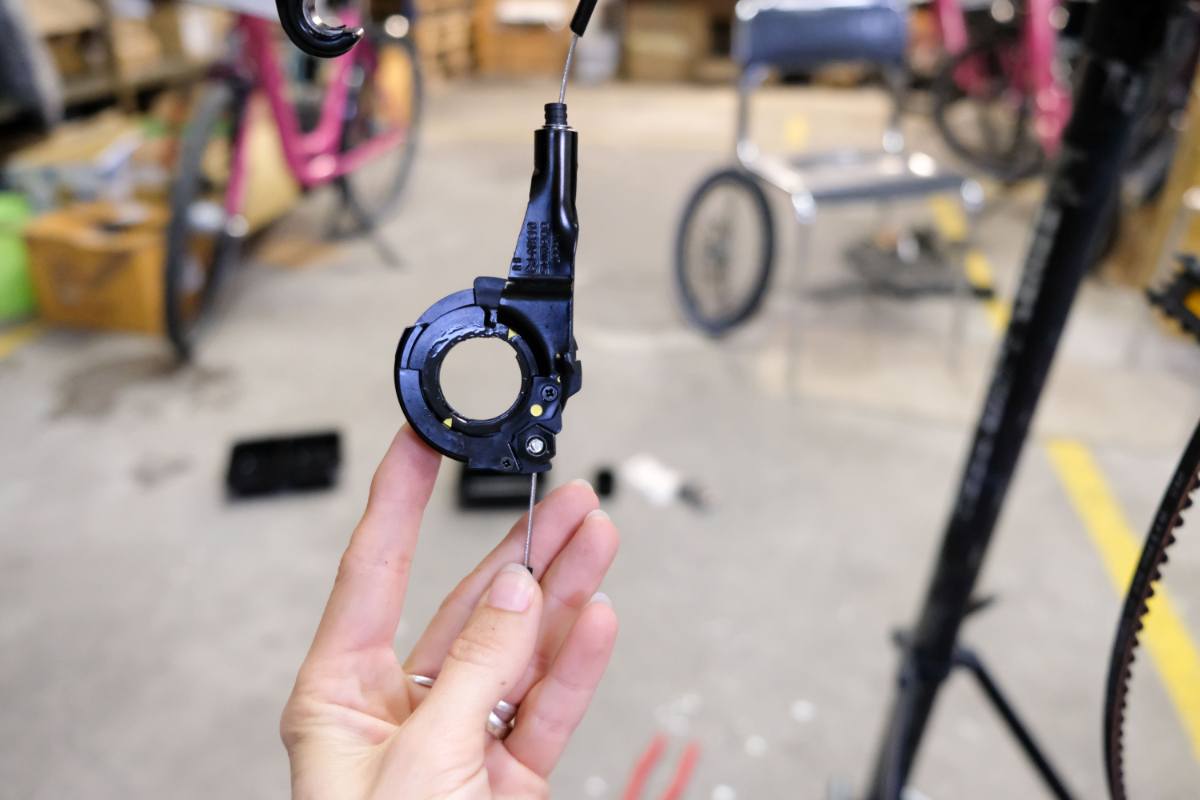
Shifter is on the handlebars and it is connected with rear wheel by a Bowden cable which is attached to the bicycle frame (it is visible after removing the side cover). It ends in a hub with a gearbox - Shimano Nexus 7.
Step 6 Rear wheel-hub
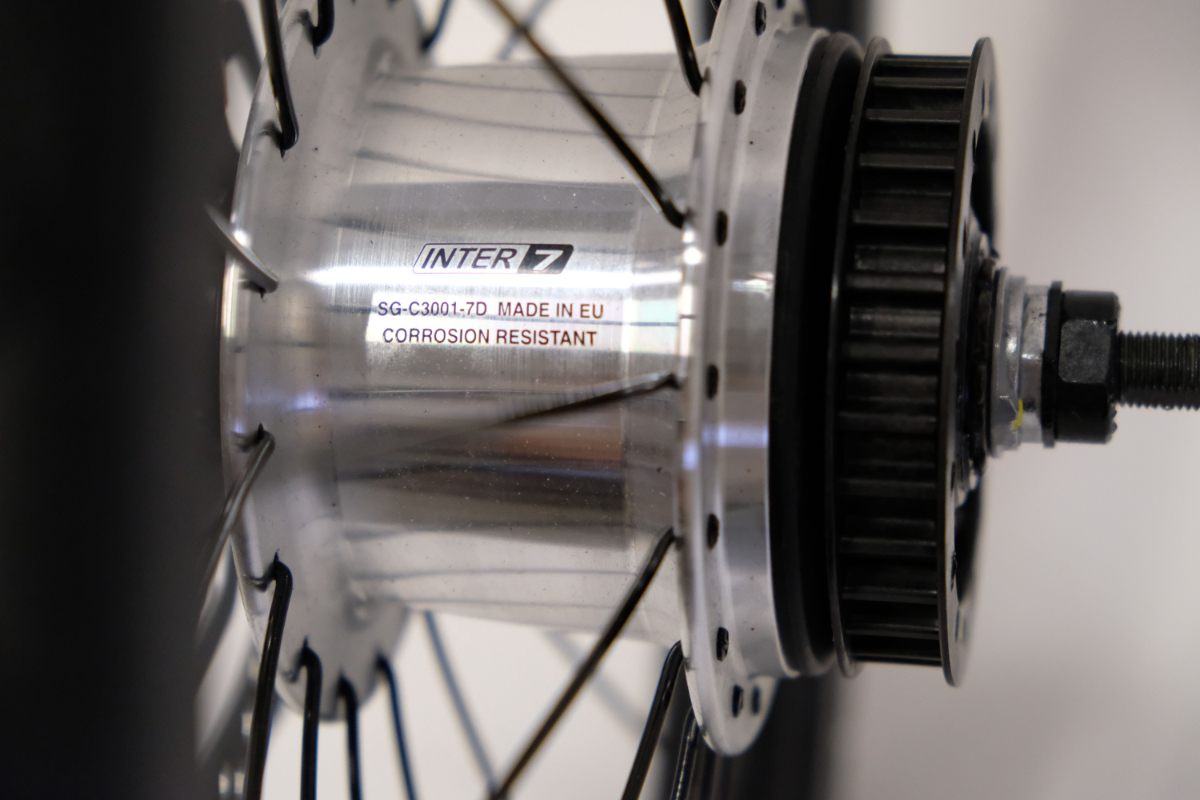
We recommend to entrust the replacement/service to professionals.
Step 7 Brakes
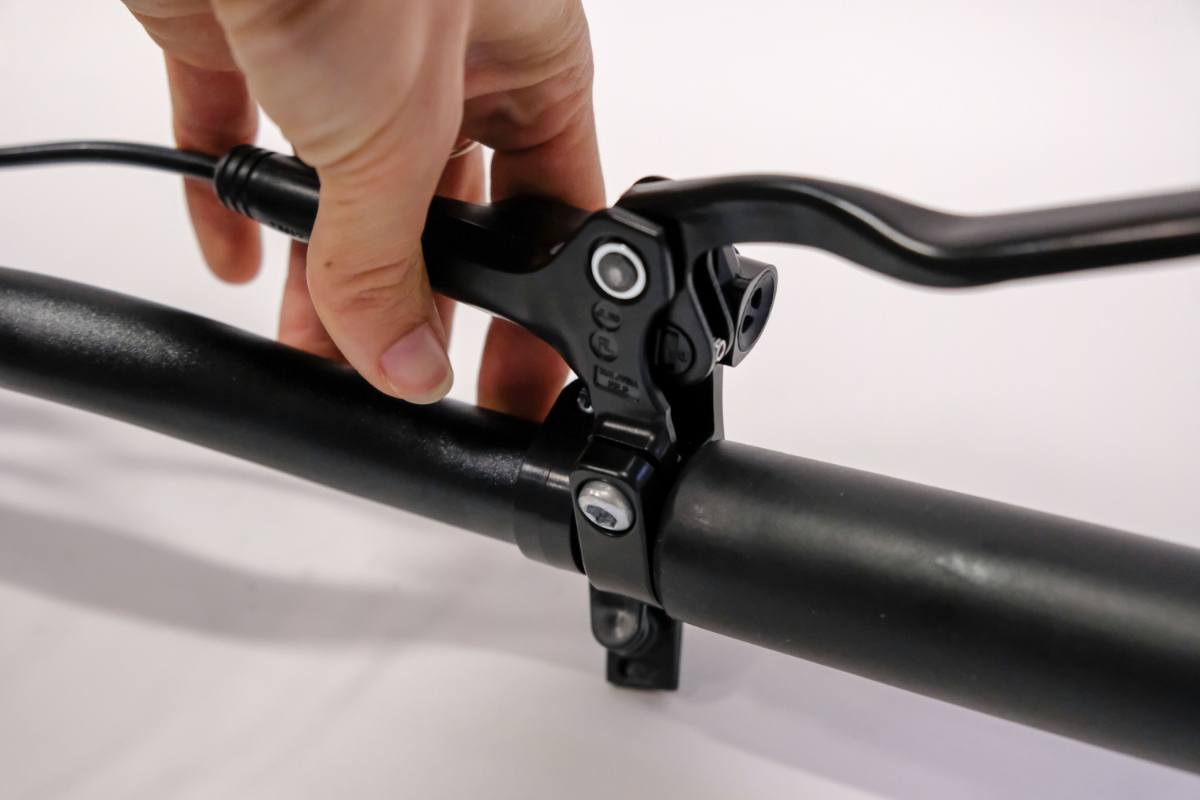
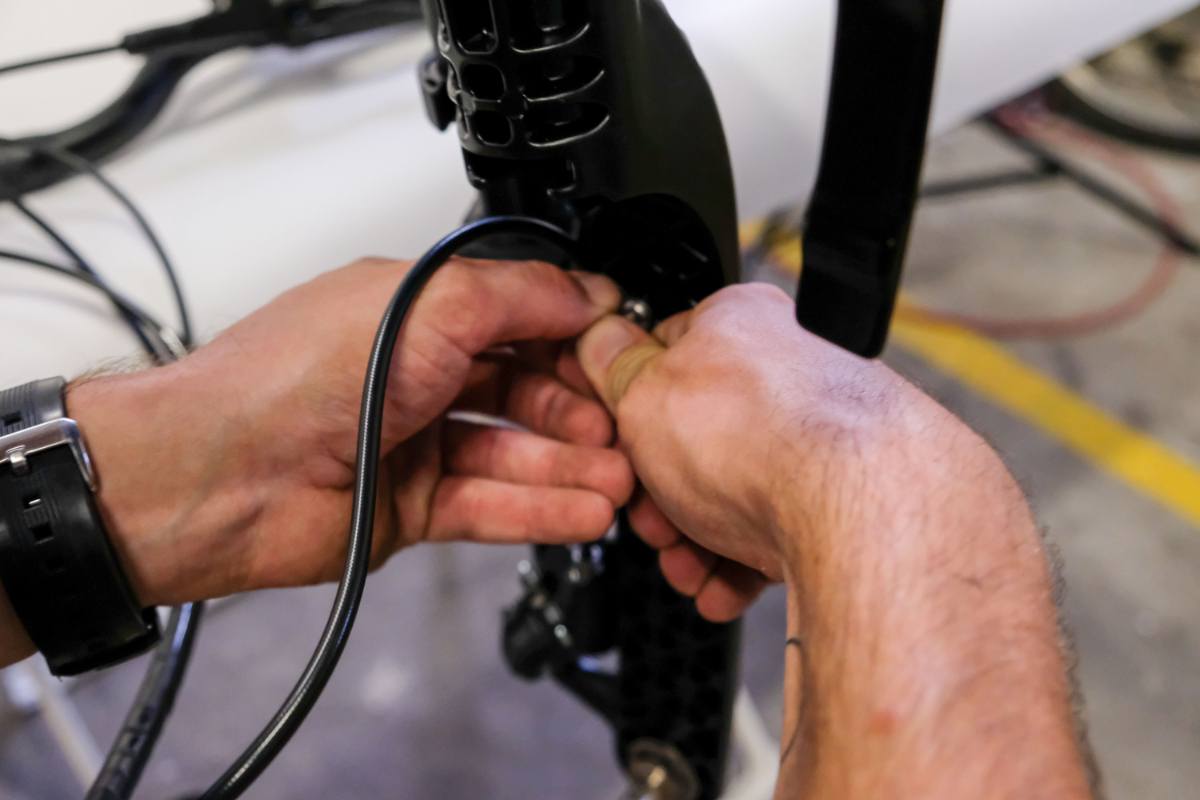
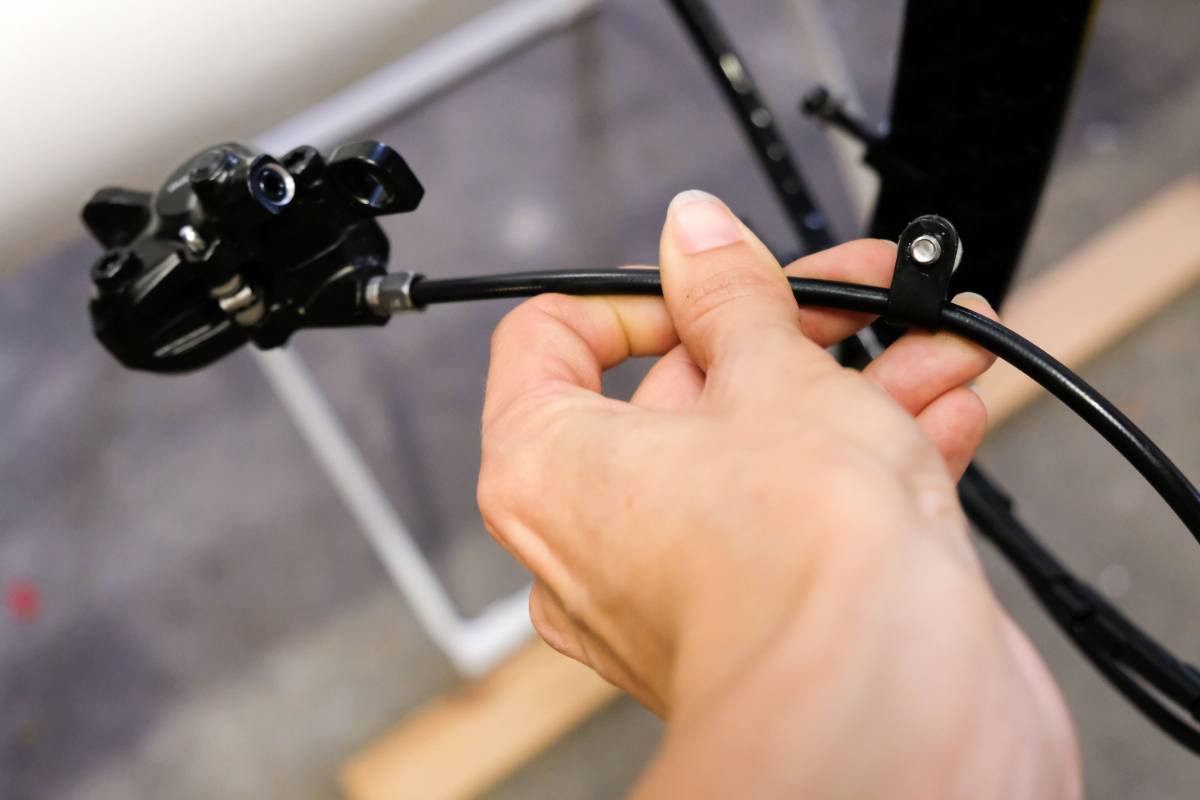
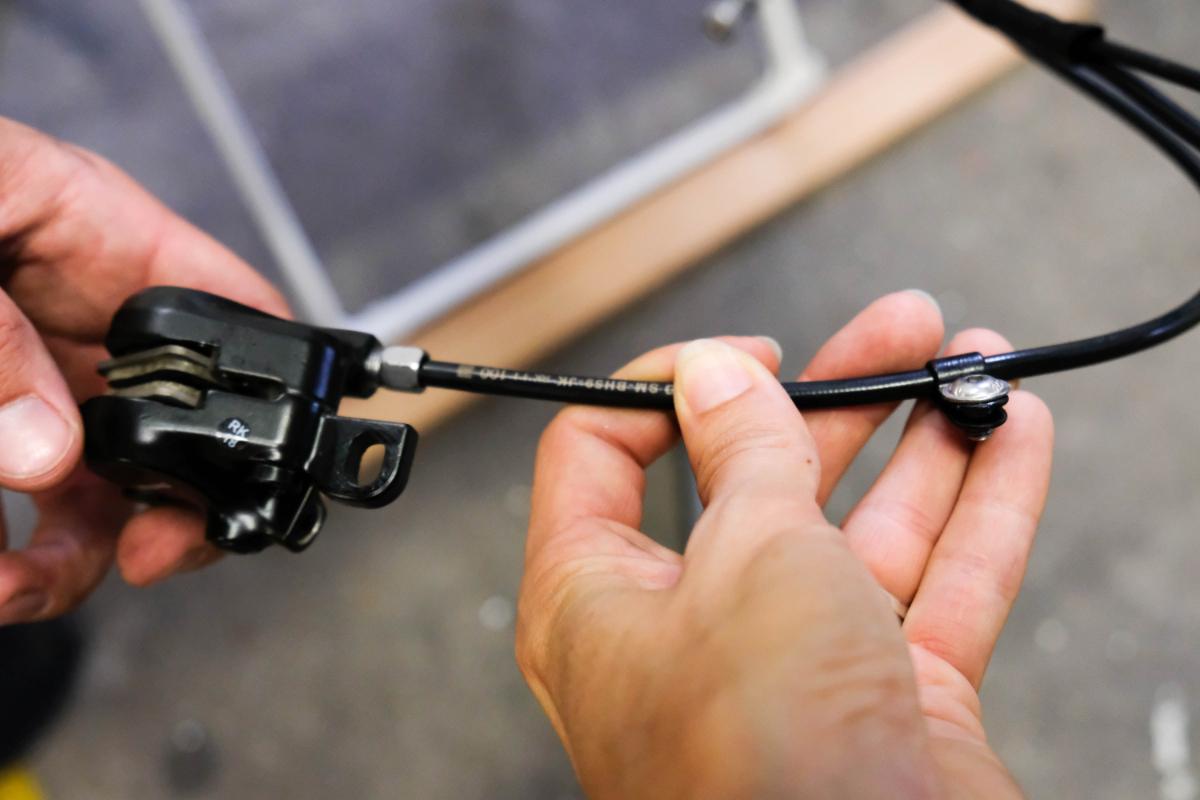
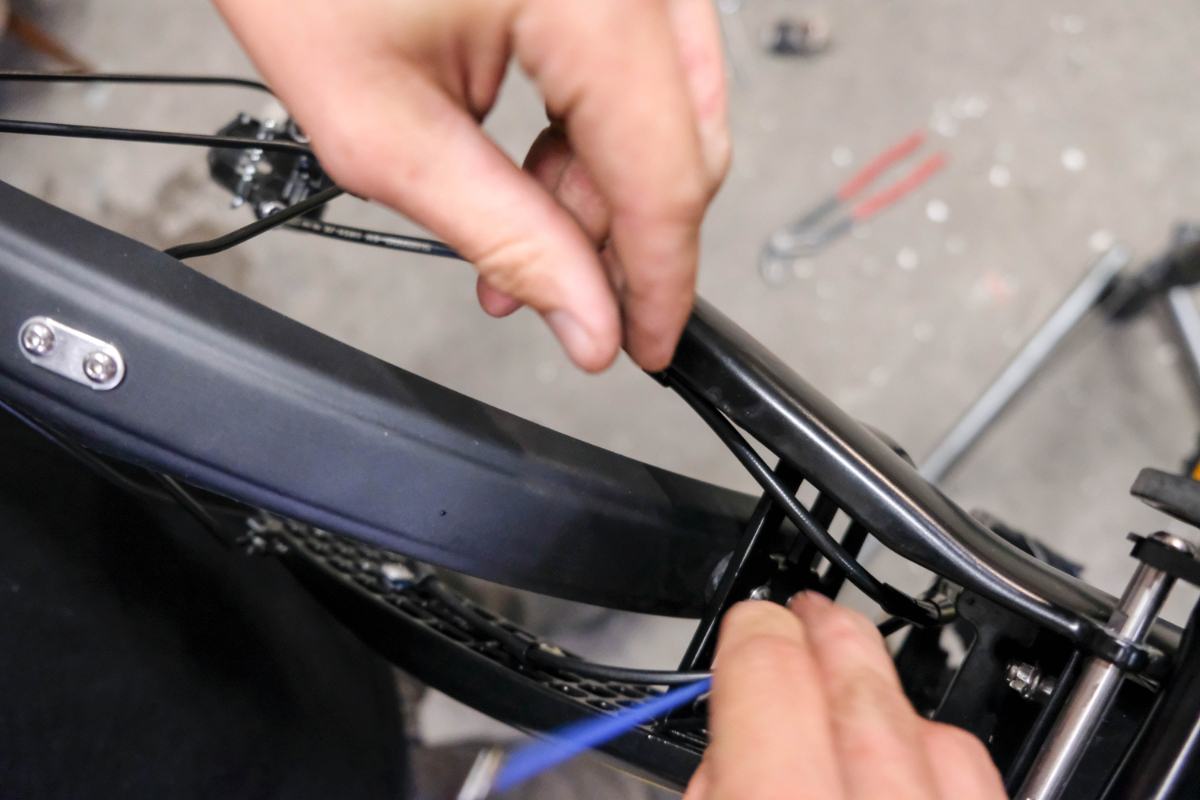
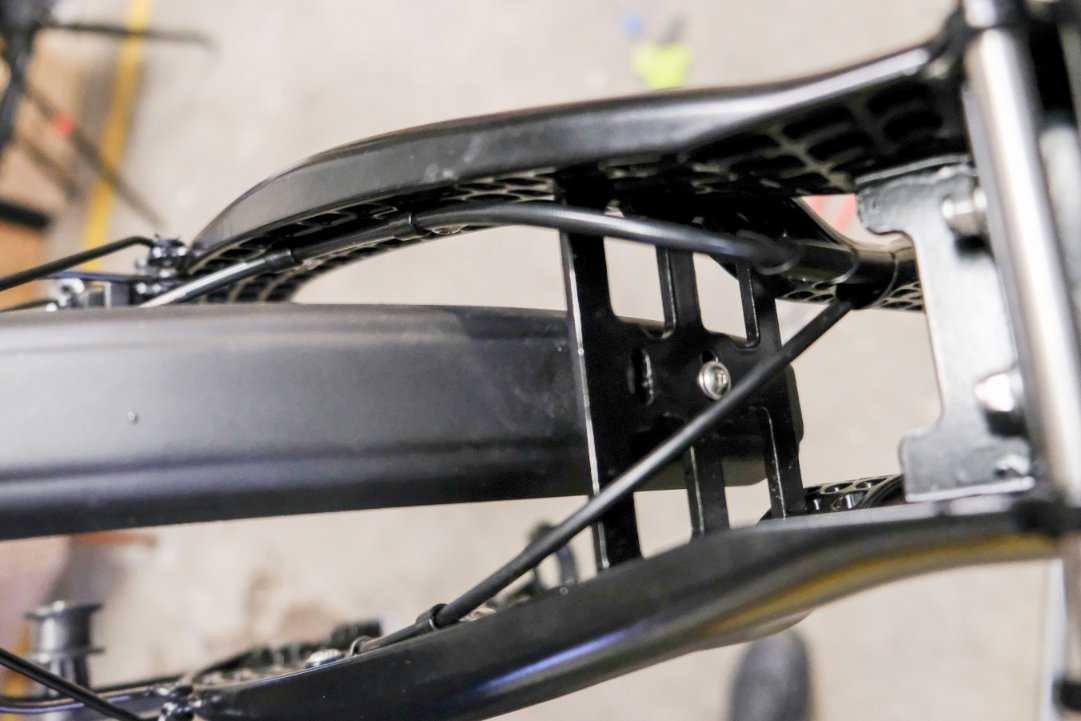
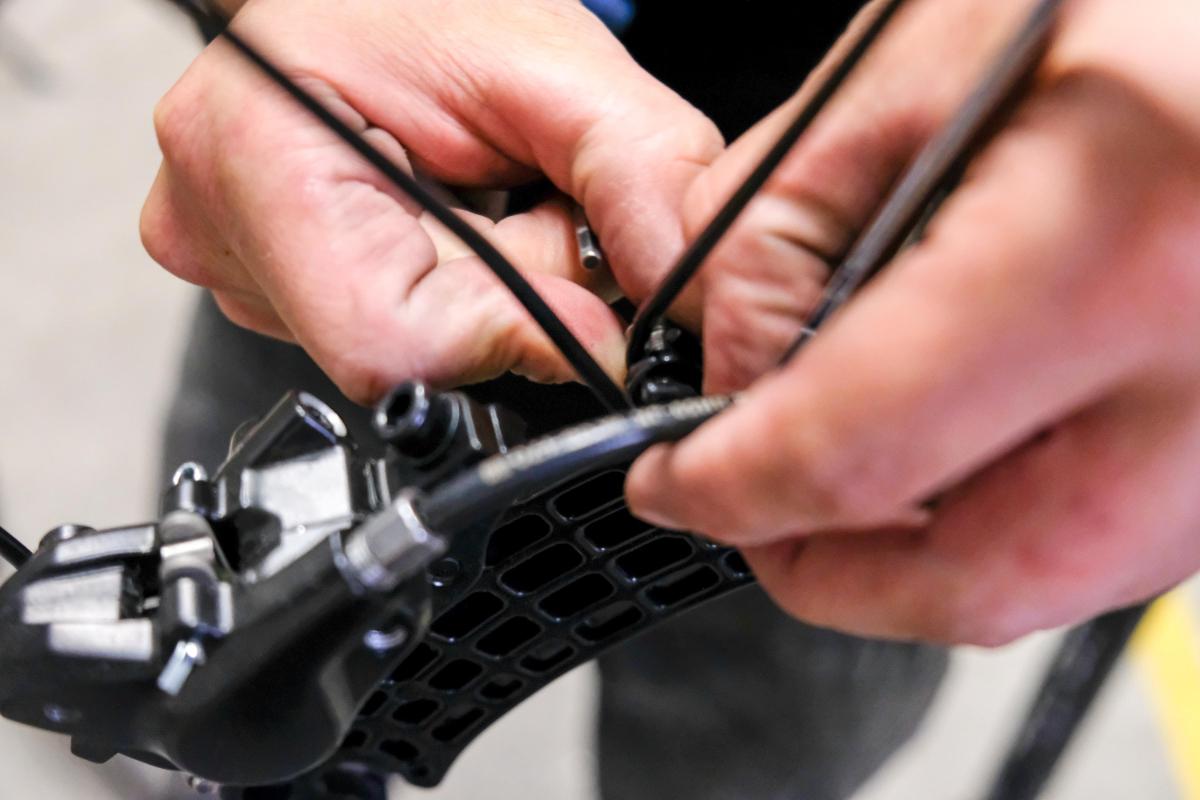
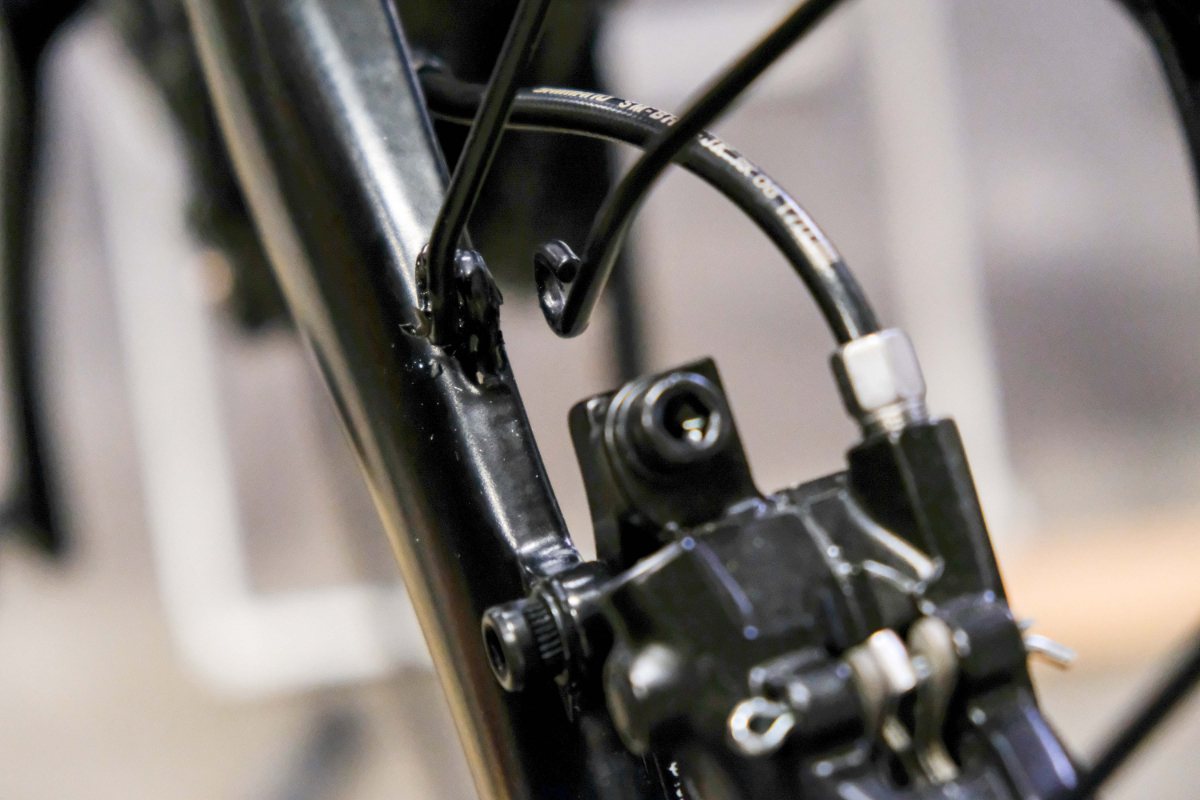
The brake levers continue through the brake cable, which is attached together with the shifting bowden in the bike's basic frame (the grooves are visible after removing the side cover). One brake cable goes to the front wheel caliper and the other to the rear wheel caliper. For safety reasons, we recommend to entrust the brake replacement to professionals.
Step 9 Cables inside a bike frame
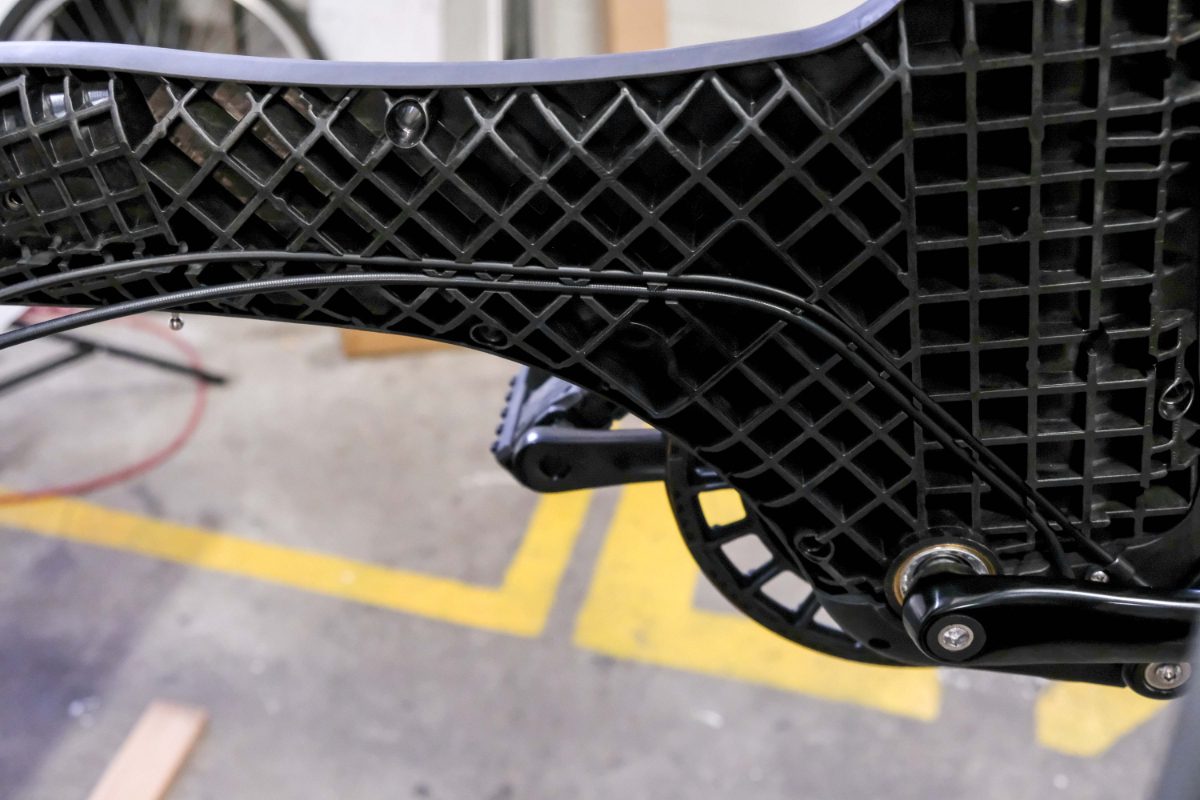
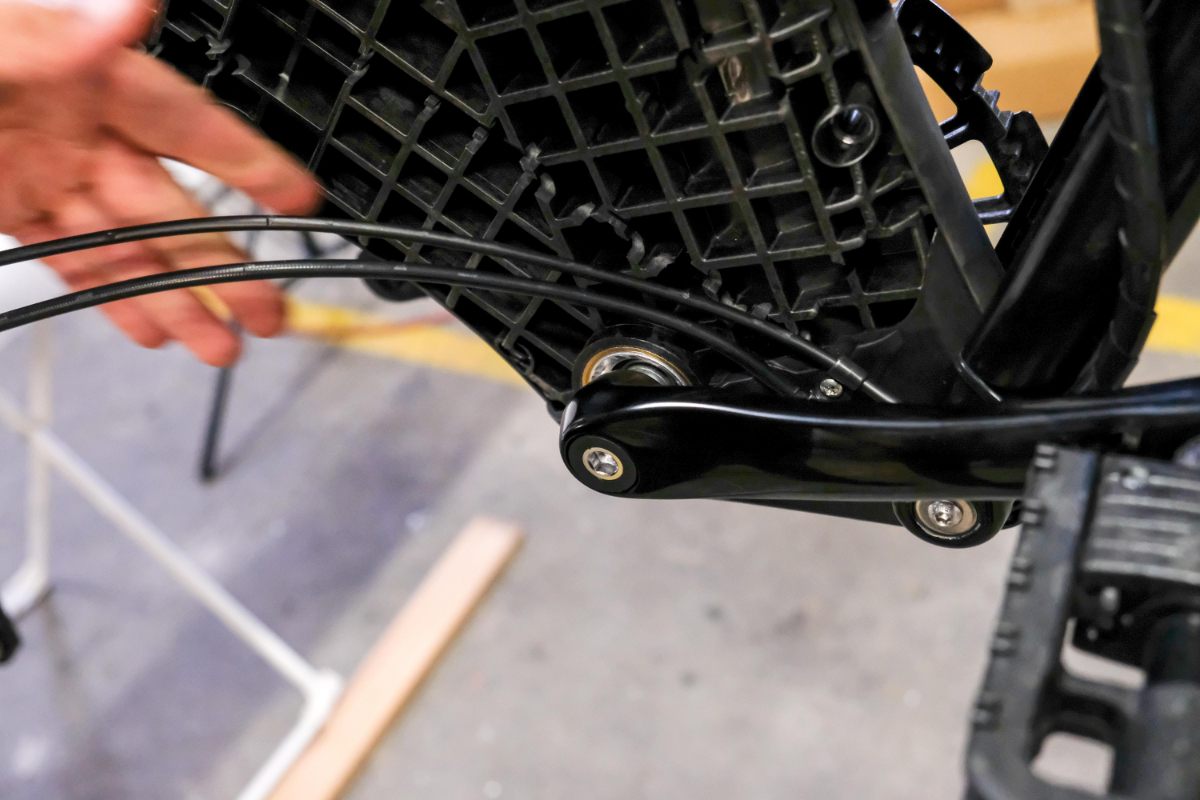
- When installing the covers, the cables needs to be reinserted into the grooves on the frame
Step 11 Releasing/Removing the steering rod and front fork
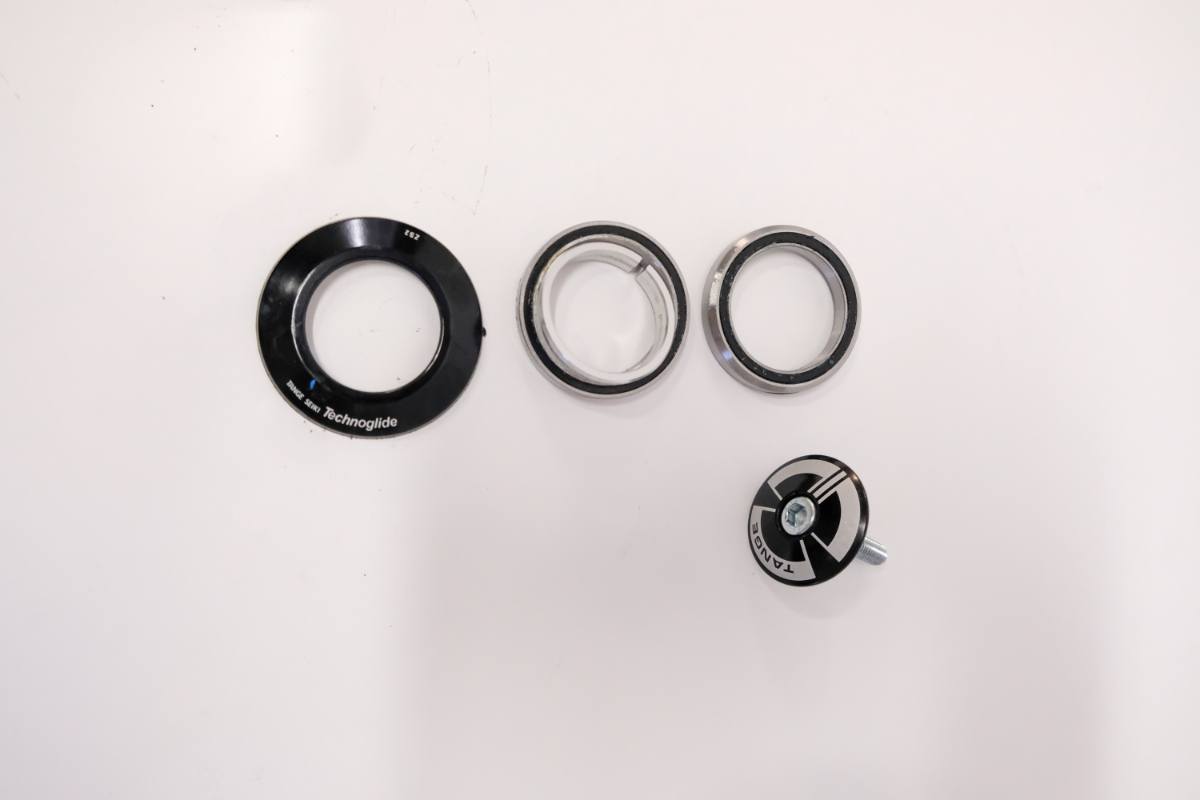
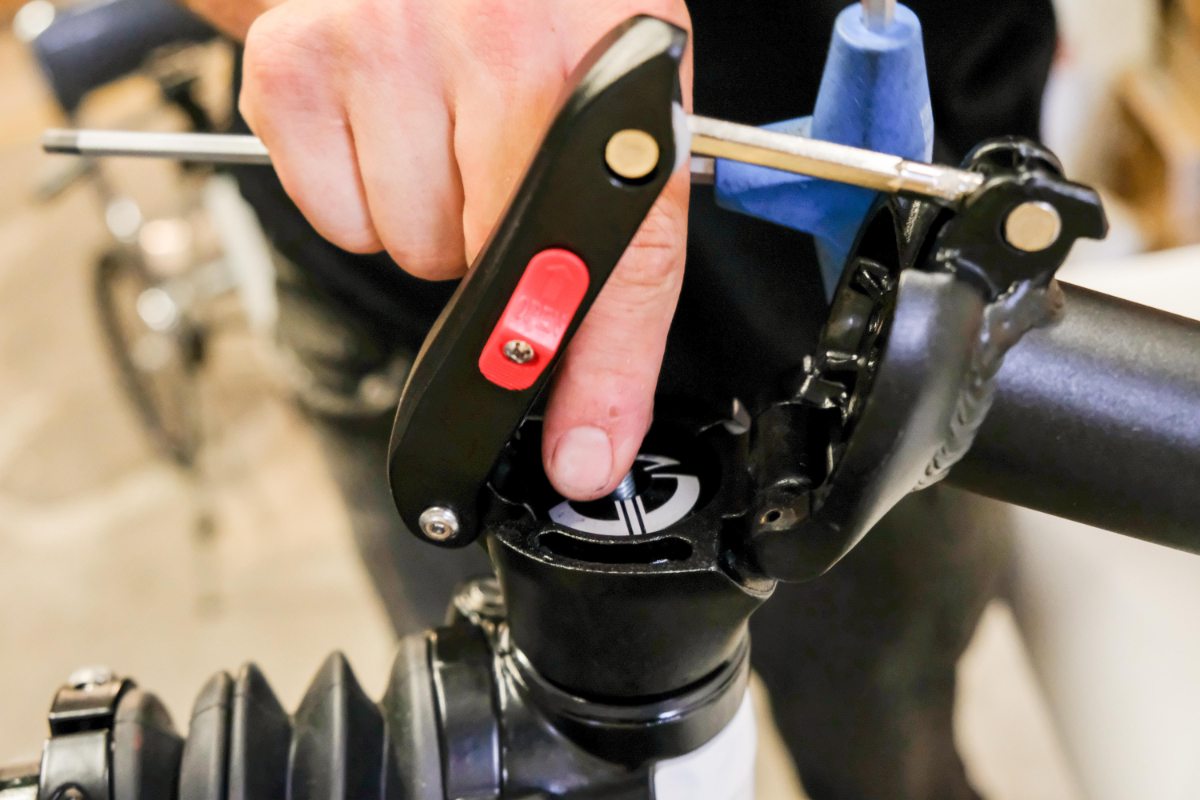
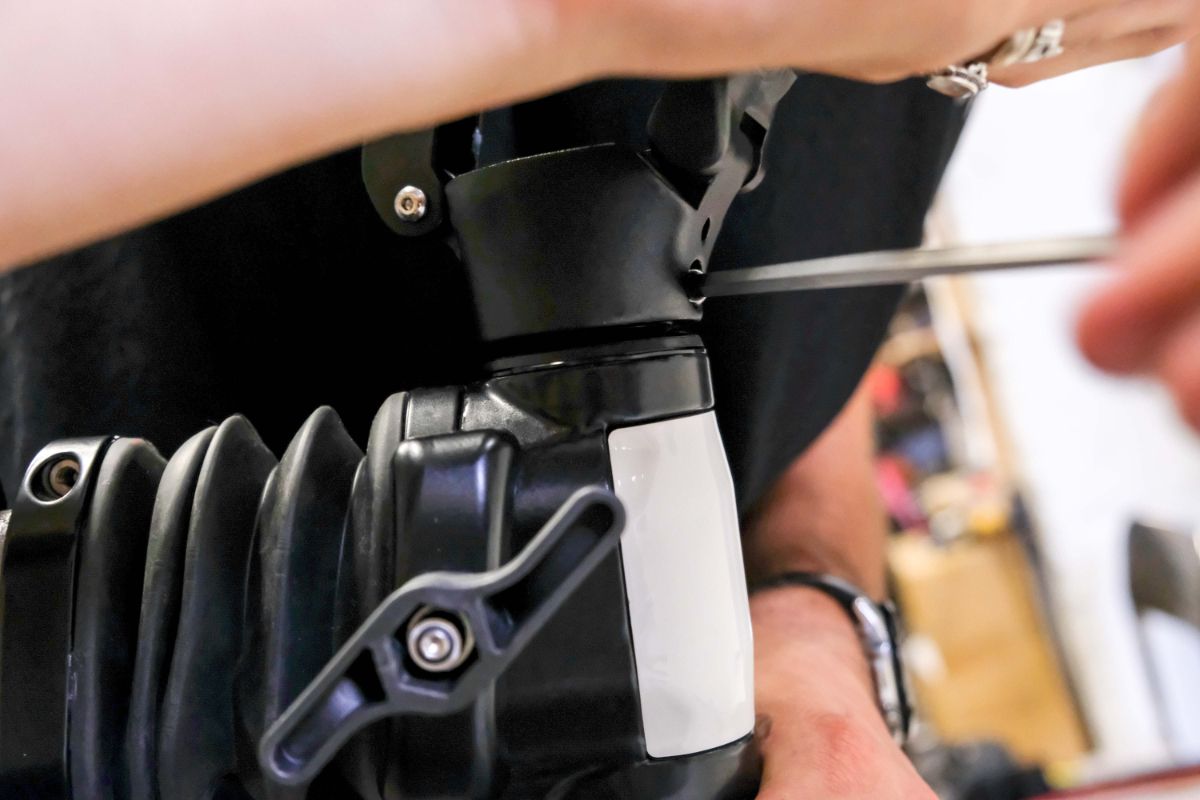
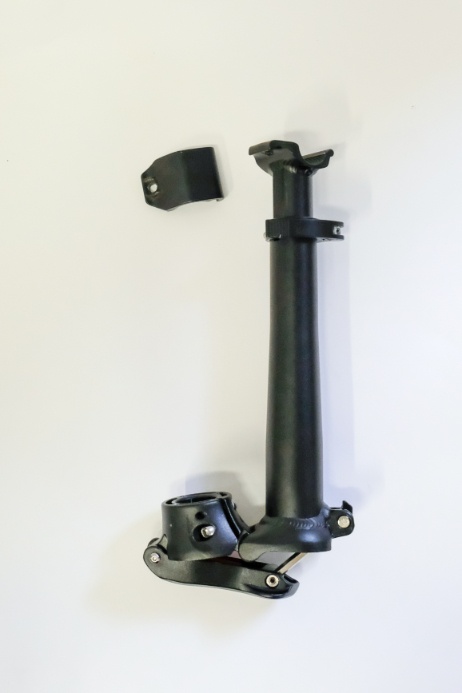
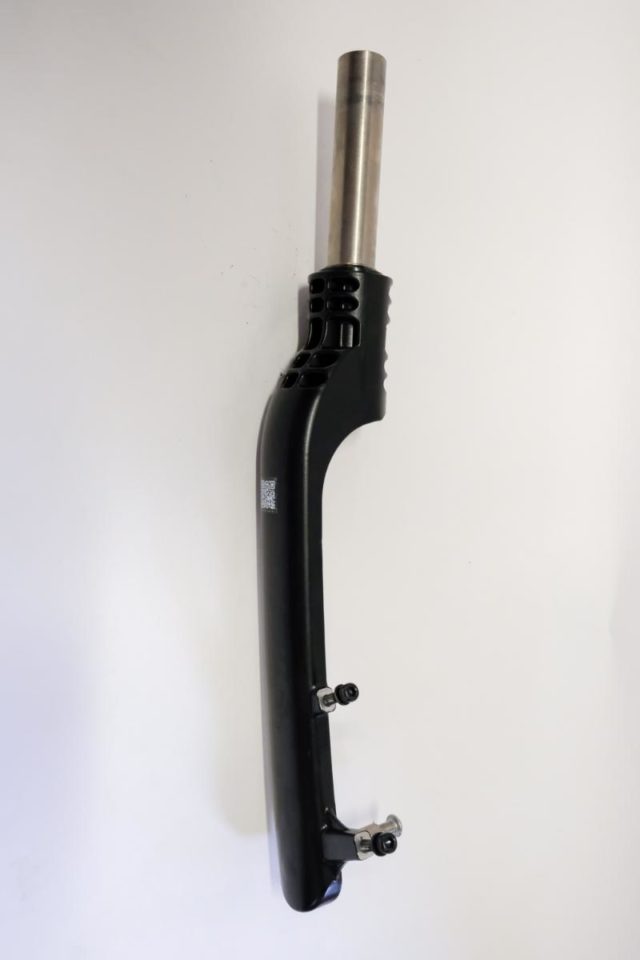
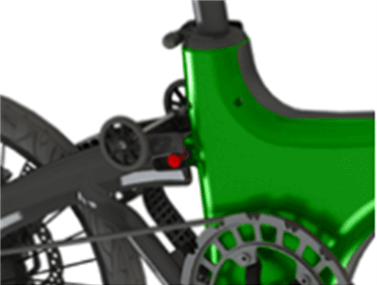
- The steering rod contains a locking mechanism. Loosen the joint with the red lever and unscrew the exposed bolt. Caution! When reassembling, do not overtorque - this bolt puts pressure on the head assembly bearings and may damage them. The same care is required when tightening the fork hedge. Basic knowledge of bicycle maintenance is required.
- Loosen the bolts
- Front steering rod and front fork
Step 12 Removing the front fork joint with the locking mechanism
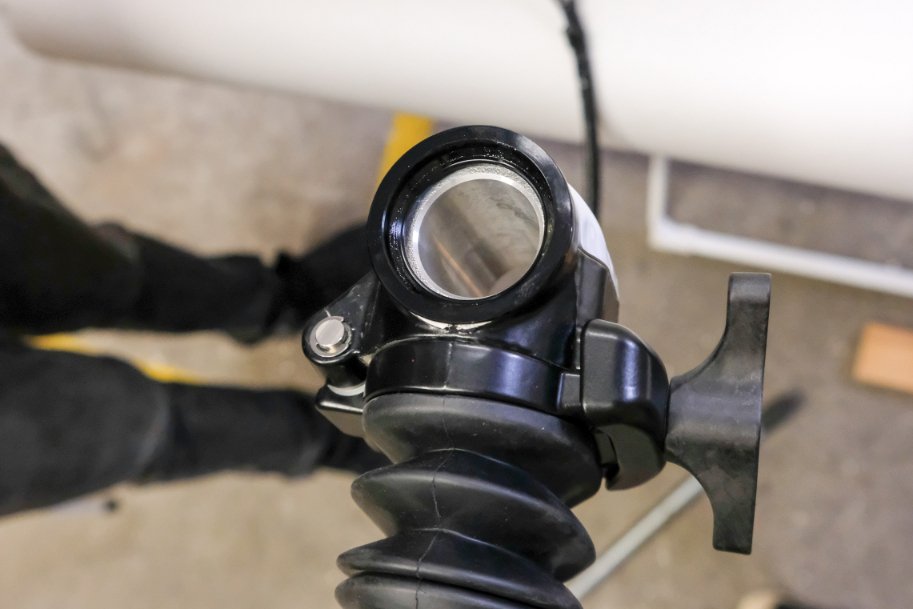
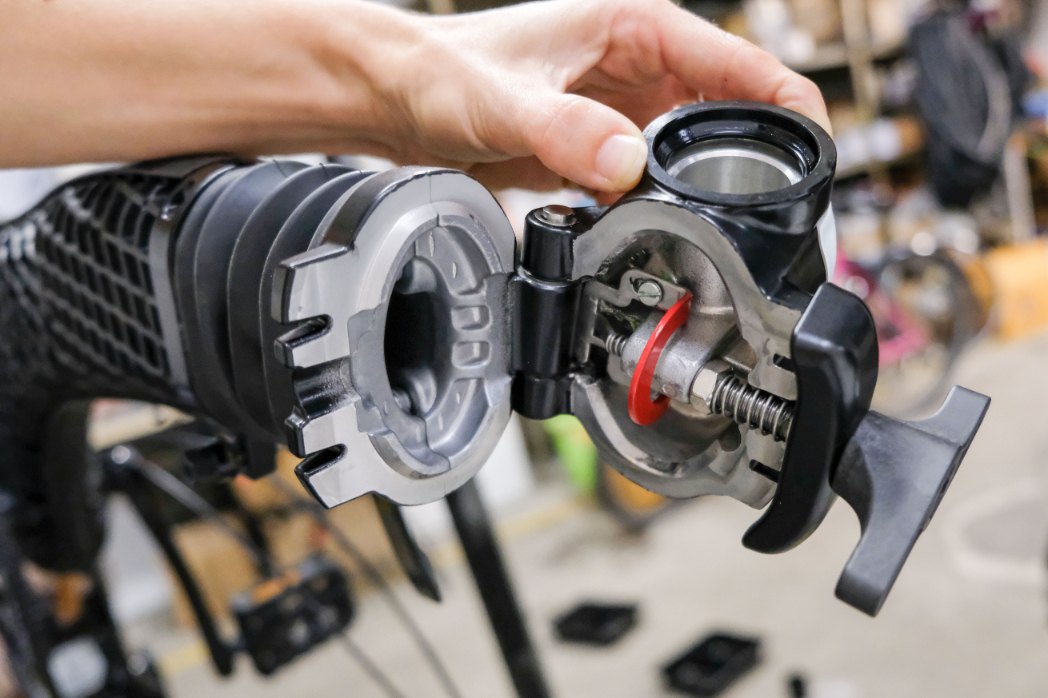
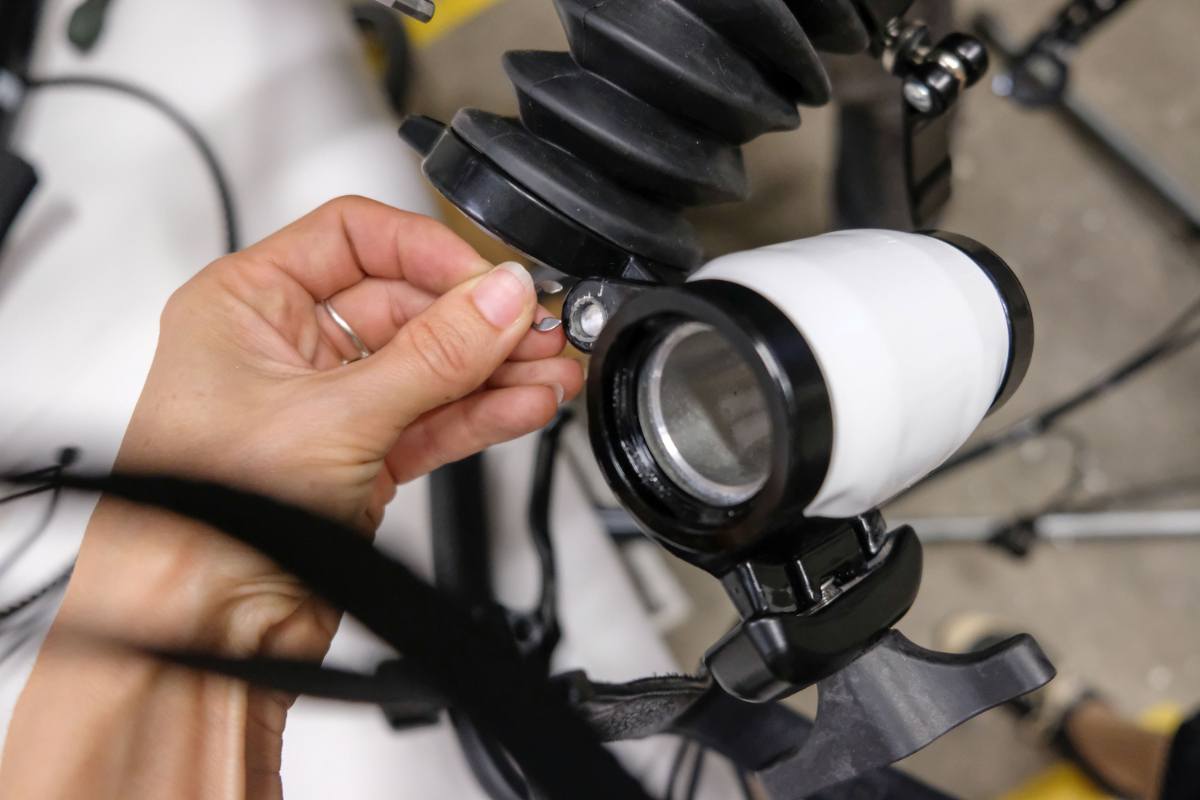
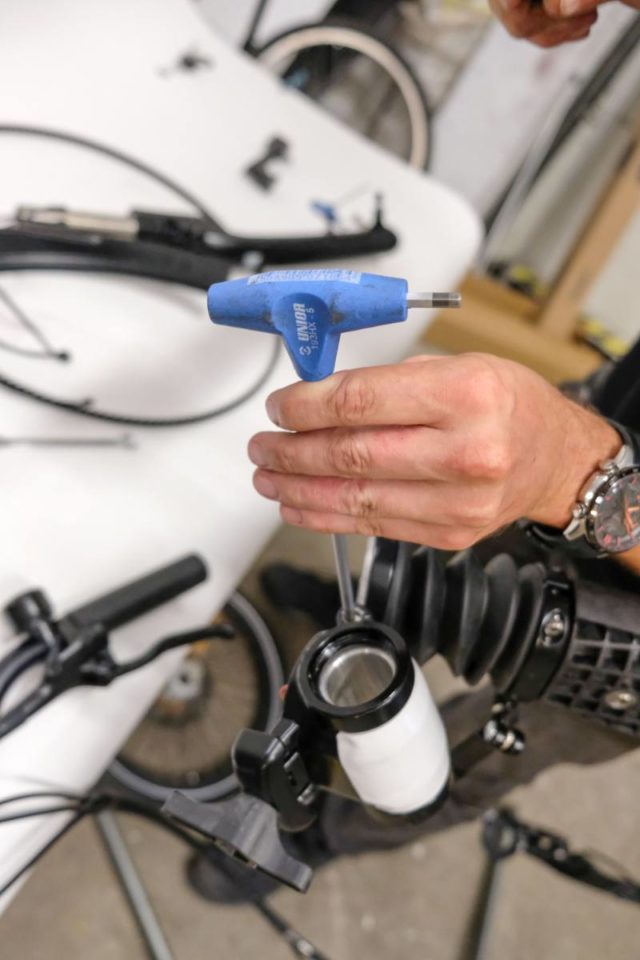
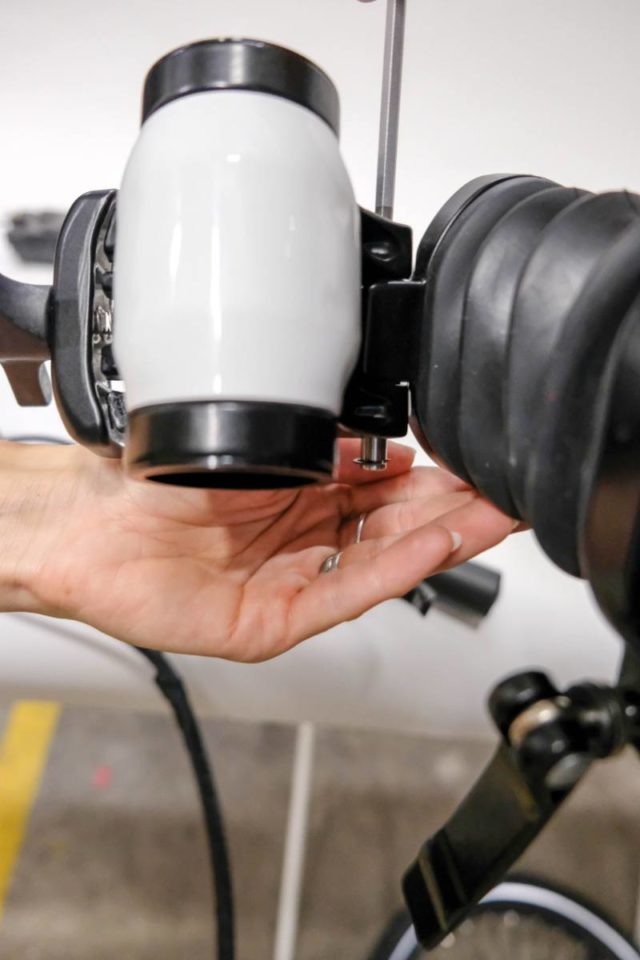
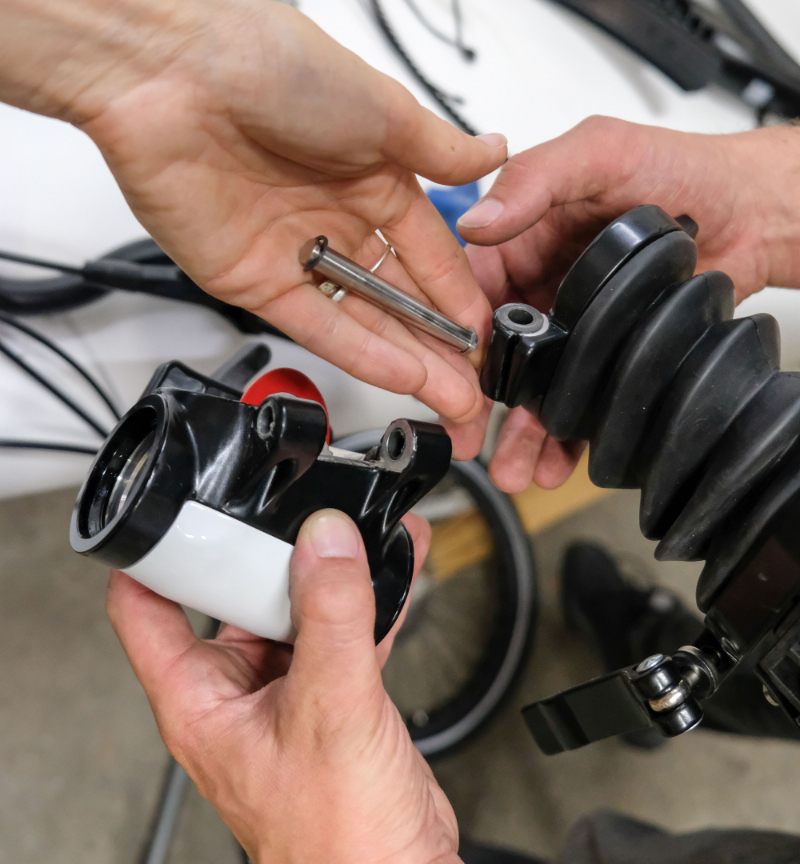
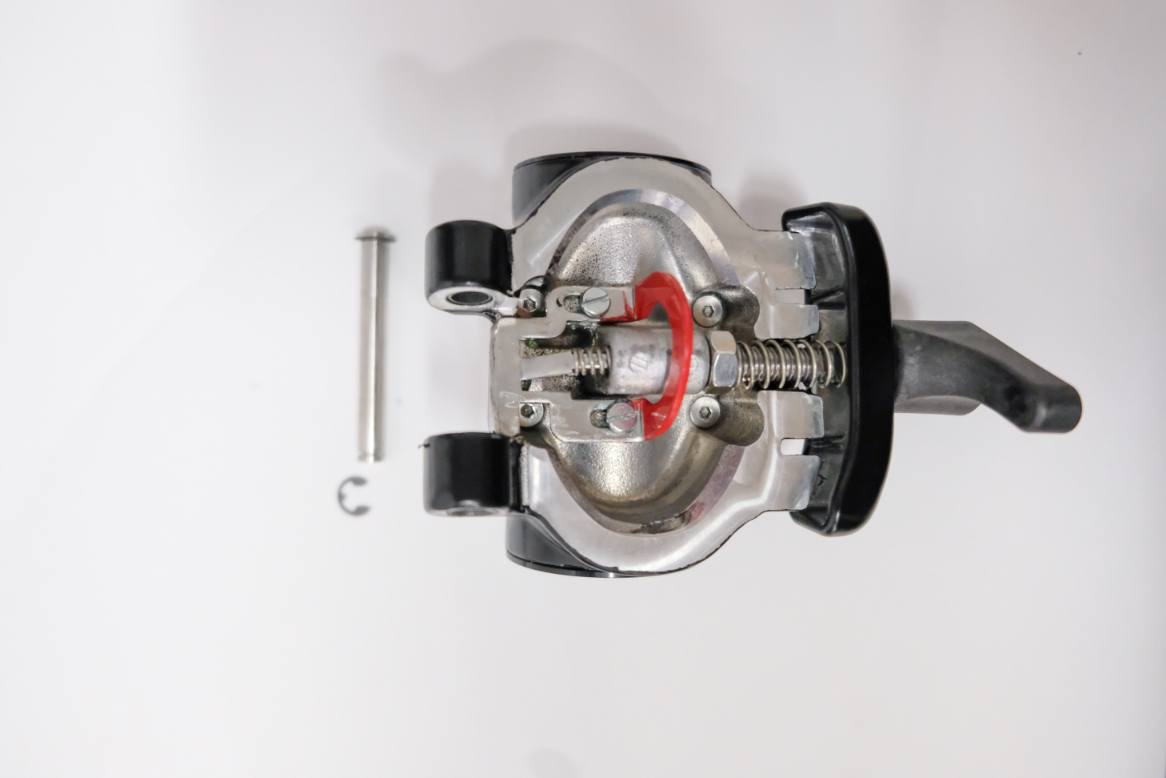
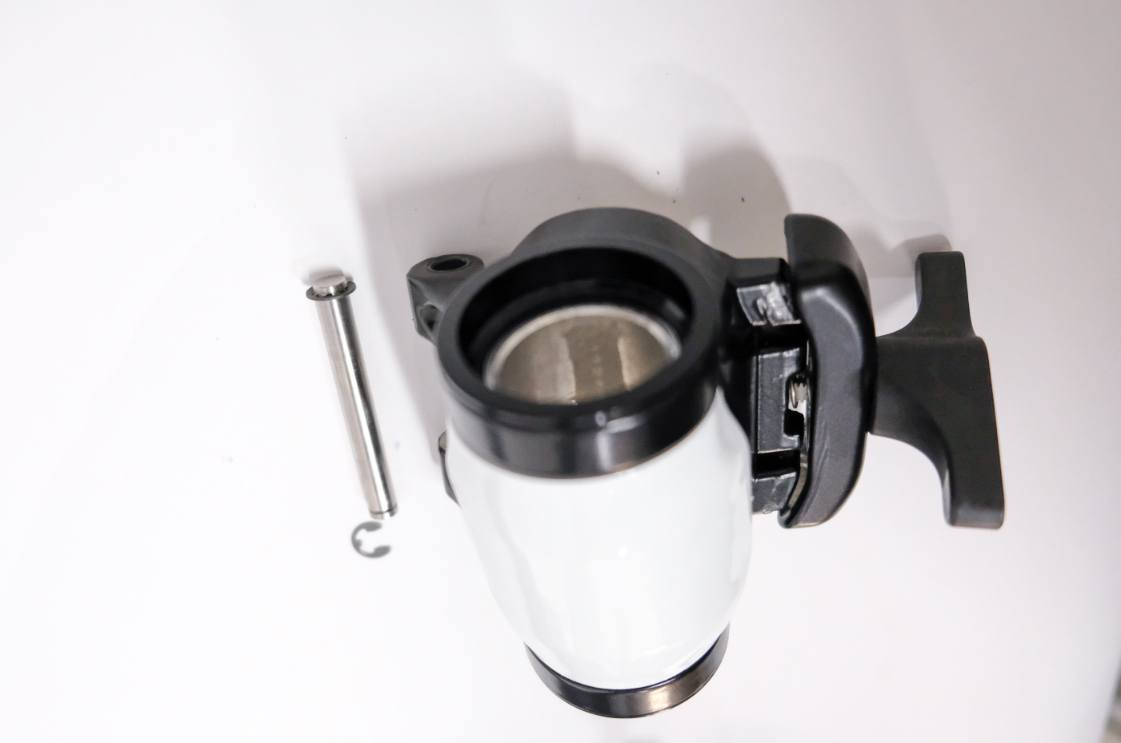
- Remove the front joint
- Remove the SEEGER Lock Washer
- Pull out the pin
- Gently push the pin down and outwards
- We recommend to lubricate the unlocking joint and the prism with a light coat of grease
Step 13 Removing the front cover
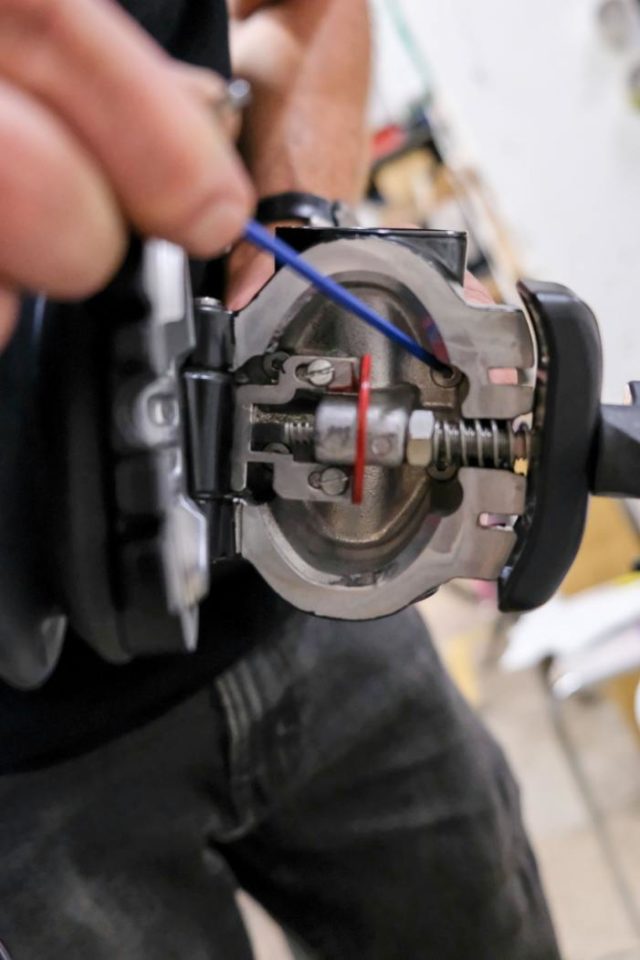
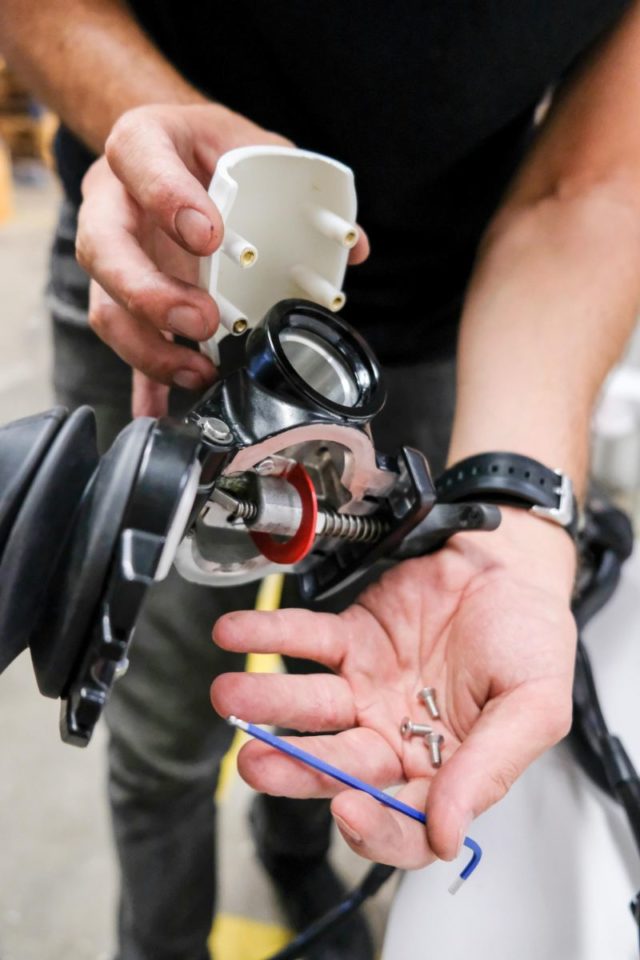
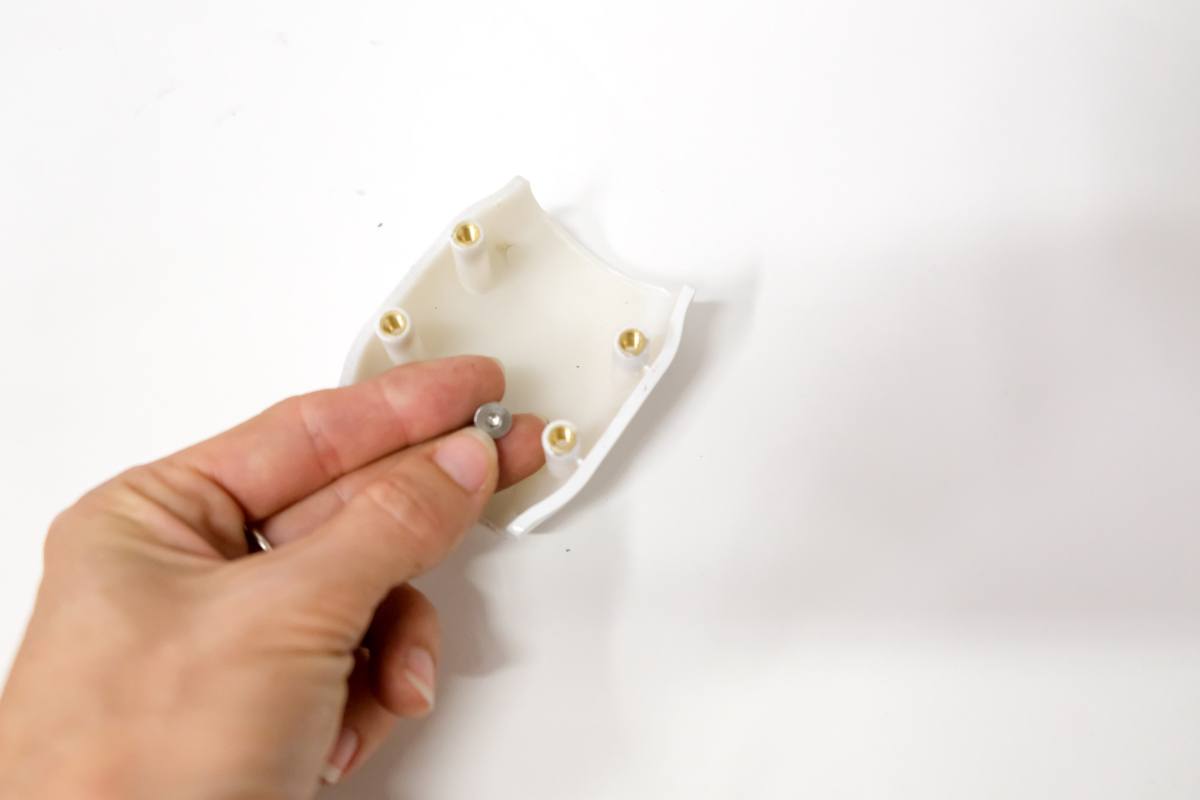
- Unscrew the 4 screws. (The screw in the top left is harder to remove, it may get stuck). 2 screws (upper right + lower left - to the cross) are enough for the cover. 4 screws are required if the bag holder is used.
Step 14 Removing the rear wheel
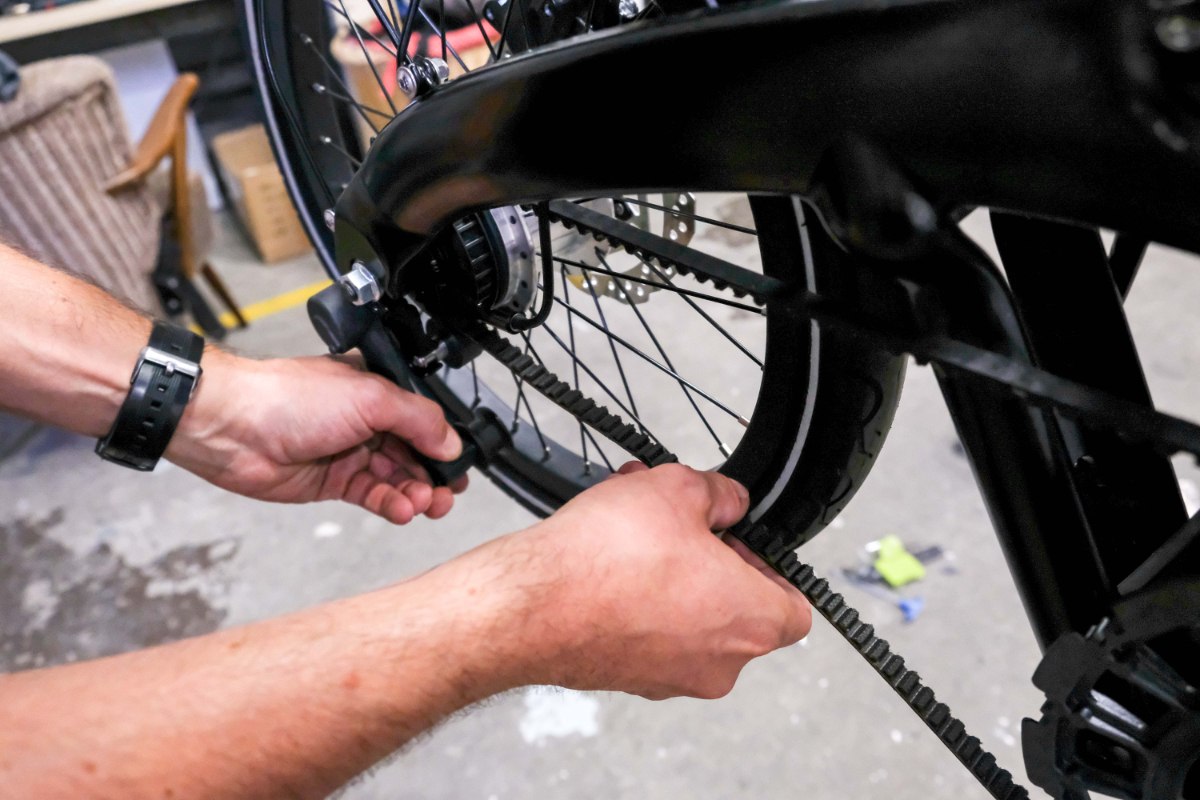
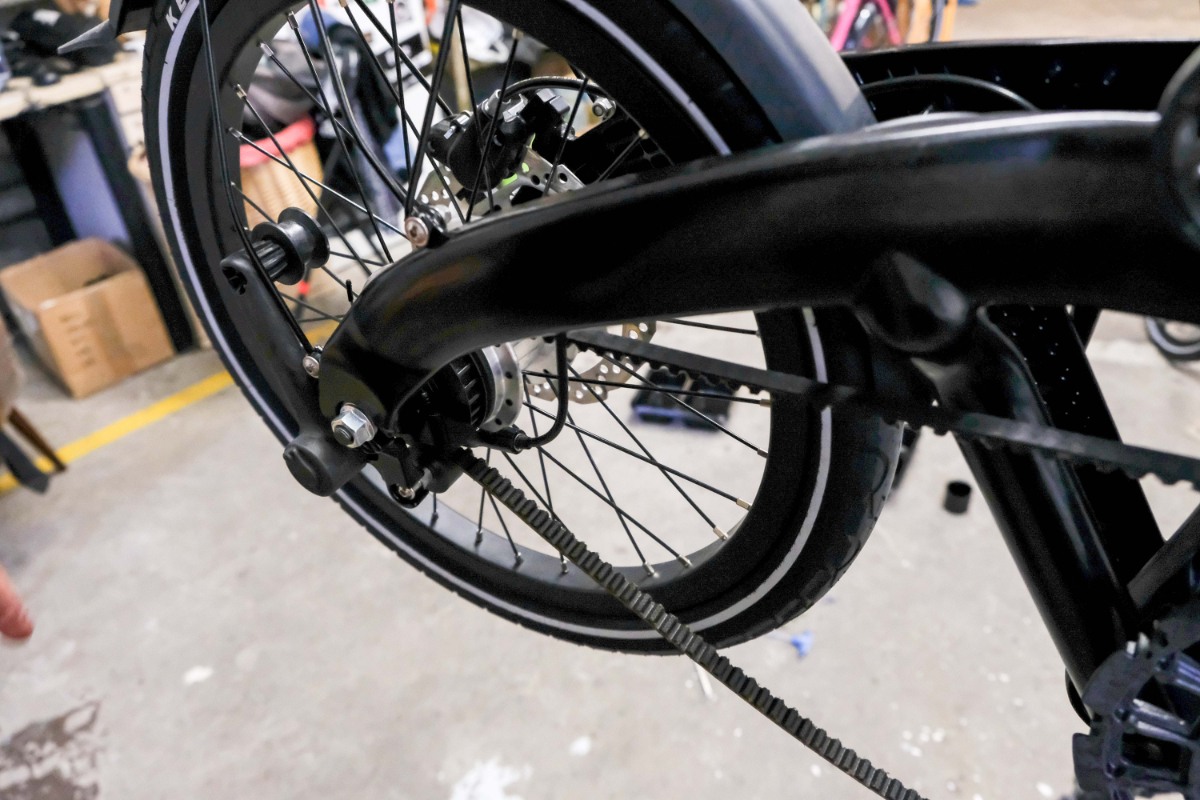
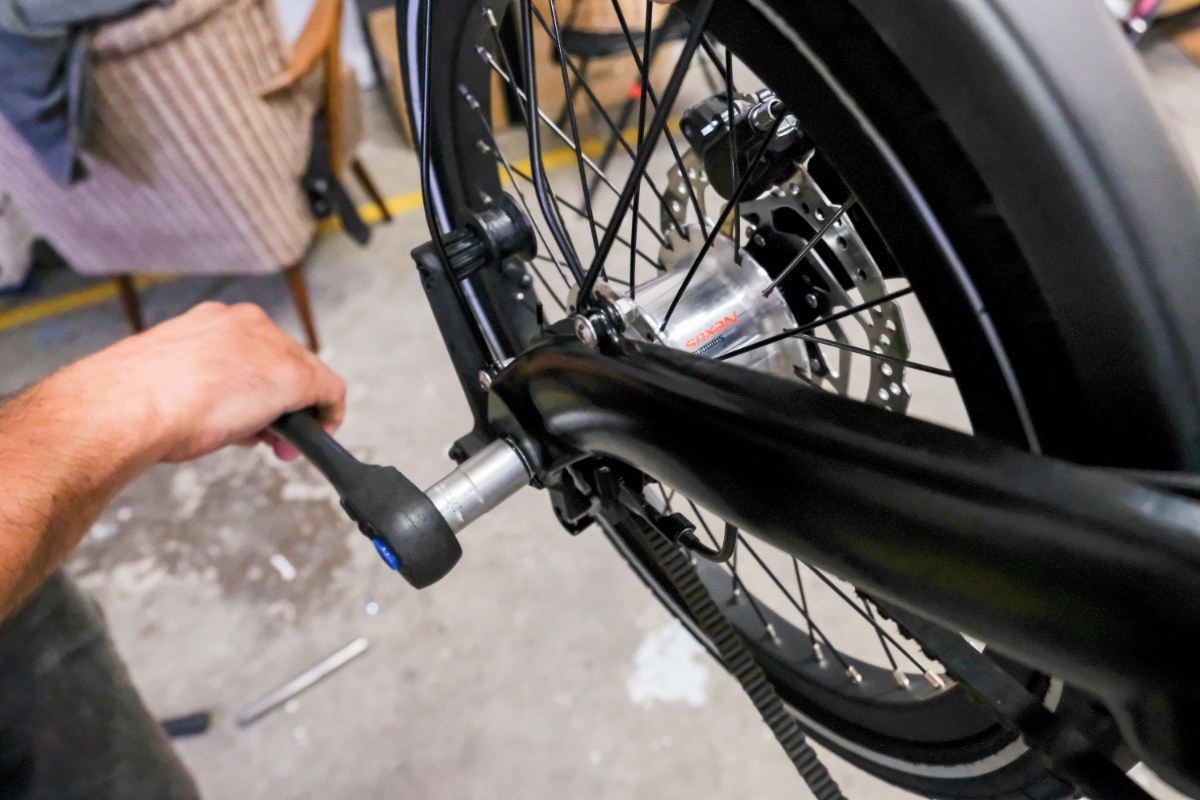
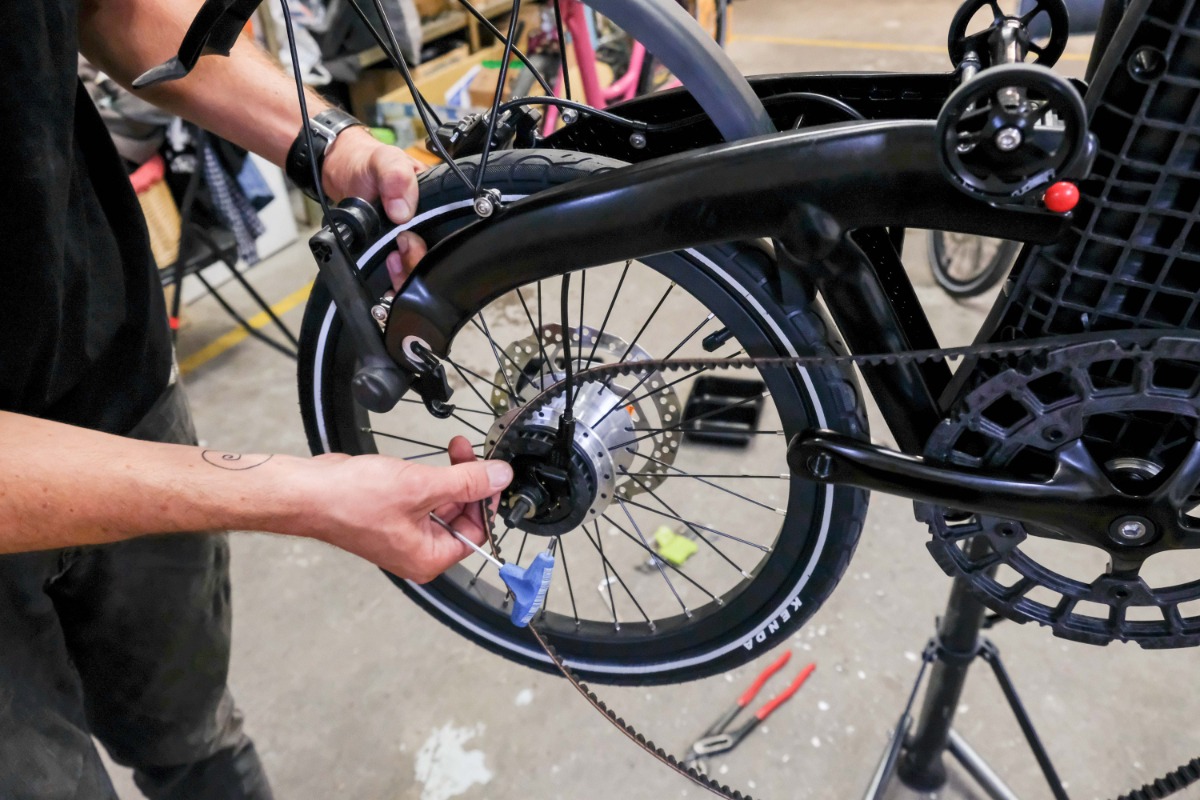
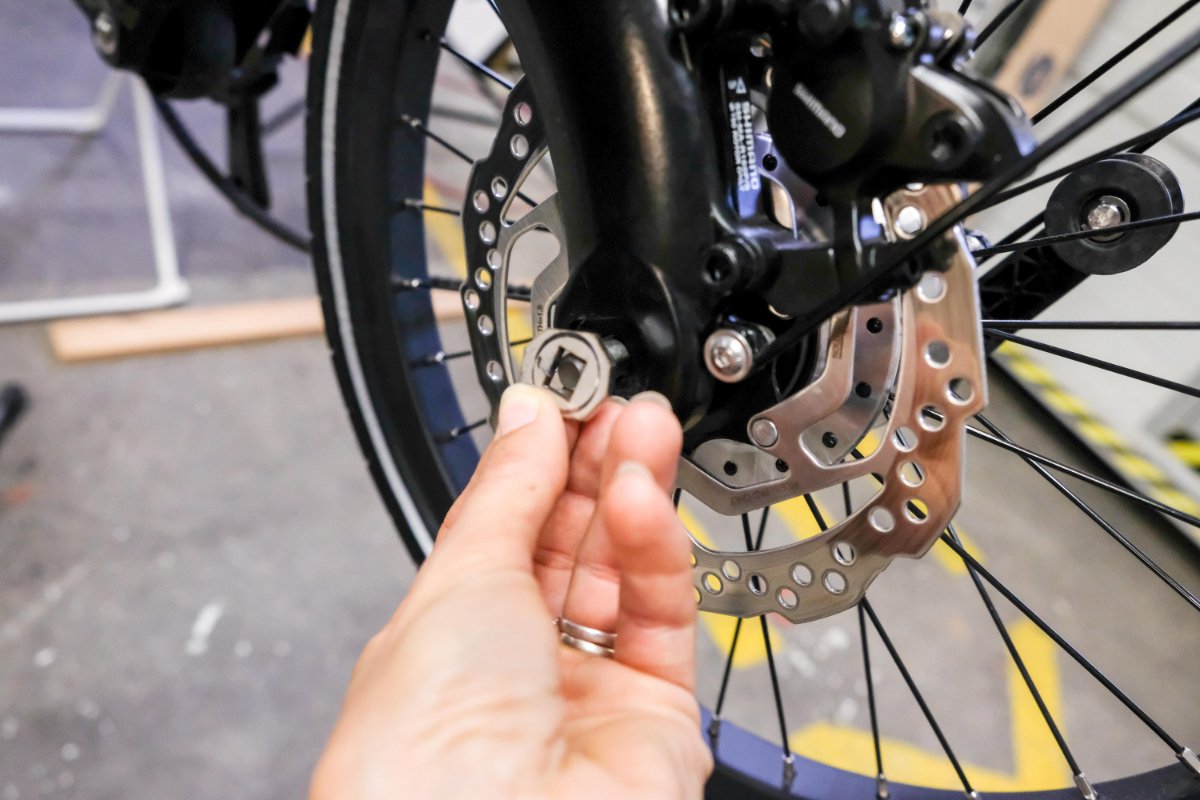
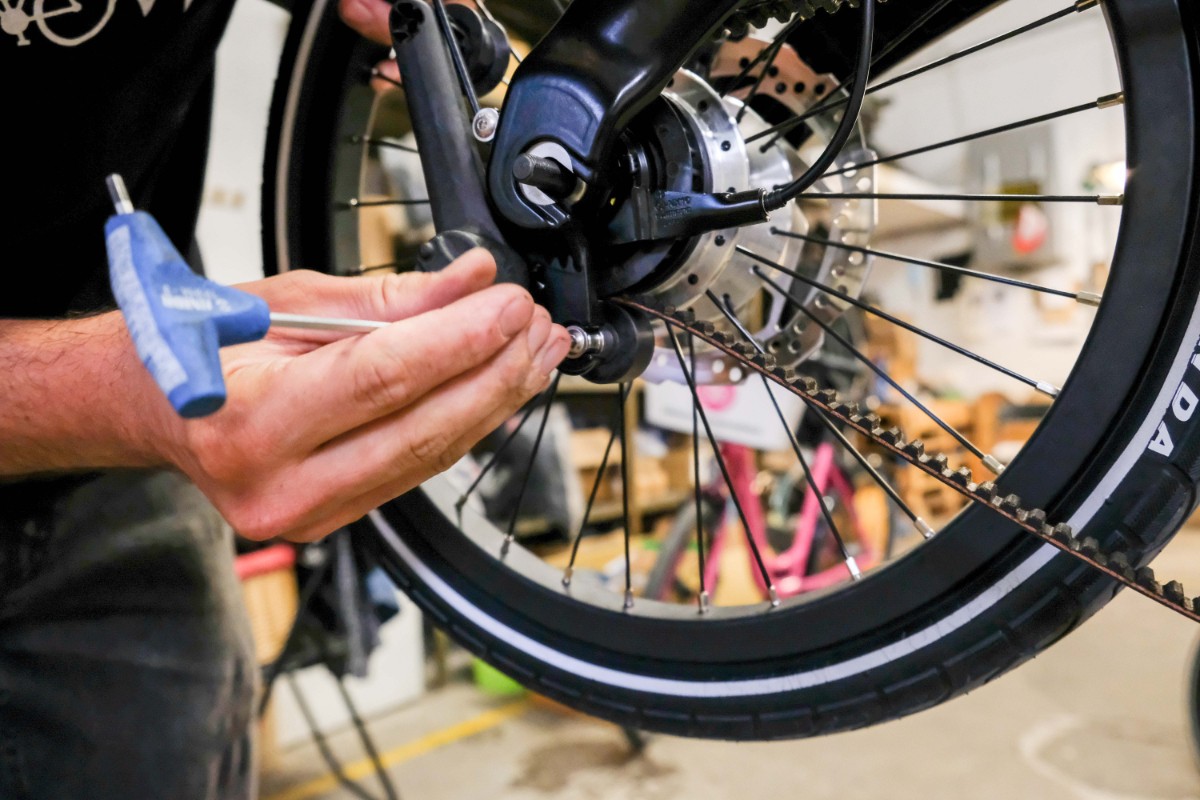
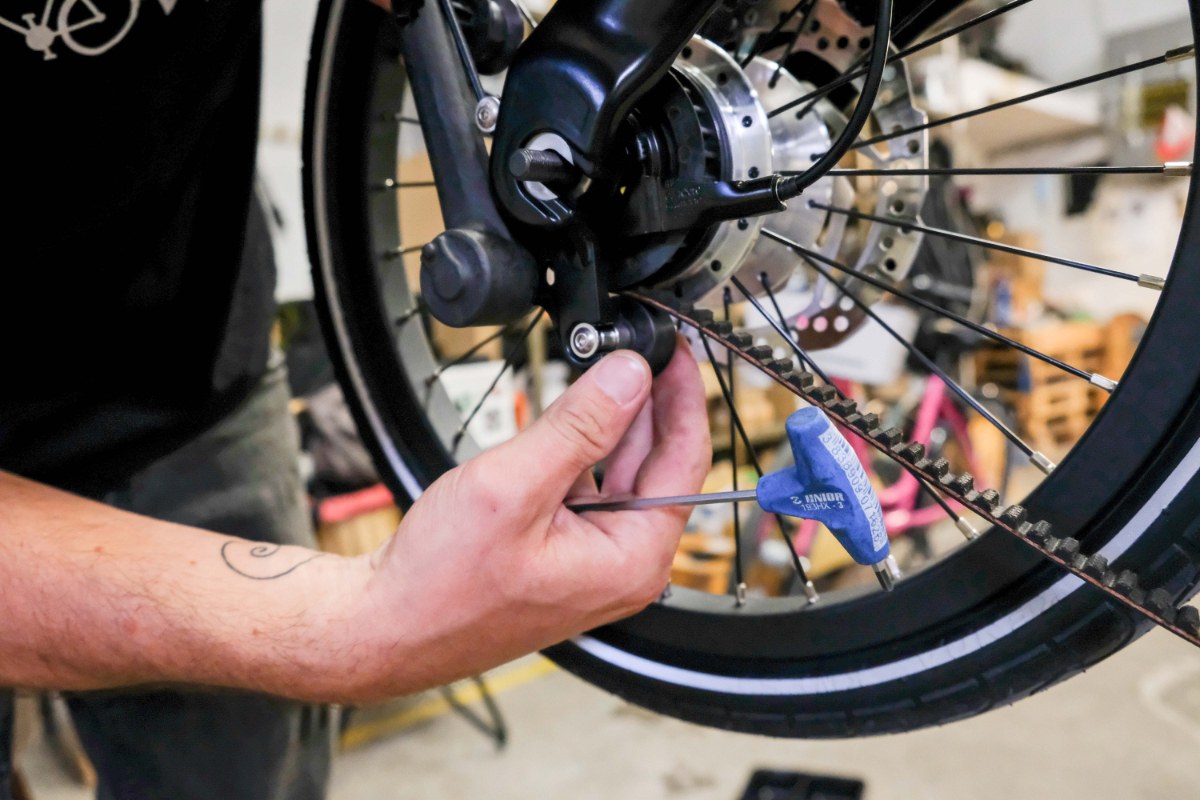
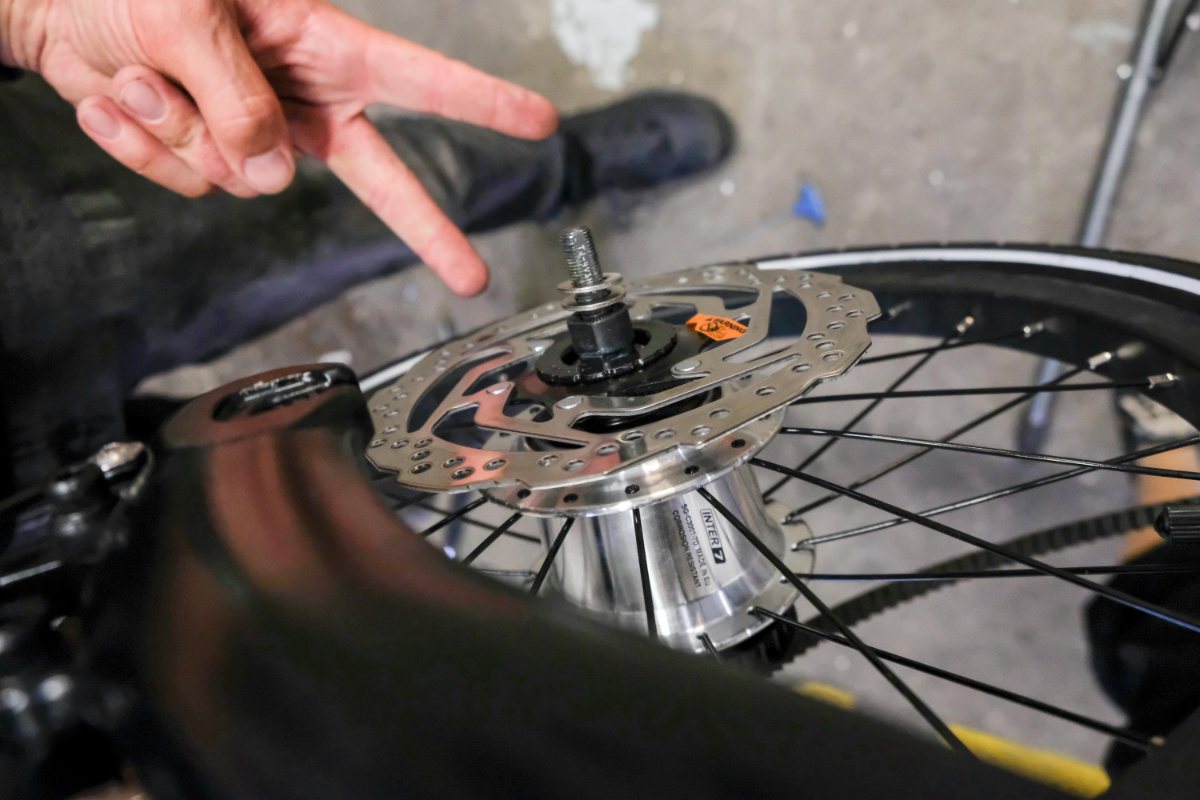
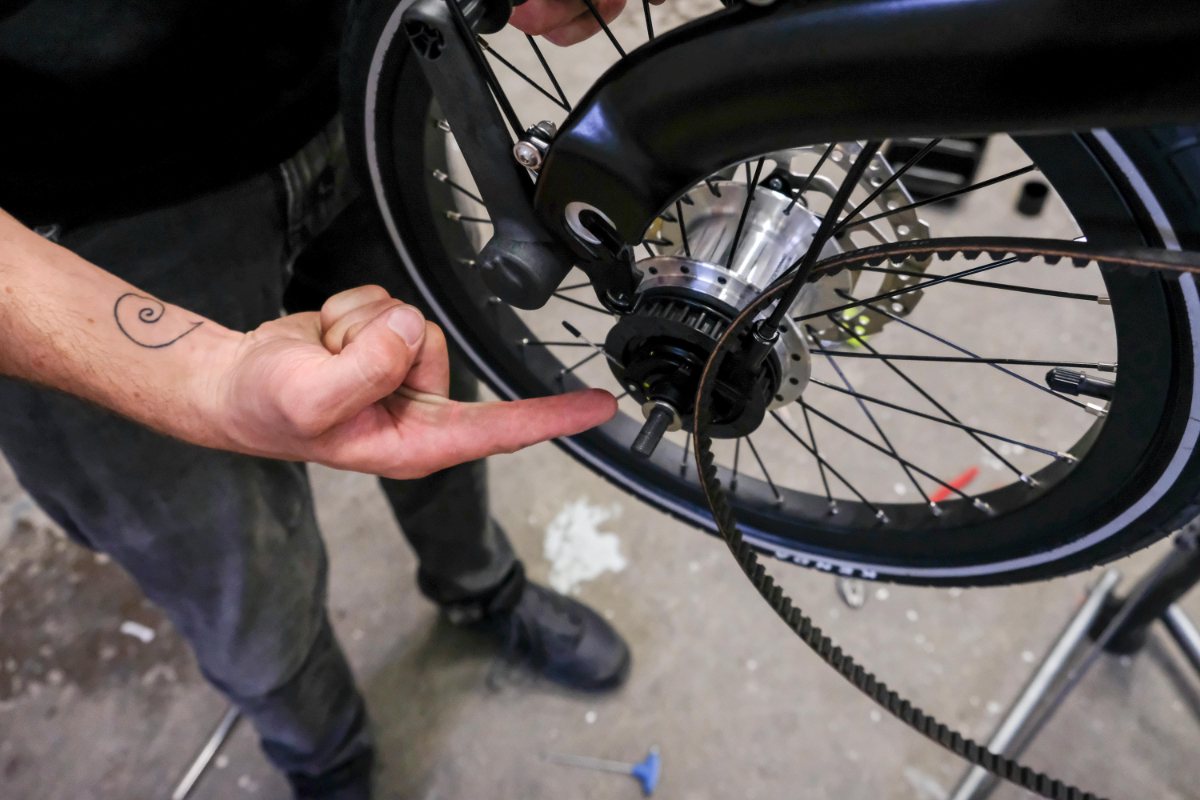
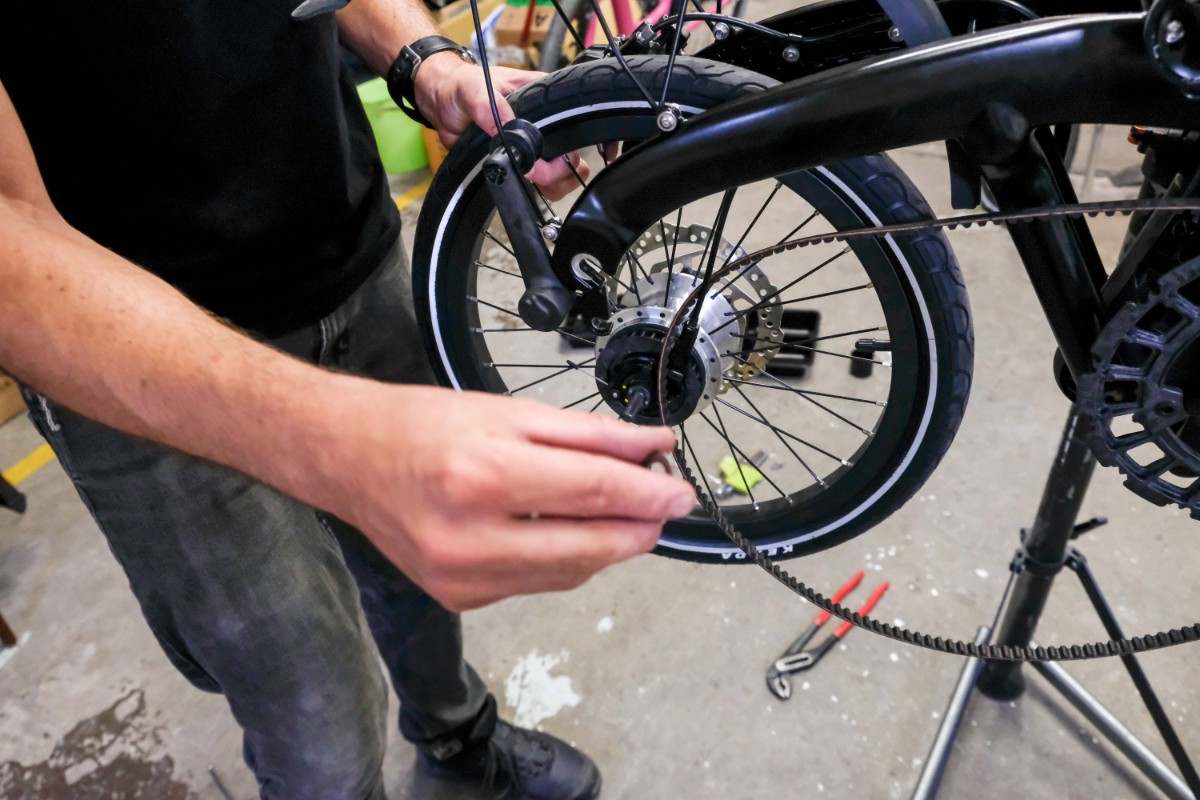
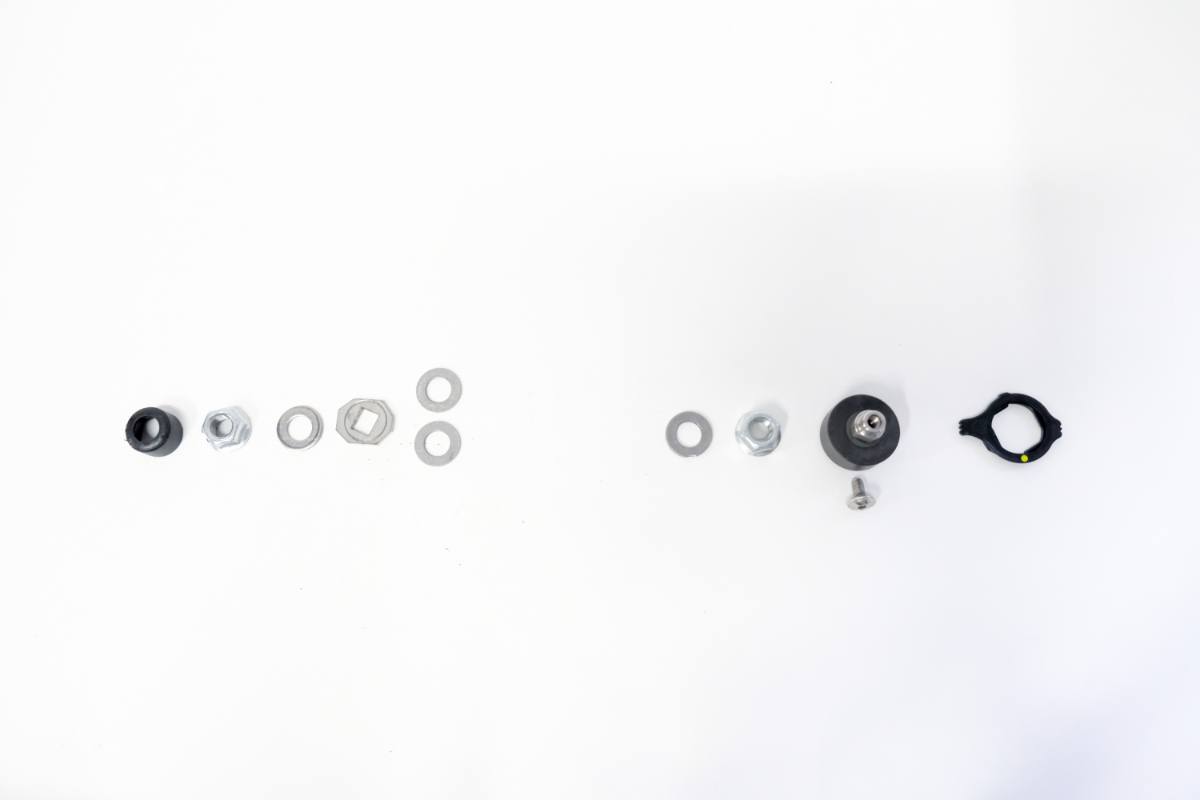
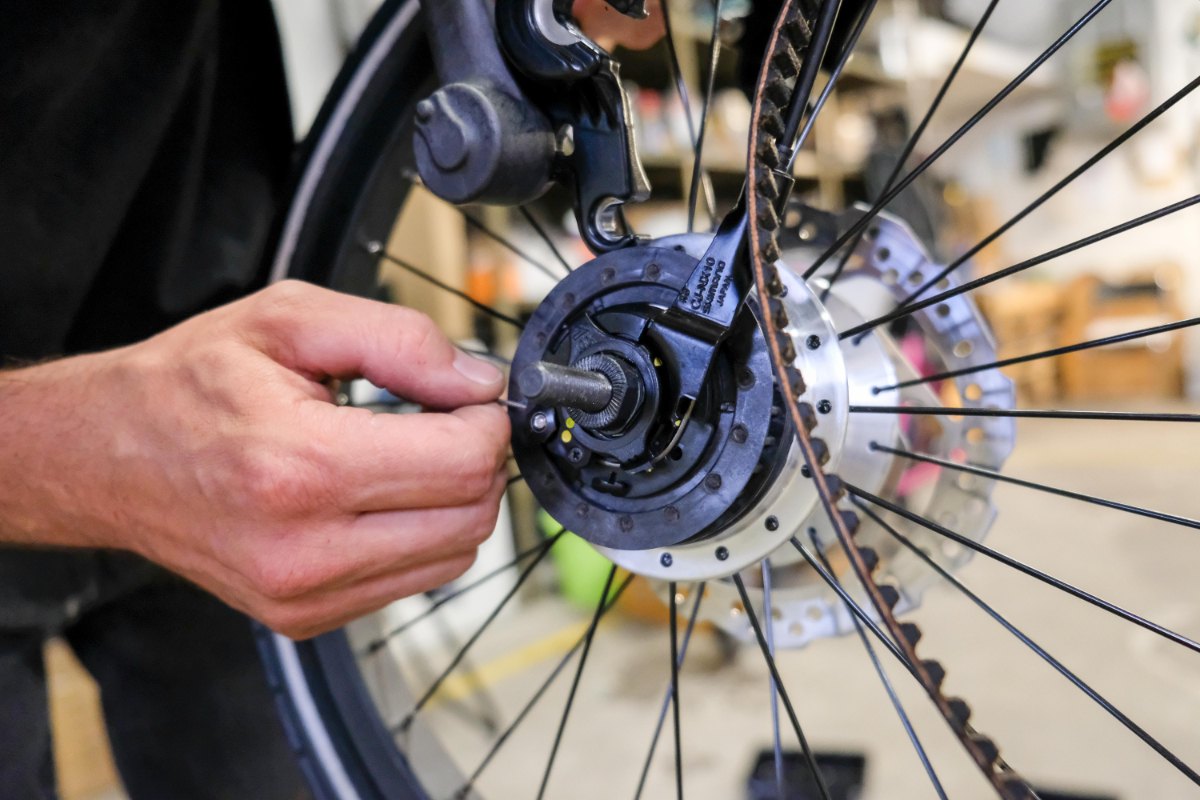
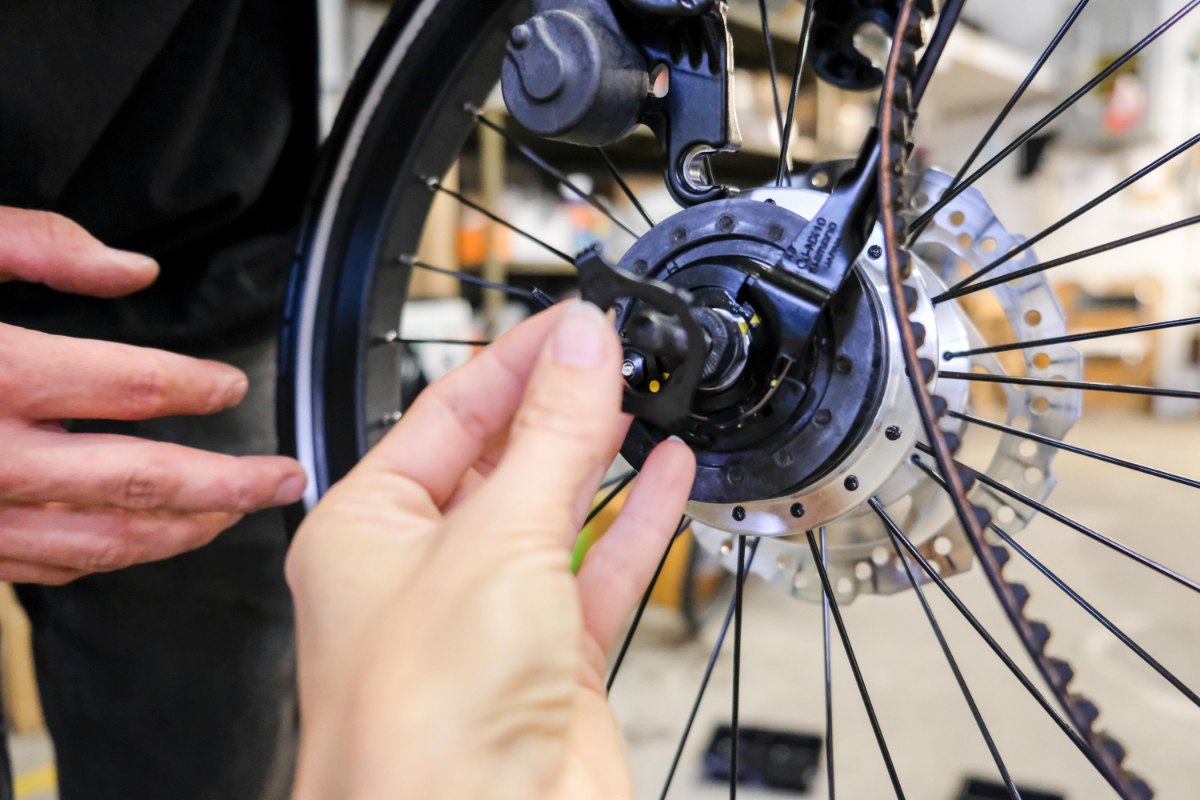
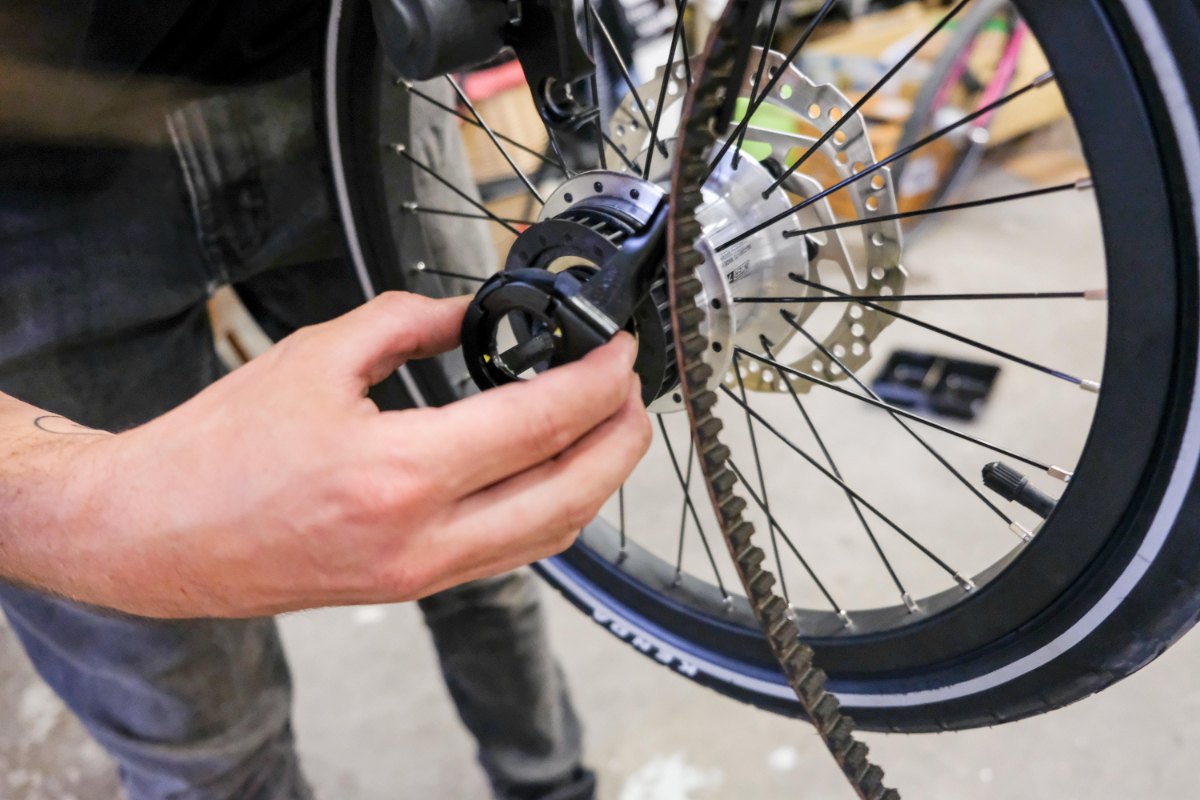
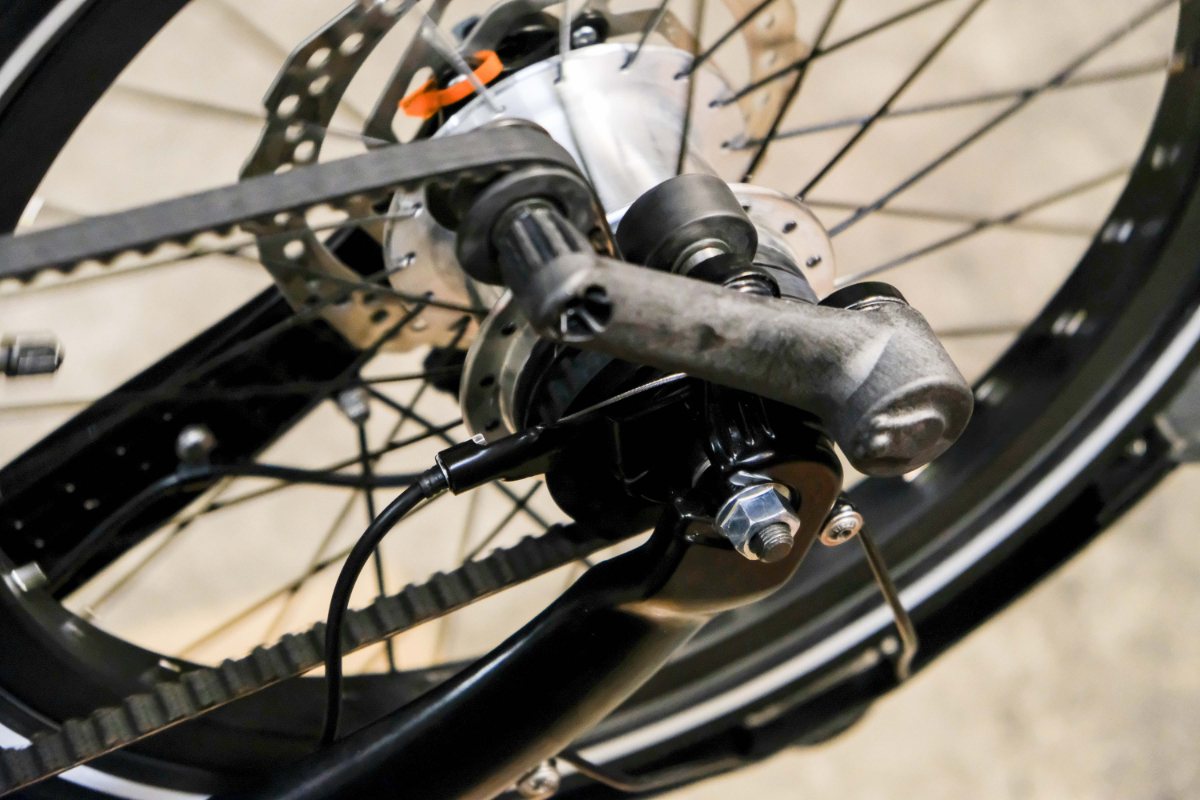
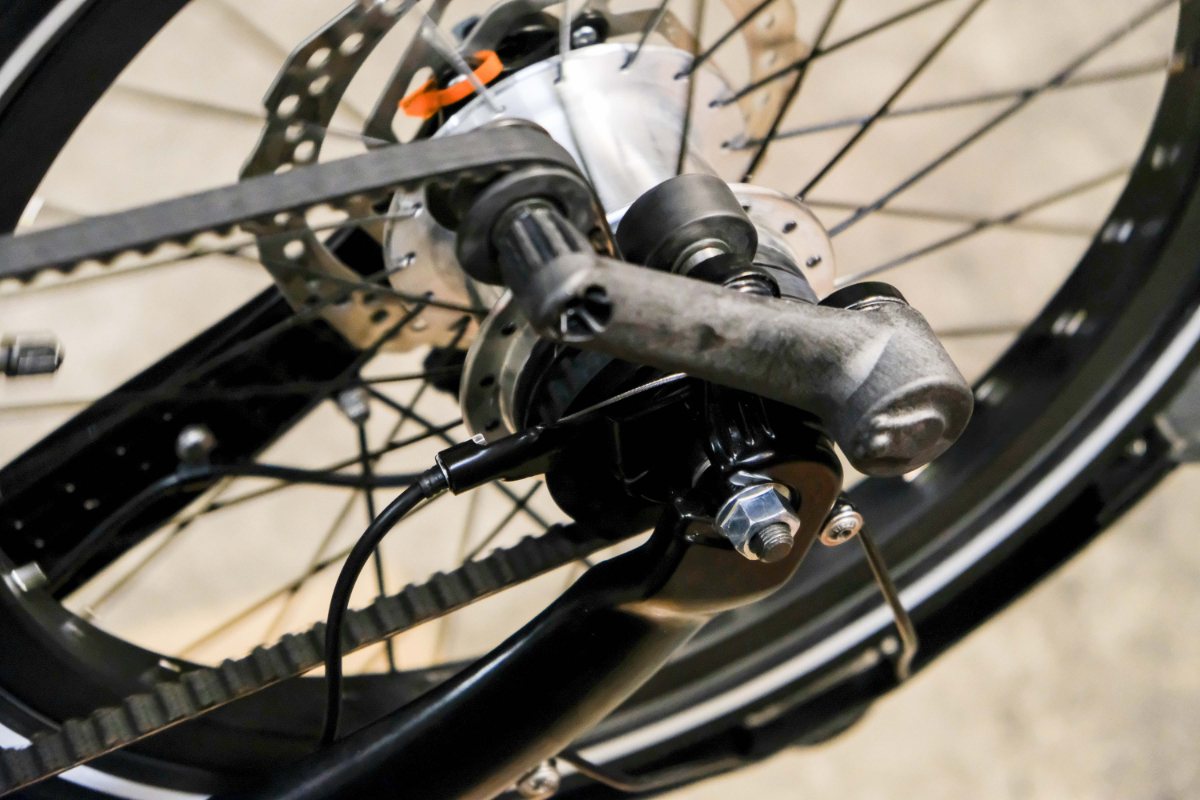
- Remove the axle nut cap
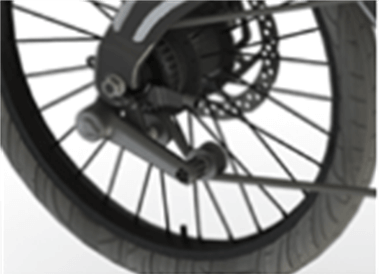
- Remove the drive belt from the tensioner. The belt cannot be removed at this stage! The tension pulley that pushes the belt against the rear freewheel can be unscrewed. When removing the rear wheel, remember the order in which the nuts and washers were placed.
- On the left side there are 2 nuts at the wheel, on the right side there is one nut.
- They are placed in the following order. Left and right side of the rear wheel.
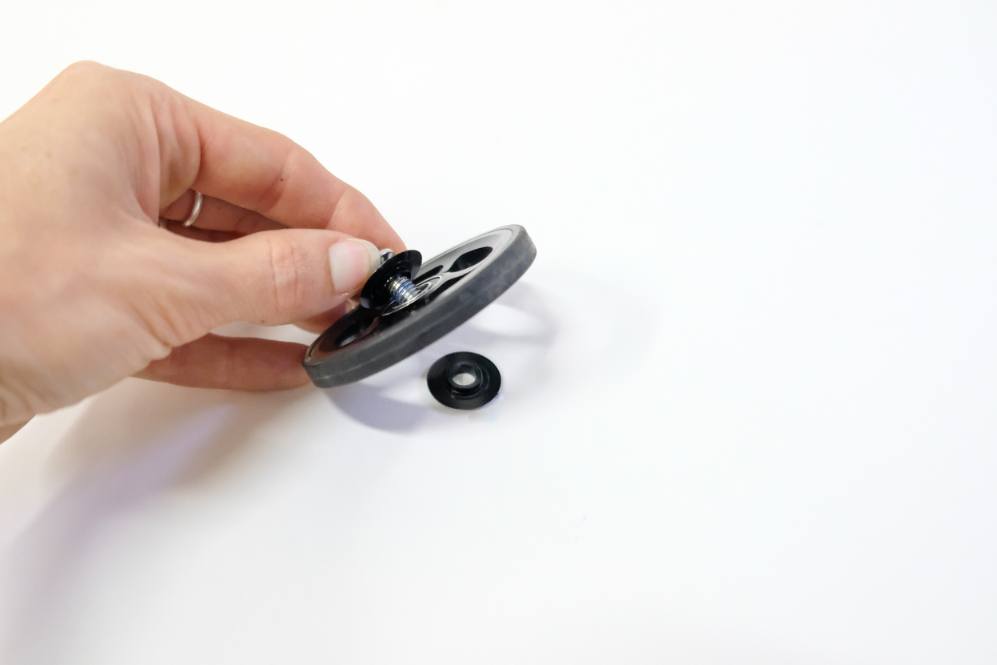
- Then remove the plastic washer with the yellow marking from the hub.
- After removal, this part will remain on the wire rope. Now the belt can also be removed.
Step 15 Removing the belt
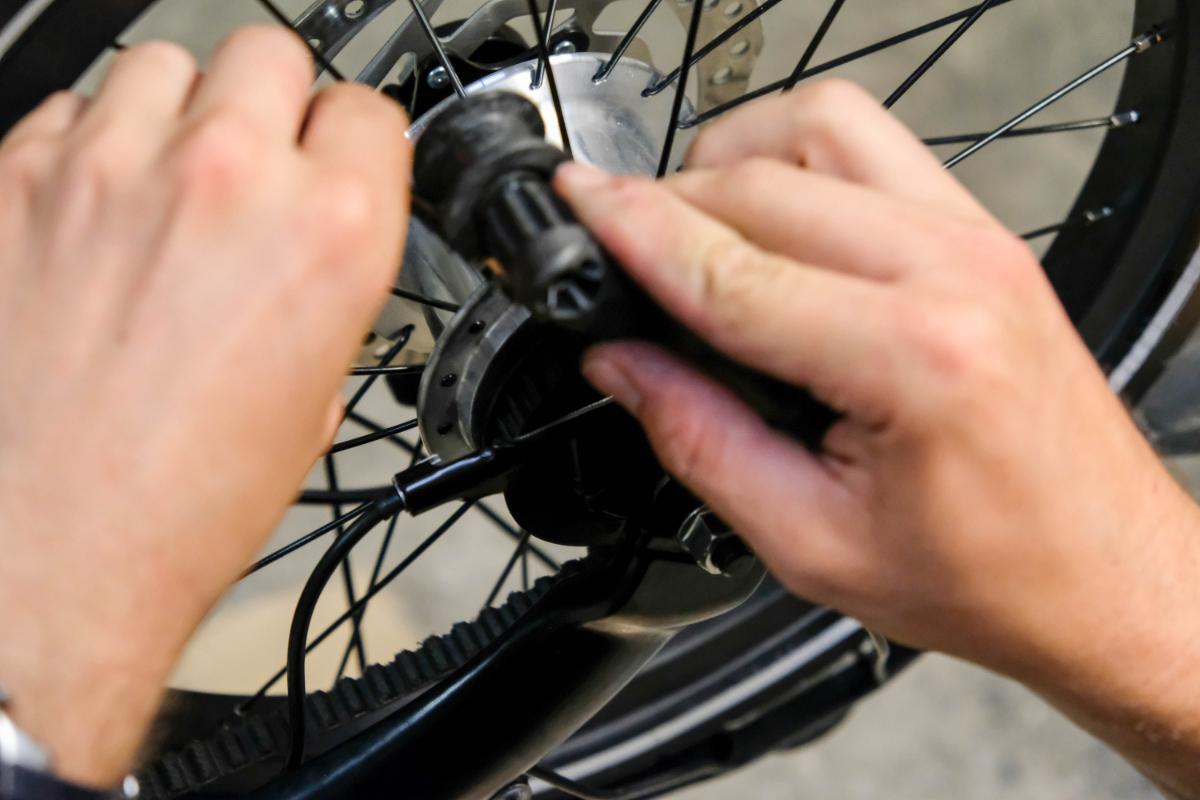
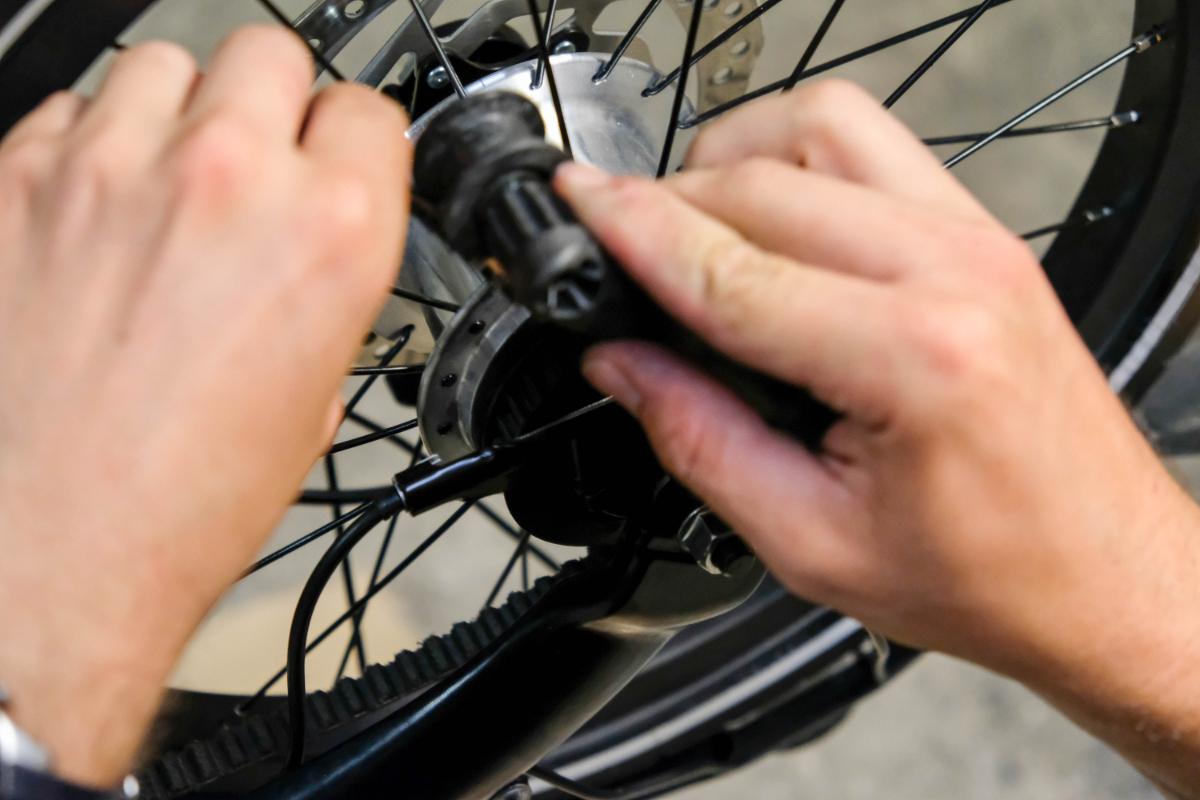
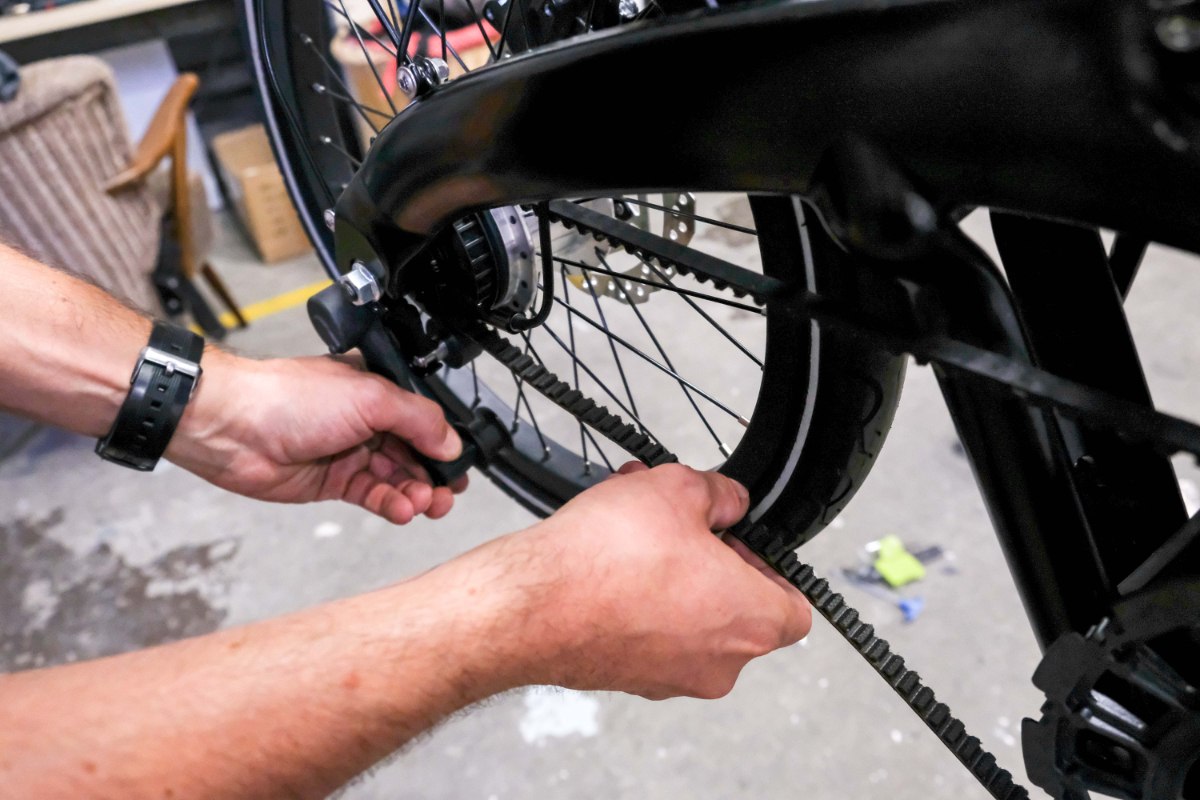
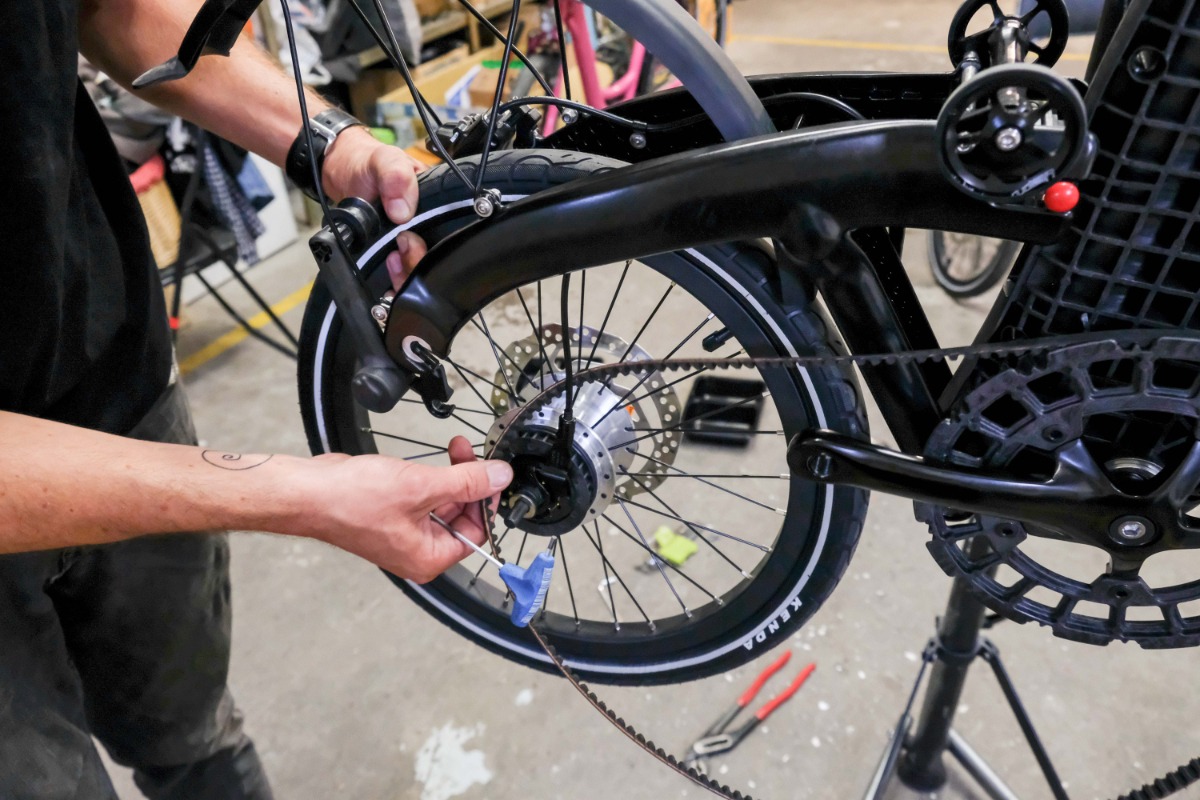
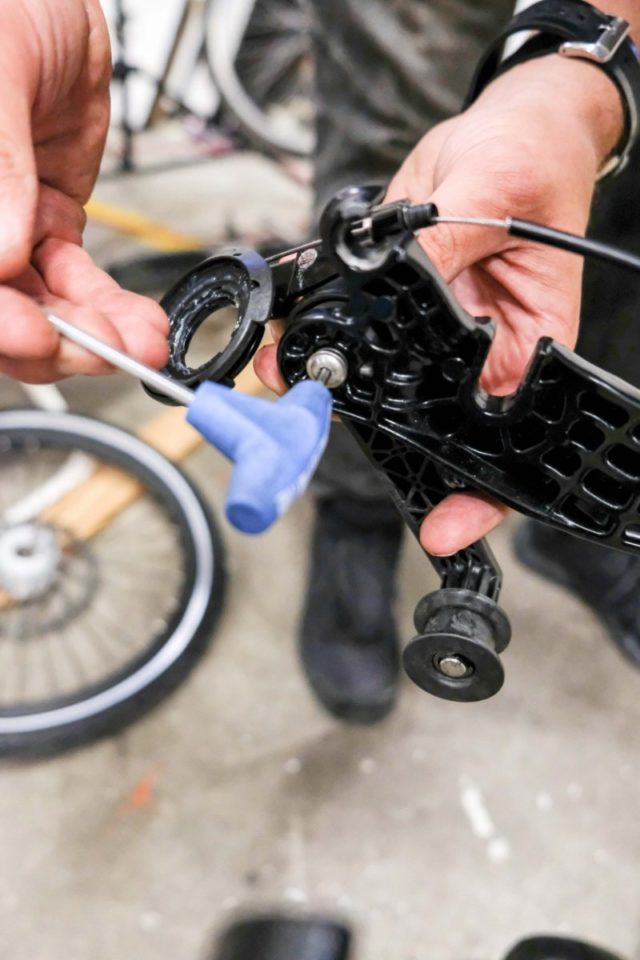
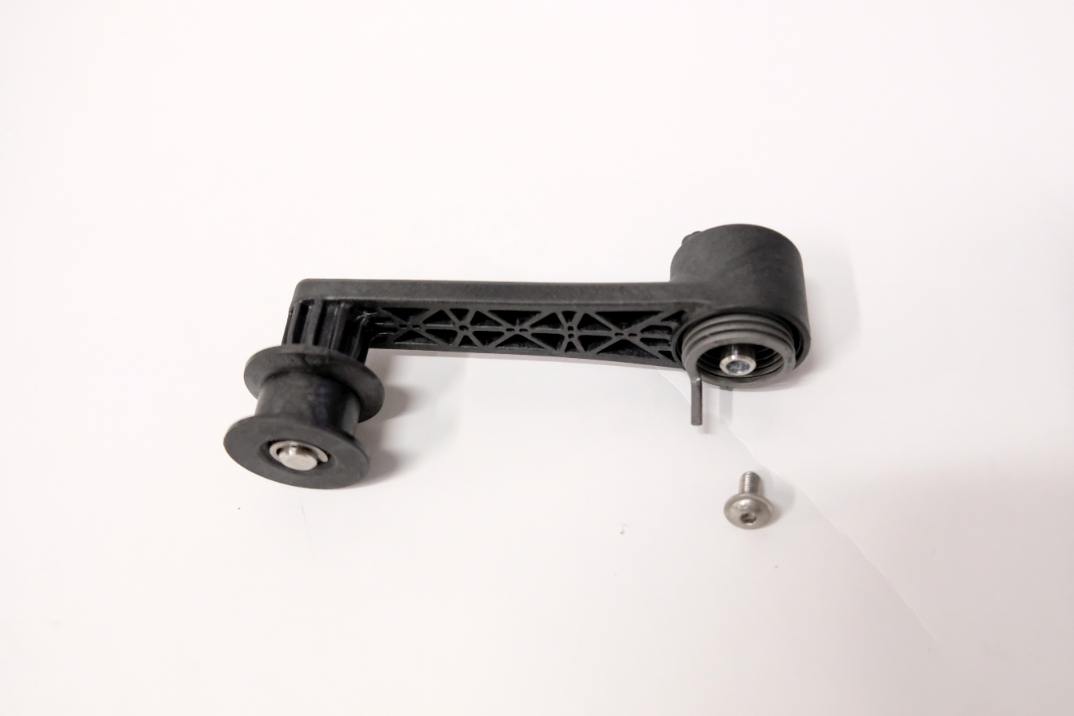
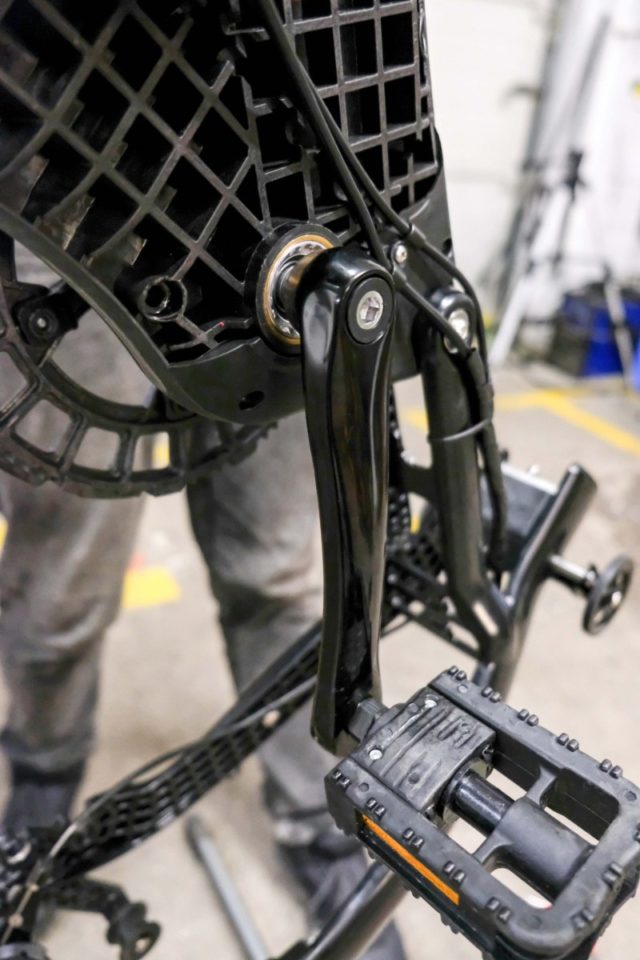
- Loosen the belt from the tensioner
- Unscrew the tensioner (not necessary when servicing the rear wheel): The tensioner does not have to go out (like this) when replacing the belt. Just unscrew the tension pulley - see previous note. Skill is required when reassembling the tensioner spring to the fork.
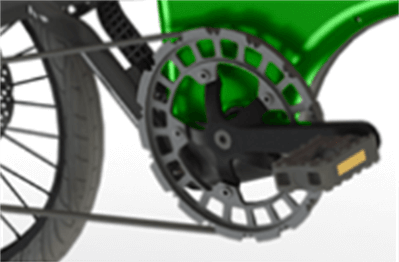
- A puller is required to remove the cranks. Follow the manufacturer's instructions when removing the cranks. Folding pedals can be removed with a 15mm wrench.
Step 18 Final advice
Each bolt and nut must be tightened with the same torque that held it in place when removed. That is, some more and some less. Especially sensitive are the moving parts (head assembly) and threads made from plastic or aluminium. There is a risk of damage if excessive torque is applied. If you are unsure about the work procedure or if something is stuck, you should contact the manufacturer or have the bike serviced by a professional.
Re-assembly notes
Components
17 components
-
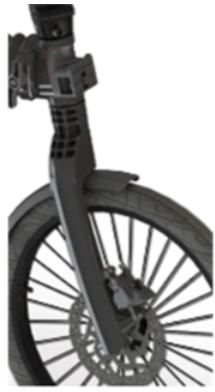
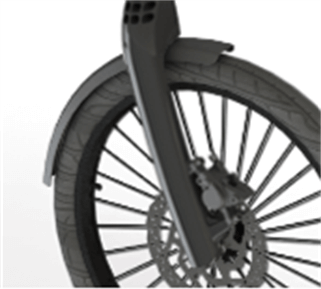
Front fork assembly - black
-
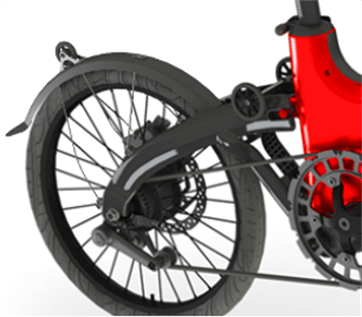
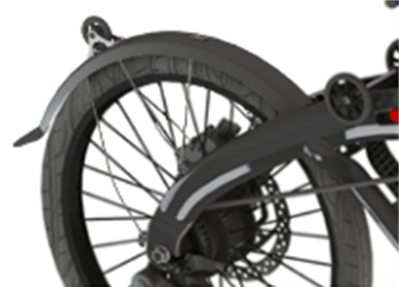
Rear fork assembly - black
-
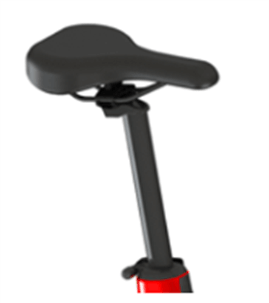
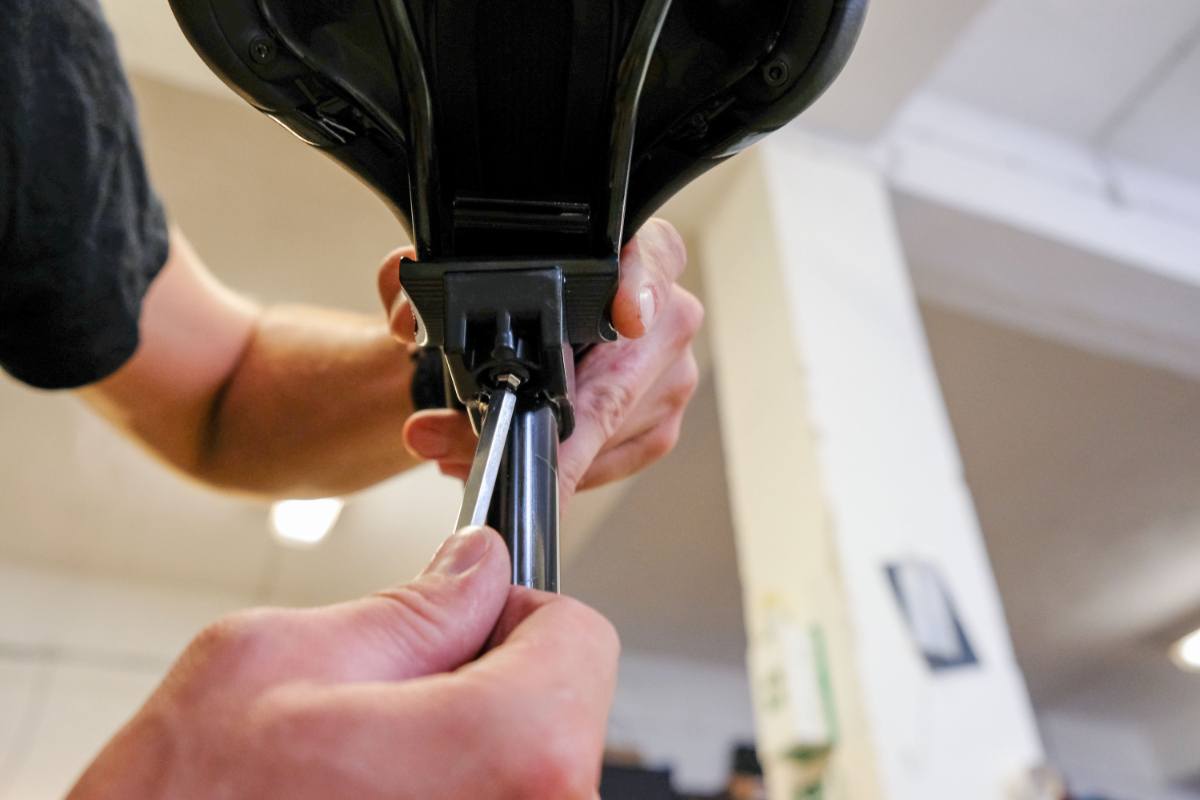
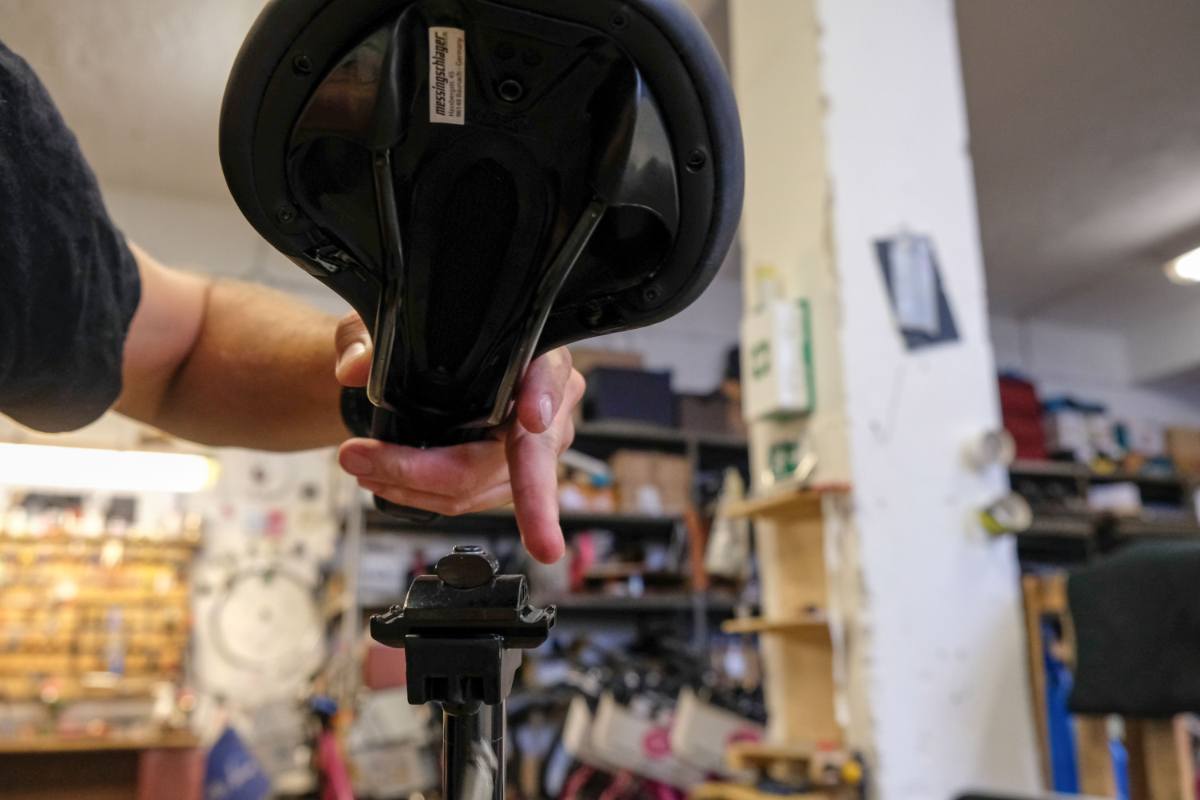
Seatpost SET - black, saddles, clamps
-
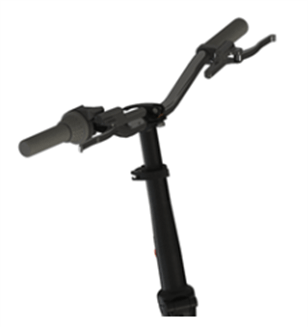
Assembly of steering rod and handlebars
Number: C00001
Name: Front fork assembly - black
Count: 1
Standard / Custom: custom
Reference number: ME8URD_C00001
Producer reference number: C00001
Description: Front fork assembly - black
Number: C00002
Name: Rear fork assembly - black
Count: 1
Standard / Custom: standard
Reference number: ME8URD_C00002
Description: Rear fork assembly - black
Number: C003
Name: Seatpost SET - black, saddles, clamps
Count: 1
Standard / Custom: standard
Reference number: ME8URD_C003
Description: Seatpost SET - black, saddles, clamps
Number: C004
Name: Assembly of steering rod and handlebars
Count: 1
Standard / Custom: standard
Reference number: ME8URD_C004
Description: Assembly of steering rod and handlebars
-
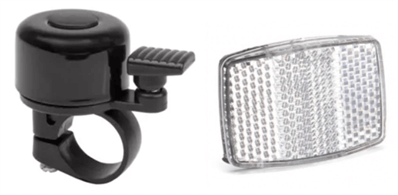
Set for handlebars (bell, reflective light, grips, ball stud)
-
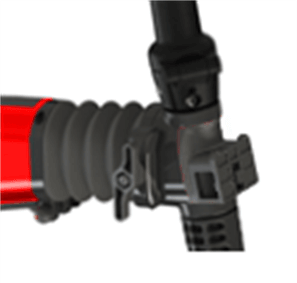
Cavity for head composition in black
-
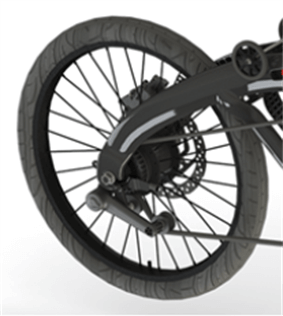
Rear wheel Nexus 7 with shifting and tire
-
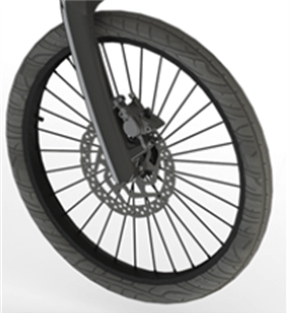
Front wheel with tire
Number: C005
Name: Set for handlebars (bell, reflective light, grips, ball stud)
Count: 1
Standard / Custom: standard
Reference number: ME8URD_C005
Description: Set for handlebars (bell, reflective light, grips, ball stud)
Number: C006
Name: Cavity for head composition in black
Count: 1
Standard / Custom: standard
Reference number: ME8URD_C006
Description: Cavity for head composition in black
Number: C007
Name: Rear wheel Nexus 7 with shifting and tire
Count: 1
Standard / Custom: standard
Reference number: ME8URD_C007
Description: Rear wheel Nexus 7 with shifting and tire
Number: C008
Name: Front wheel with tire
Count: 1
Standard / Custom: standard
Reference number: ME8URD_C008
Description: Front wheel with tire
-
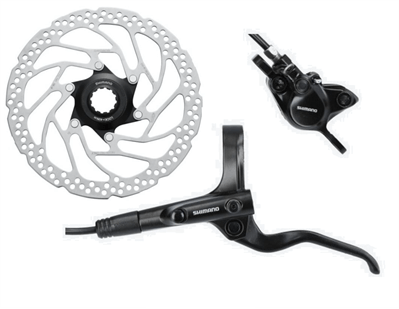
Rake set Shimano FRONT with brake disc
-
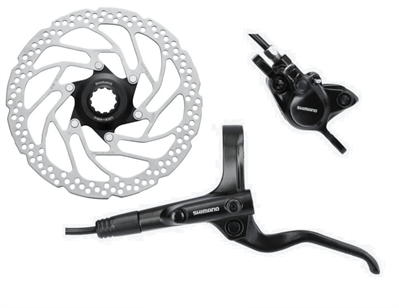
Brake set Shimano REAR with brake disc
-

Frame assembly with covers
-
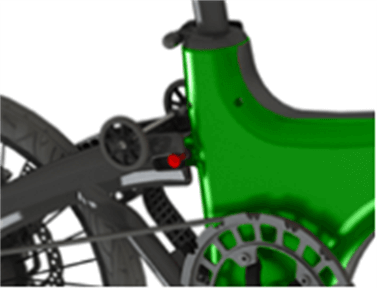
Locking mechanism for rear wheel with frame
Number: C009
Name: Rake set Shimano FRONT with brake disc
Count: 1
Standard / Custom: standard
Reference number: ME8URD_C009
Description: Rake set Shimano FRONT with brake disc
Number: C010
Name: Brake set Shimano REAR with brake disc
Count: 1
Standard / Custom: standard
Reference number: ME8URD_C010
Description: Brake set Shimano REAR with brake disc
Number: C011
Name: Frame assembly with covers
Count: 1
Standard / Custom:
Reference number: ME8URD_C011
Producer reference number:
Description: Frame assembly with covers
Number: C012
Name: Locking mechanism for rear wheel with frame
Count: 1
Standard / Custom: standard
Reference number: ME8URD_C012
Description: Locking mechanism for rear wheel with frame
Number: C013
Name: Rear shock absorber
Count: 1
Standard / Custom: standard
Reference number: ME8URD_C013
Description: Rear shock absorber
Number: C014
Name: Drive set (rosette, belt, pedals etc..)
Count: 1
Standard / Custom: standard
Reference number: ME8URD_C014
Description: Drive set (rosette, belt, pedals etc..)
Number: C015
Name: Belt tensioner set
Count: 1
Standard / Custom: standard
Reference number: ME8URD_C015
Description: Belt tensioner set
Number: C016
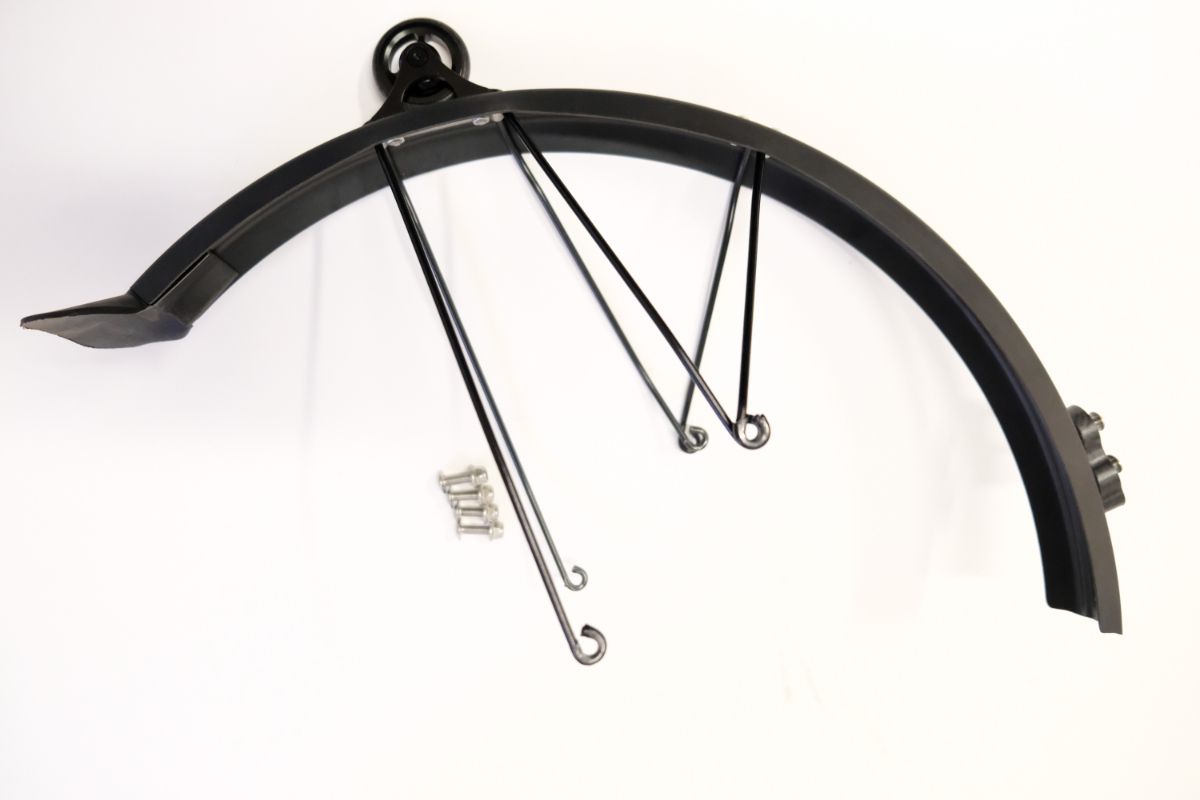
Name: Front mudguard set
Count: 1
Standard / Custom: standard
Reference number: ME8URD_C016
Description: Front mudguard set
Number: C017
Name: Rear mudguard set
Count: 1
Standard / Custom: standard
Reference number: ME8URD_C017
Description: Rear mudguard set
Tools
13 tools
Number:
Name: ratchet nut
Standard / Custom: standard
Standard tool number: RST000013
Count: 1
Description: ratchet nut 24mm
Number:
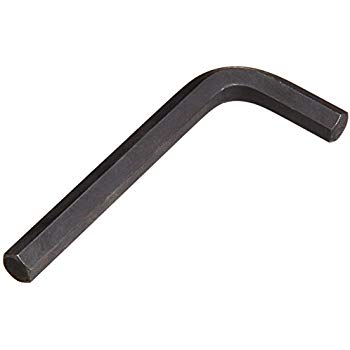
Name: Allen key size 2
Standard / Custom: standard
Standard tool number: RST000008
Count: 1
Description: Allen key size 2
Number:
Name: Allen key size 3
Standard / Custom: standard
Standard tool number: RST000008
Count: 1
Description: Allen key size 3
Number:
Name: Allen key size 4
Standard / Custom: standard
Standard tool number: RST000008
Count: 1
Description: Allen key size 4
Number:
Name: Allen key size 5
Standard / Custom: standard
Standard tool number: RST000008
Count: 1
Description: Allen key size 5
Number:
Name: Allen key size 6
Standard / Custom: standard
Standard tool number: RST000008
Count:
Description: Allen key size 6
Number:
Name: Allen key size 8
Standard / Custom: standard
Standard tool number: RST000008
Count: 1
Description: Allen key size 8
Number:
Name: Spanner size 5
Standard / Custom: standard
Standard tool number: RST000007
Count: 1
Description: Spanner size 5
Number:
Name: Spanner size 8
Standard / Custom: standard
Standard tool number: RST000007
Count: 1
Description: Spanner size 8
Number:
Name: Spanner size 10
Standard / Custom: standard
Standard tool number: RST000007
Count: 1
Description: Spanner size 10
Number:
Name: Spanner size 15
Standard / Custom: standard
Standard tool number: RST000007
Count: 1
Description: Spanner size 15
Number:
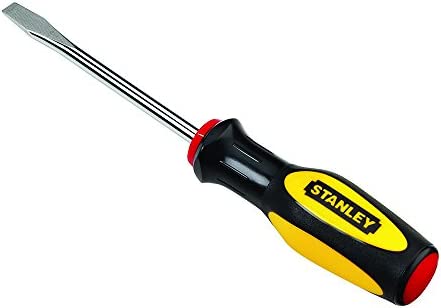
Name: Flat screwdriver
Standard / Custom:
Count: 1
Description: Flat screwdriver
Number:
Name: Phillips screwdriver
Standard / Custom:
Count: 1
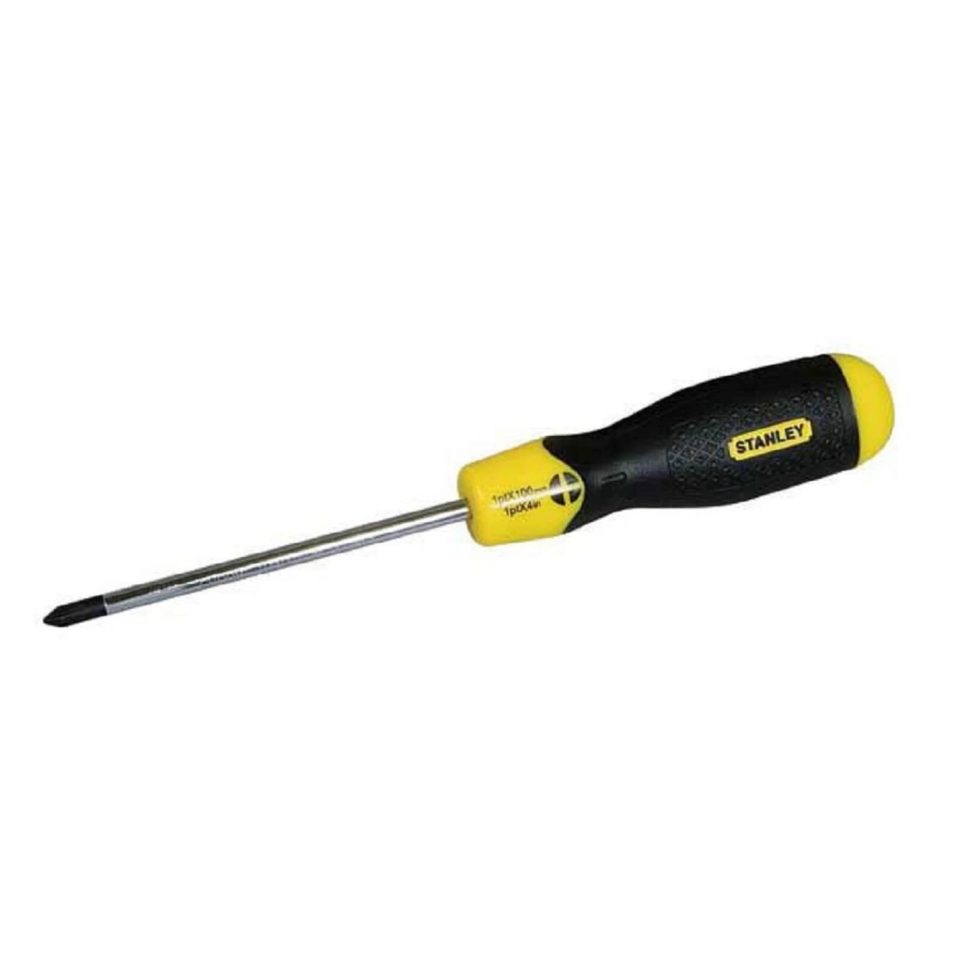
Description: Phillips screwdriver

